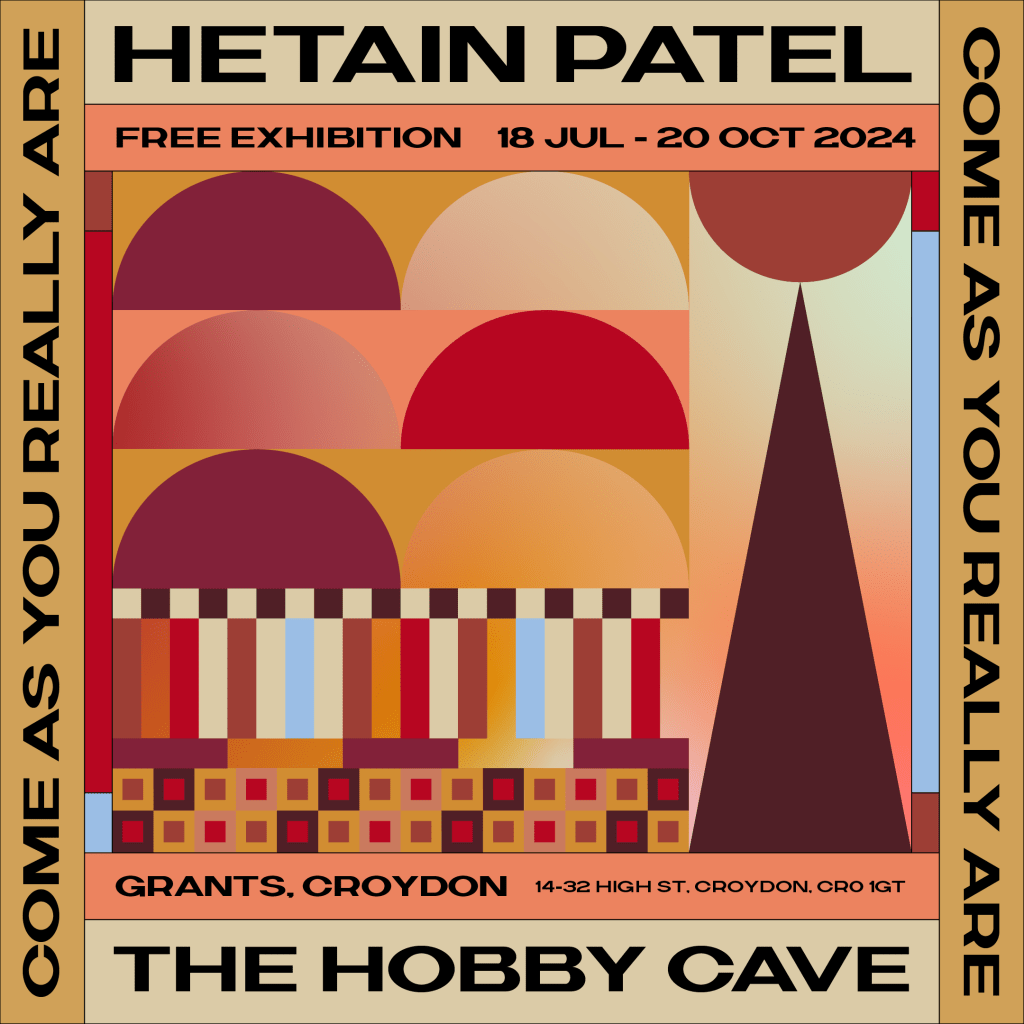
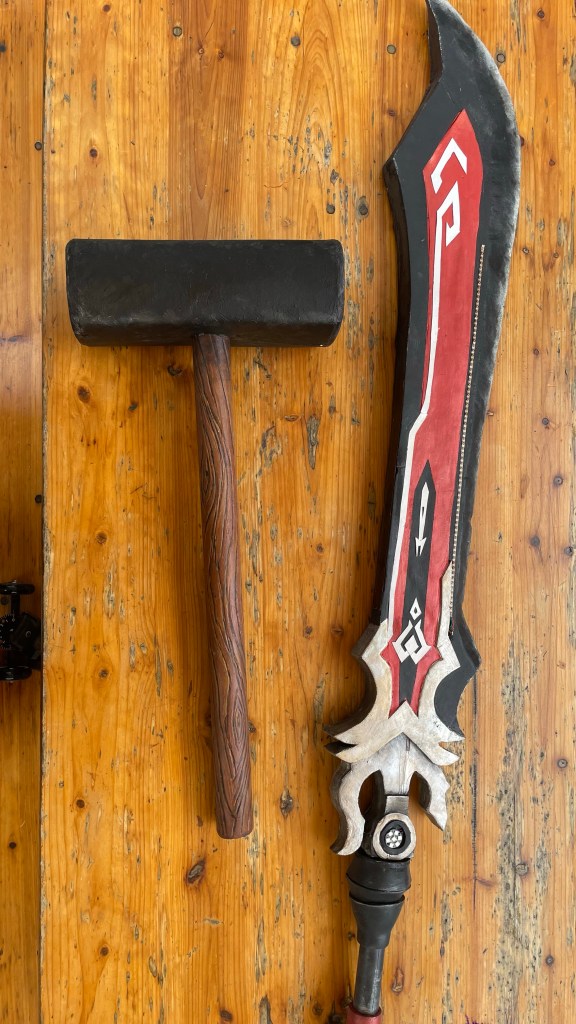
I’m delighted to say that 2040cosplay work is going to be in an art exhibition. The Blackcliff slasher great sword from Genshin Impact and the forge hammer from Leo Valdez have been selected to be in “Come As You Really Are“, run by Hetain Patel for ArtAngel.
The show opens on 18 July 2024 with 1000s of objects from hobbyists filling the space of Grants of Croydon in an exhibition that celebrates everyday creativity.
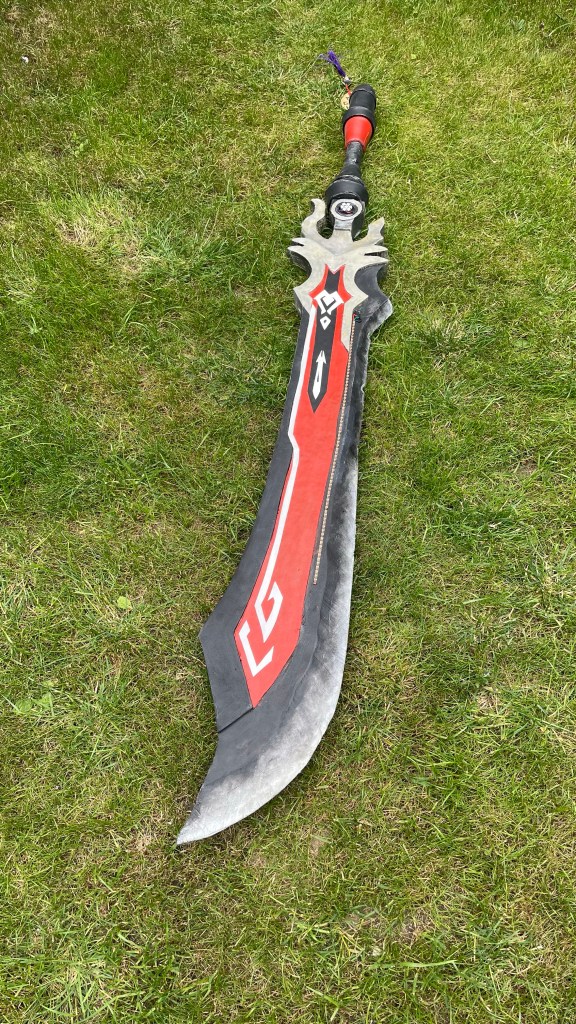
Blackcliff slasher
It’s been a lovely experience to take part in and I’m looking forward to going to the opening with Max. Really pleased to see the props get another showing outside of comic-con. Last night at the Cosplay Academy there was a good conversation about getting outside of the pure-con focus that cosplay can generate. So lovely to have this opportunity already. It will be great to see the other exhibits too at the show.
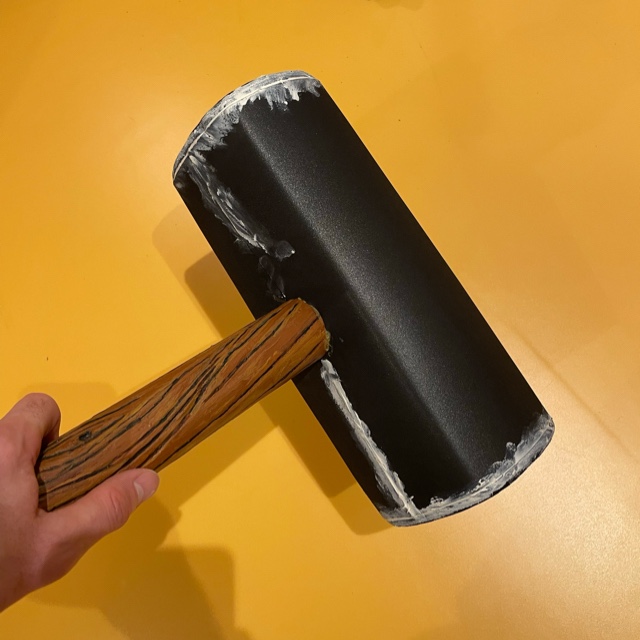
Hammer and Sword
Tickets are free and available now, the show runs from 17th July until 20 October in Croydon in South London. It’s approximately a 10-12 minute walk from either West Croydon or East Croydon train stations.
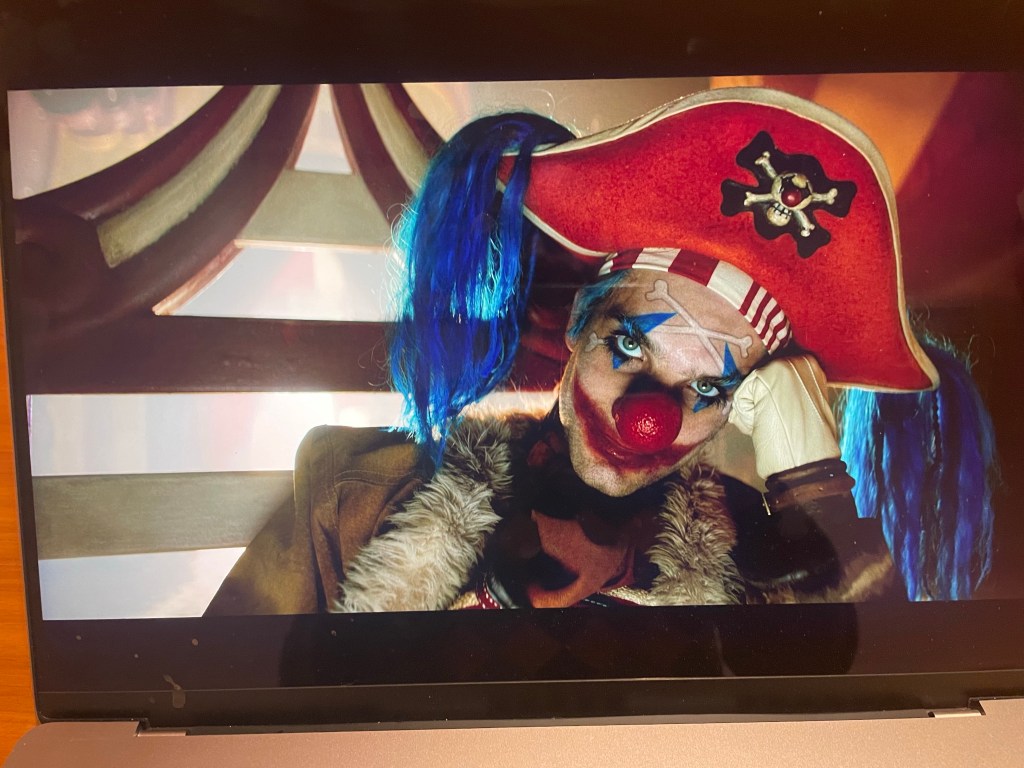
I was all set to be Buggy from Onepiece, but life intervened and took me in a different direction. The clown pirate will return, probably in October or around season 2 of onepiece.
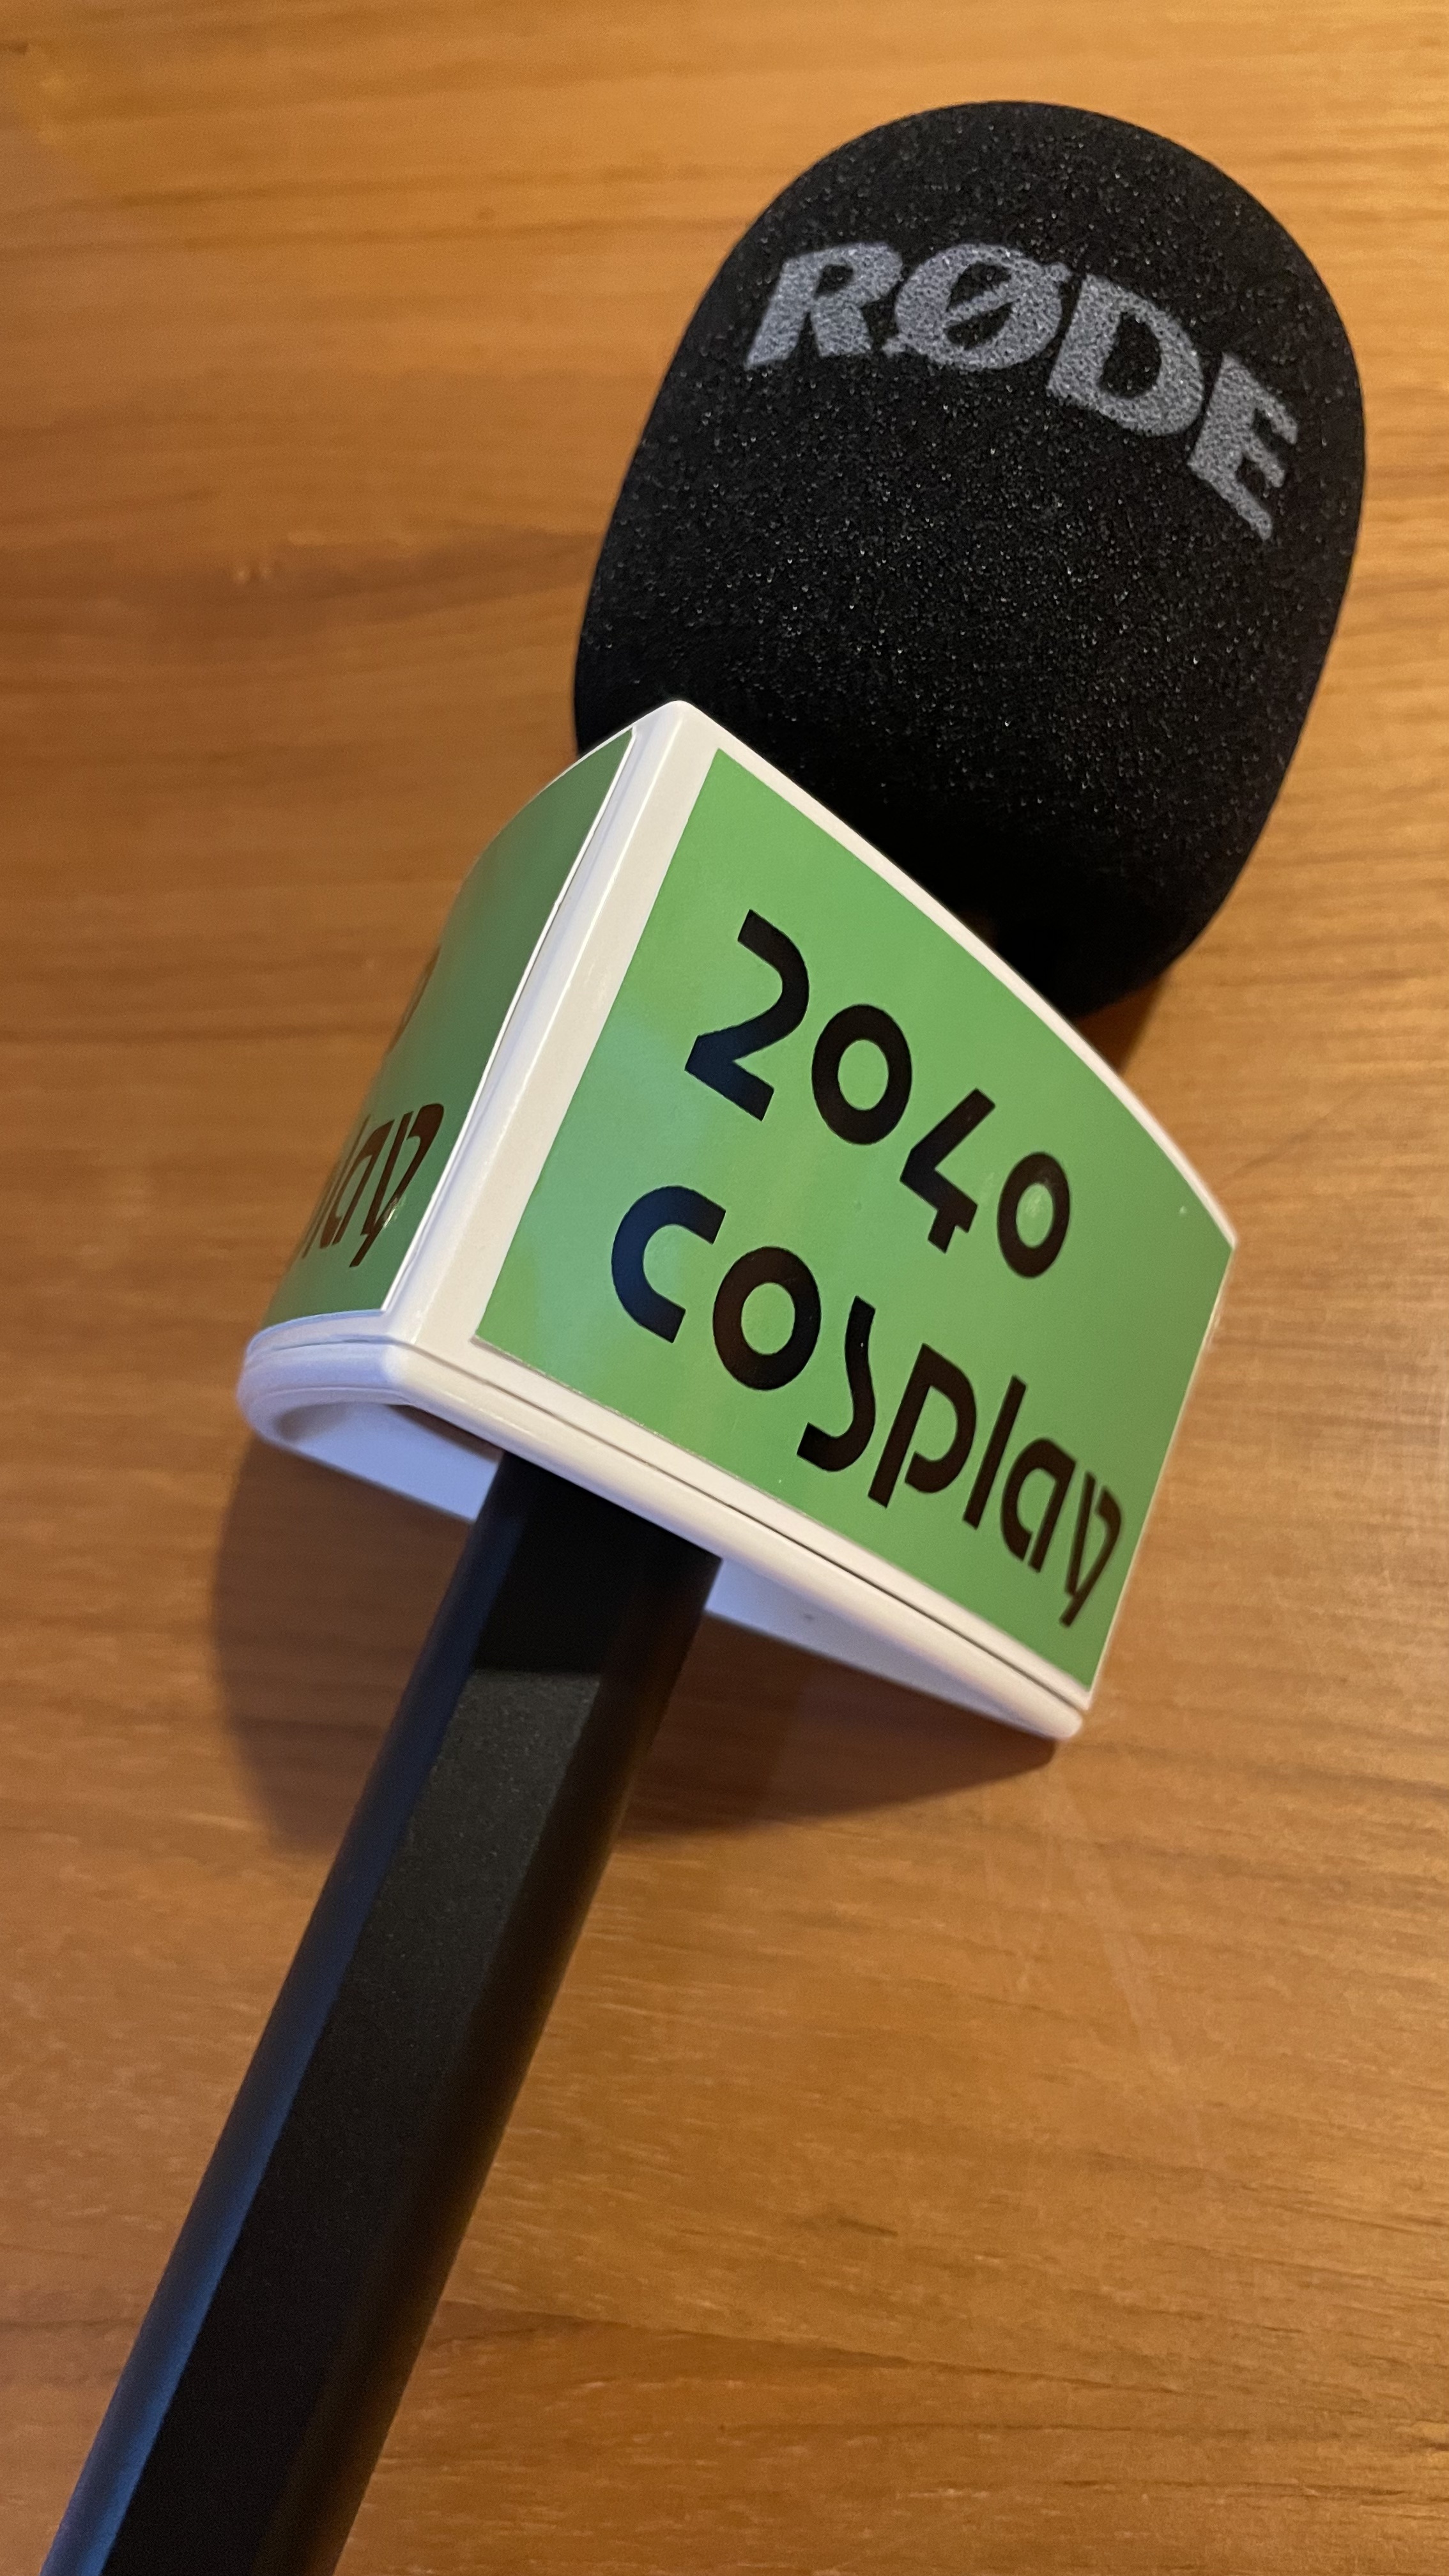
So this comic-con I’ll be playing a combination of the war journalists Lee and Joel from Alex Garland’s 2024 film Civil War. I’m in the process of setting up a youtube channel for both here and 2040cosplay, so I have a nice new camera for that. I intend to cover costumes, code and components and shoot more of the making of things, rather than write up once it is made.
I think I can play a sort of Lee as photographer with Joel as audio journalist cross with my youtube channel. We’ll see how it works.
My plan on Saturday is to walk the floors (searching for the President) and interview lots of people, then edit and post a compilation of the people I met at comic-con.
Should be fun, find me with the 2040cosplay mic flag.
I’ve just written about max’s hammer and wanted to introduce a technique from my day job to assess how that prop build went. These are called retros, short for retrospective. We regularly do a team retrospective in my work to assess how we are working and change or improve things which are not going well, as well as celebrate things which are working. A retro is a good way of improving your own ways of working or evolving your cosplay practice.
Applying this approach to cosplay means doing this after the con / photoshoot and taking some time to reflect on how the overall build experience felt. The basic approach is to assess what you did and what the outcome of that activity was. Did it work well, was there anything you would do differently next time? Then assess each element of the prop or costume to see could it be improved or did you start in completely the wrong place and still succeed!
We did this between us once the dust had settled after the Leo Valdez cosplay and before we started on the sword build for Razor.
I want to apply the same retro ideas to cosplay. There are many formats for an agile team retrospective from “Sad, mad and glad” to “stop, start and continue” and lots of others. Cosplay builds are often done on your own or maybe with one other person, so I’ll use Liked, Learned, Lacked, Longed For (4Ls) as an approach here, as it is more process focused and softer in nature compared to “Stop, start and continue”.
Liked – foam is good to work with; acrylic paints are very usable; Mod Podge is effective as a primer; cosplay is fun, we’d do it again!
Learned – making wood handles which look realistic. prototyping with the paper templates for scale and using foam to mock up the squaricle design
Lacked – time, but I think this will always be true; making decisions on which character to cosplay early will give more time
Longed for – a painting and varnishing spray booth would be helpful; incorporating some lights and sounds into the props would be fun.
Retro outcomes – Having run the retro we kept the prototyping approach and decided on characters by January for the following May Comic-con. We largely stuck with foam and acrylic paints as build materials. I’d use the pin based approach to transfer wood patterning again.
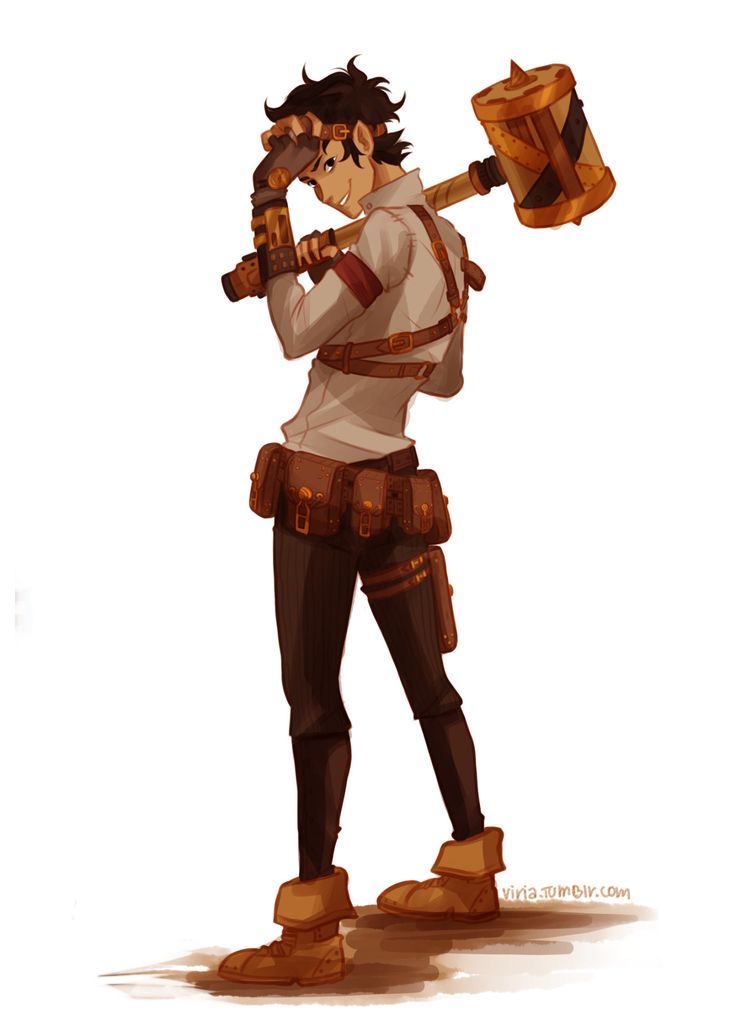
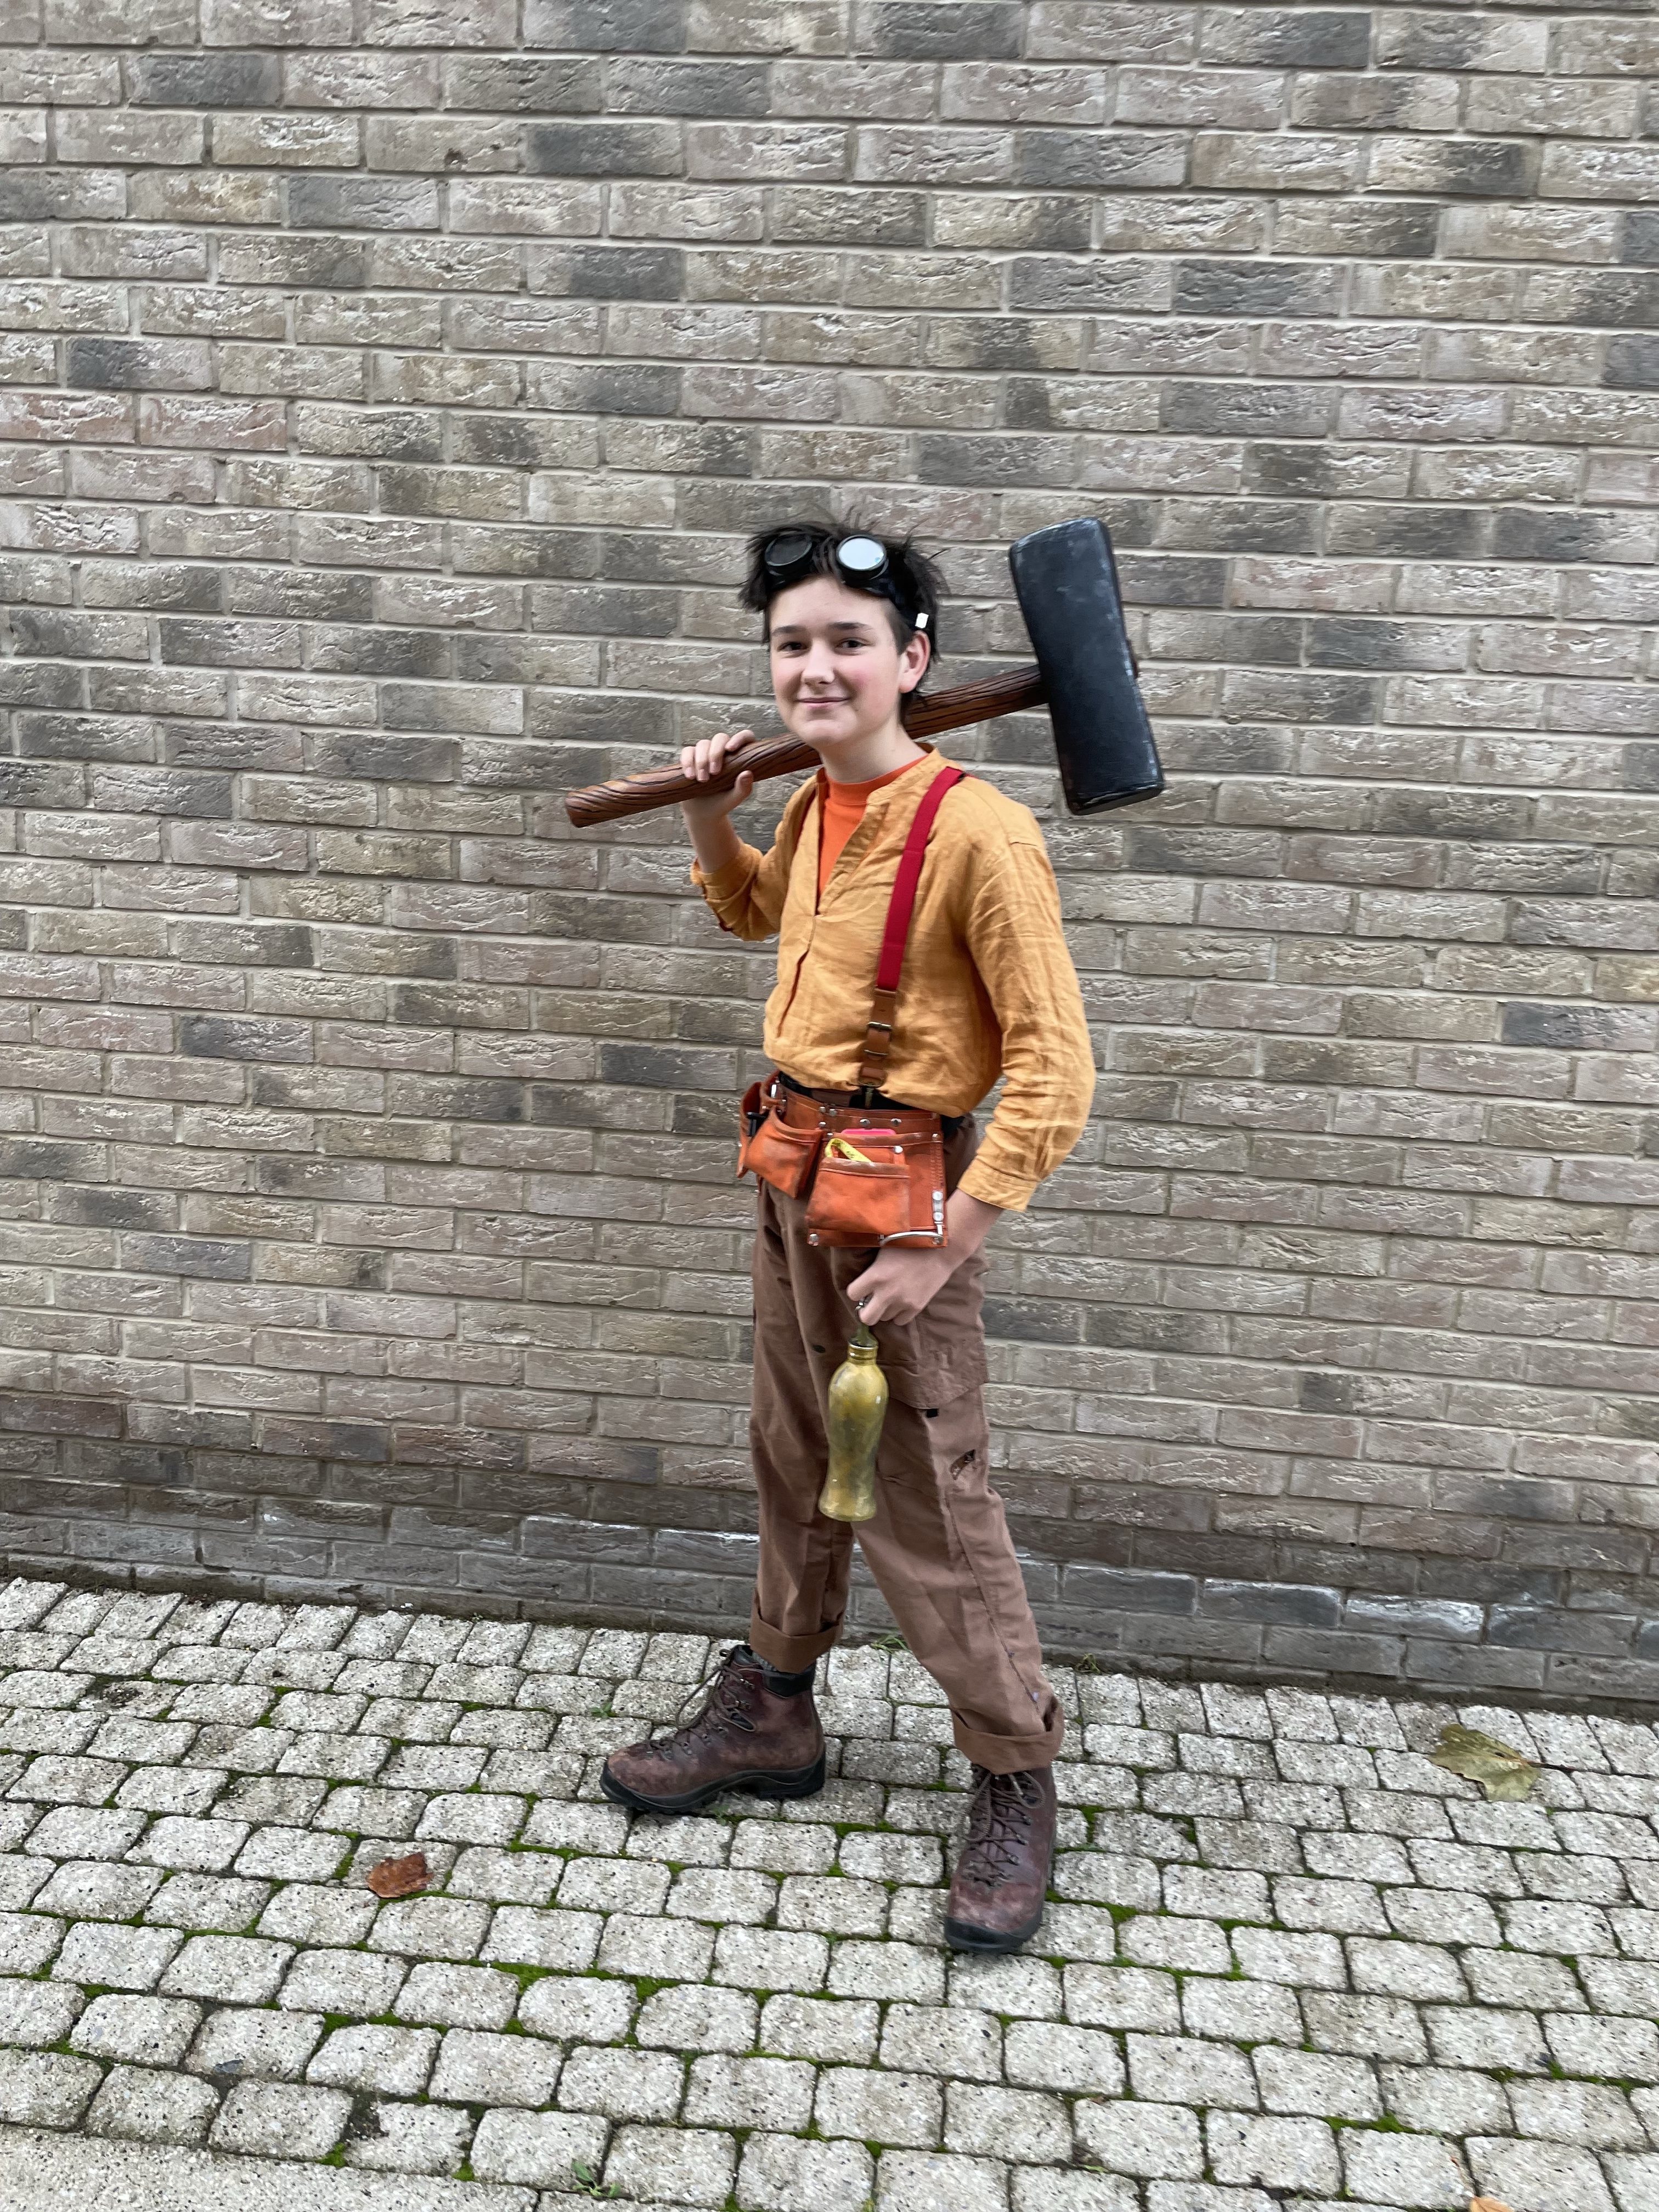
Max read the Percy Jackson books and keen on the idea of being one of the characters for his first cosplay. Leo Valdez was the character Max wanted to be.
The primary prop was a big forge hammer. We made it mainly from EVA foam and it was a fun build. Two things I will highlight is the wooden handle technique and how to create the squaricle hammer head shape. UPDATE: plans are now on Etsy for £6 including detailed instructions.
forge hammer
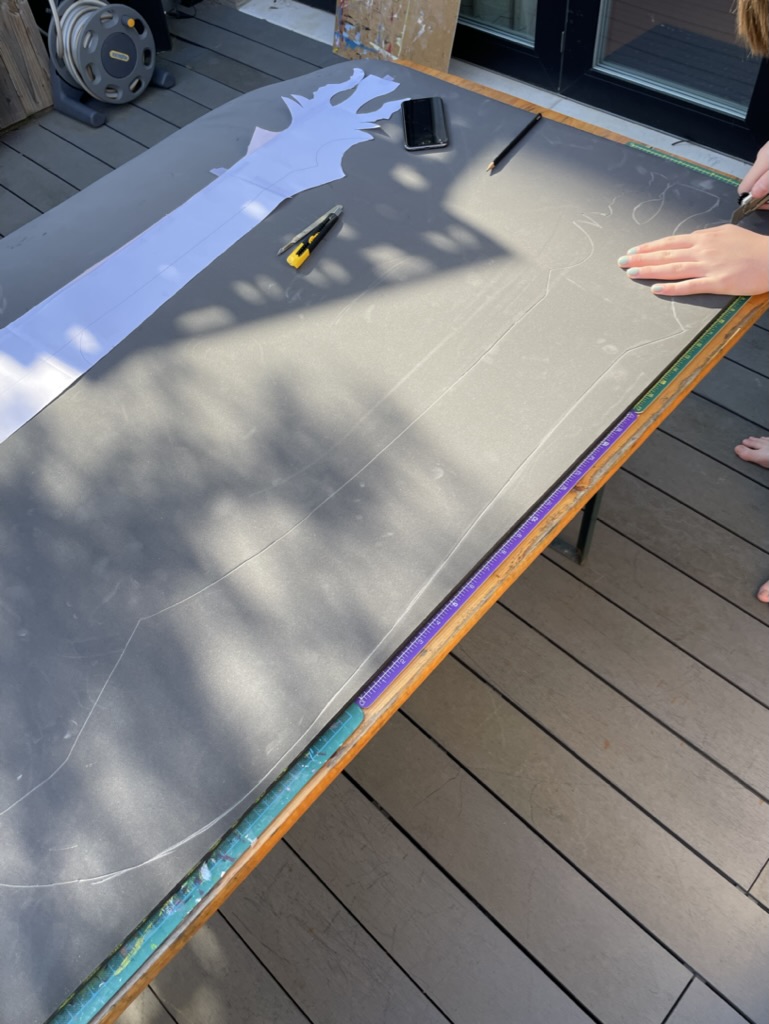
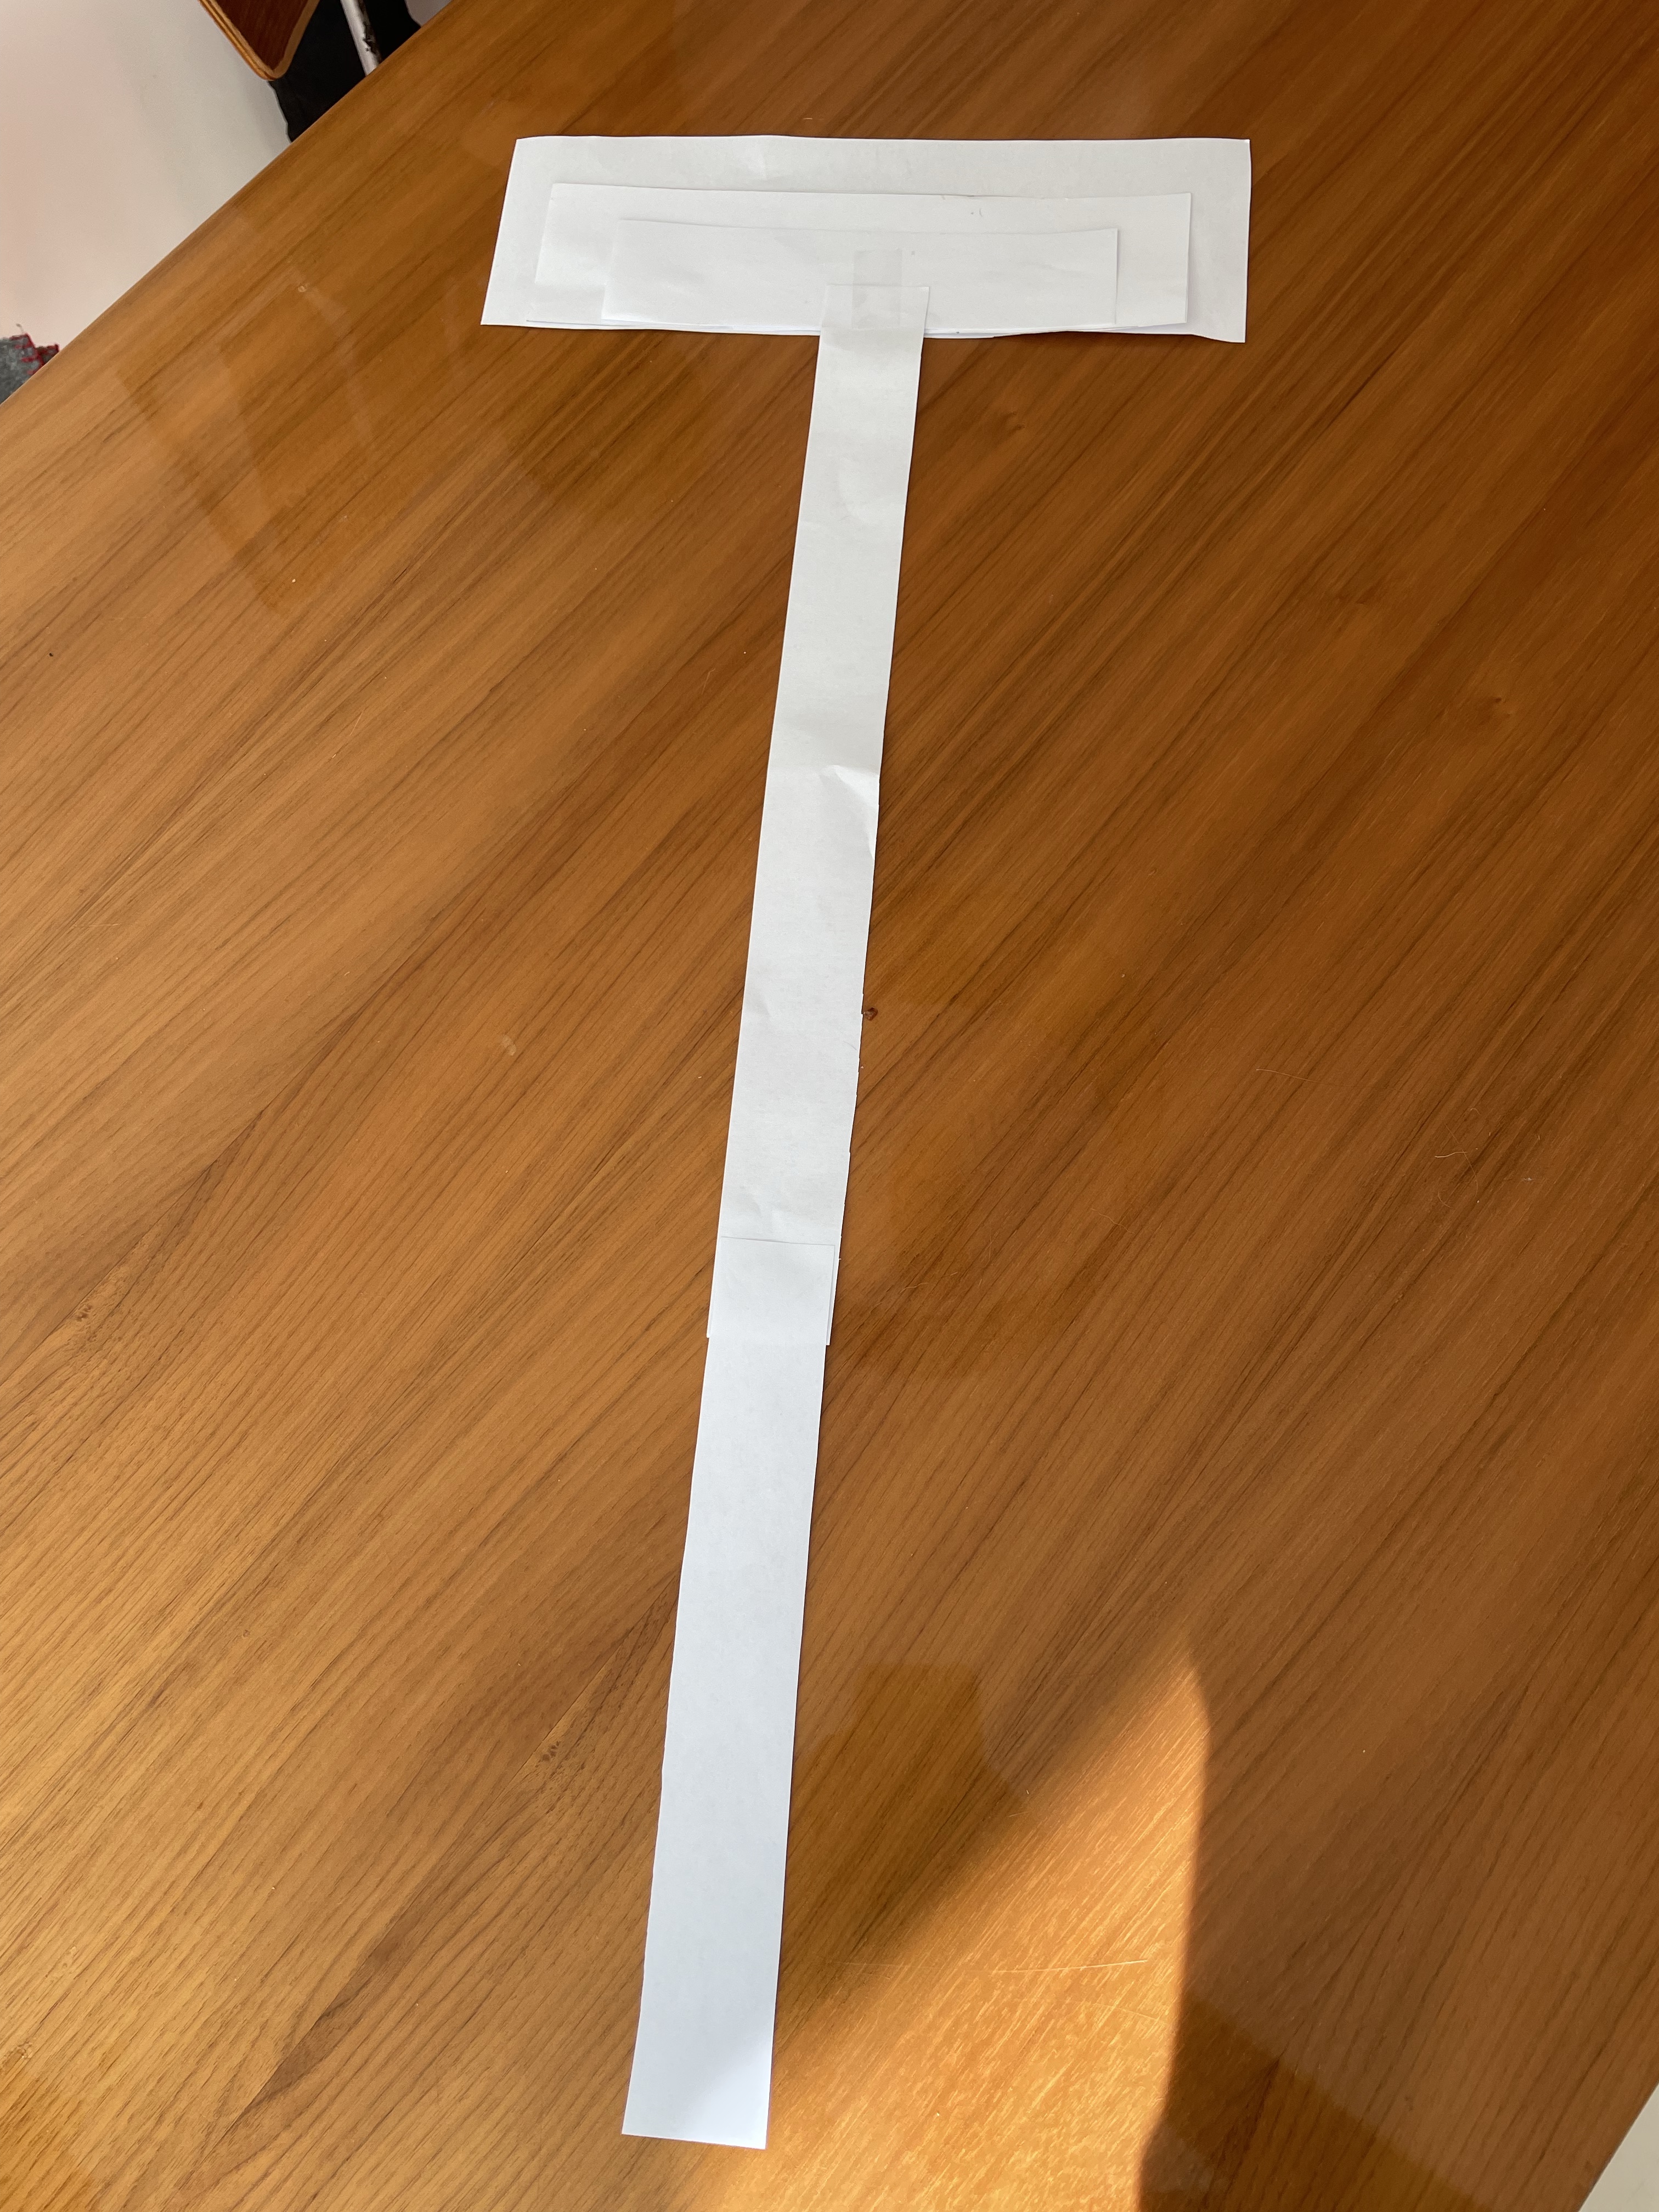
Firstly to get the right sense of scale, we started with a regular sledgehammer from amazon, biggest one we could find, which was 16lbs, over 7kg. Then made a paper plan of that and gradually scaled it up to a suitably heroic scale. We got Max to hold it to check sizing and went for the largest of the three templates below.
The hammer head ended up being larger than Max’s head, but it looked great and he got quite a few complements.
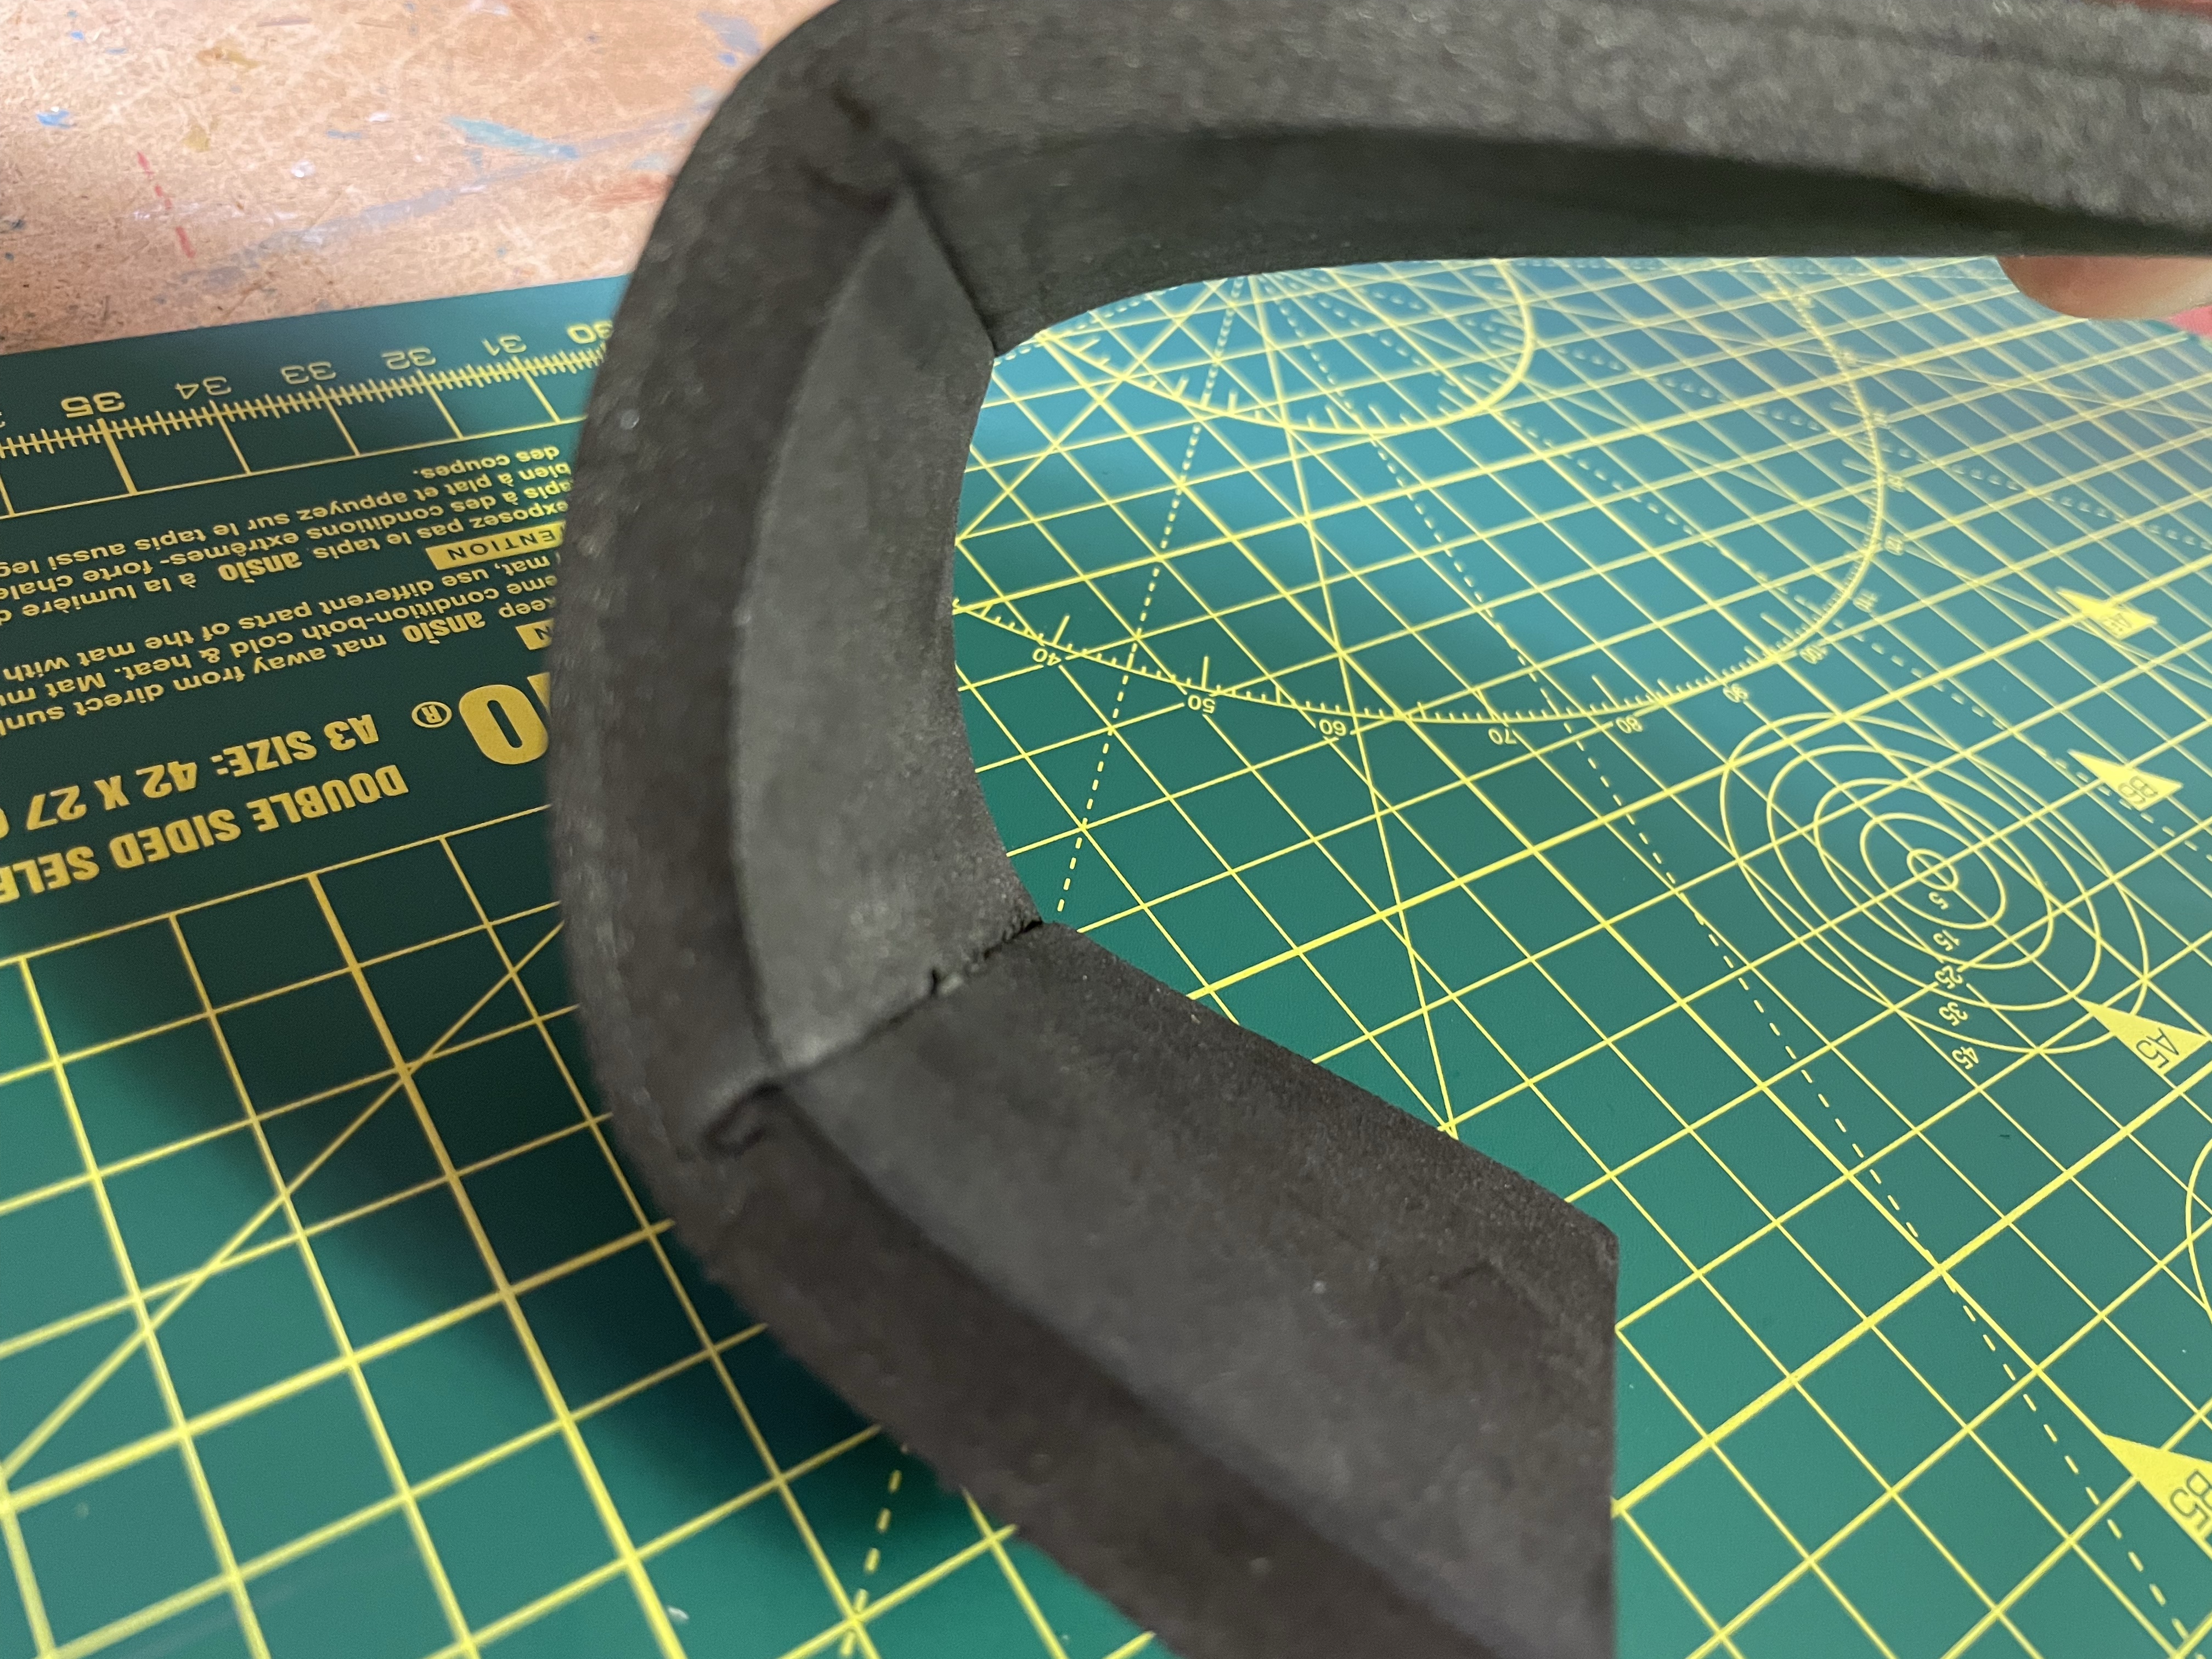
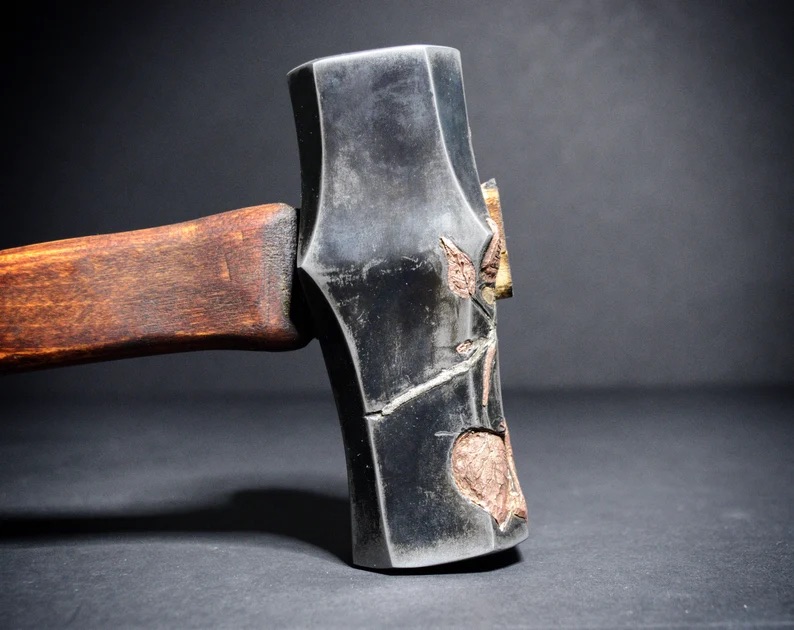
To get the hammer head right shape we looked at blacksmiths forging hammers, like this one from etsy. A lot of templates for cosplay hammers use individual panels to create the hammer head, but using one piece of foam made the hammer feel more like a tool. No seams showing or joins in the foam.
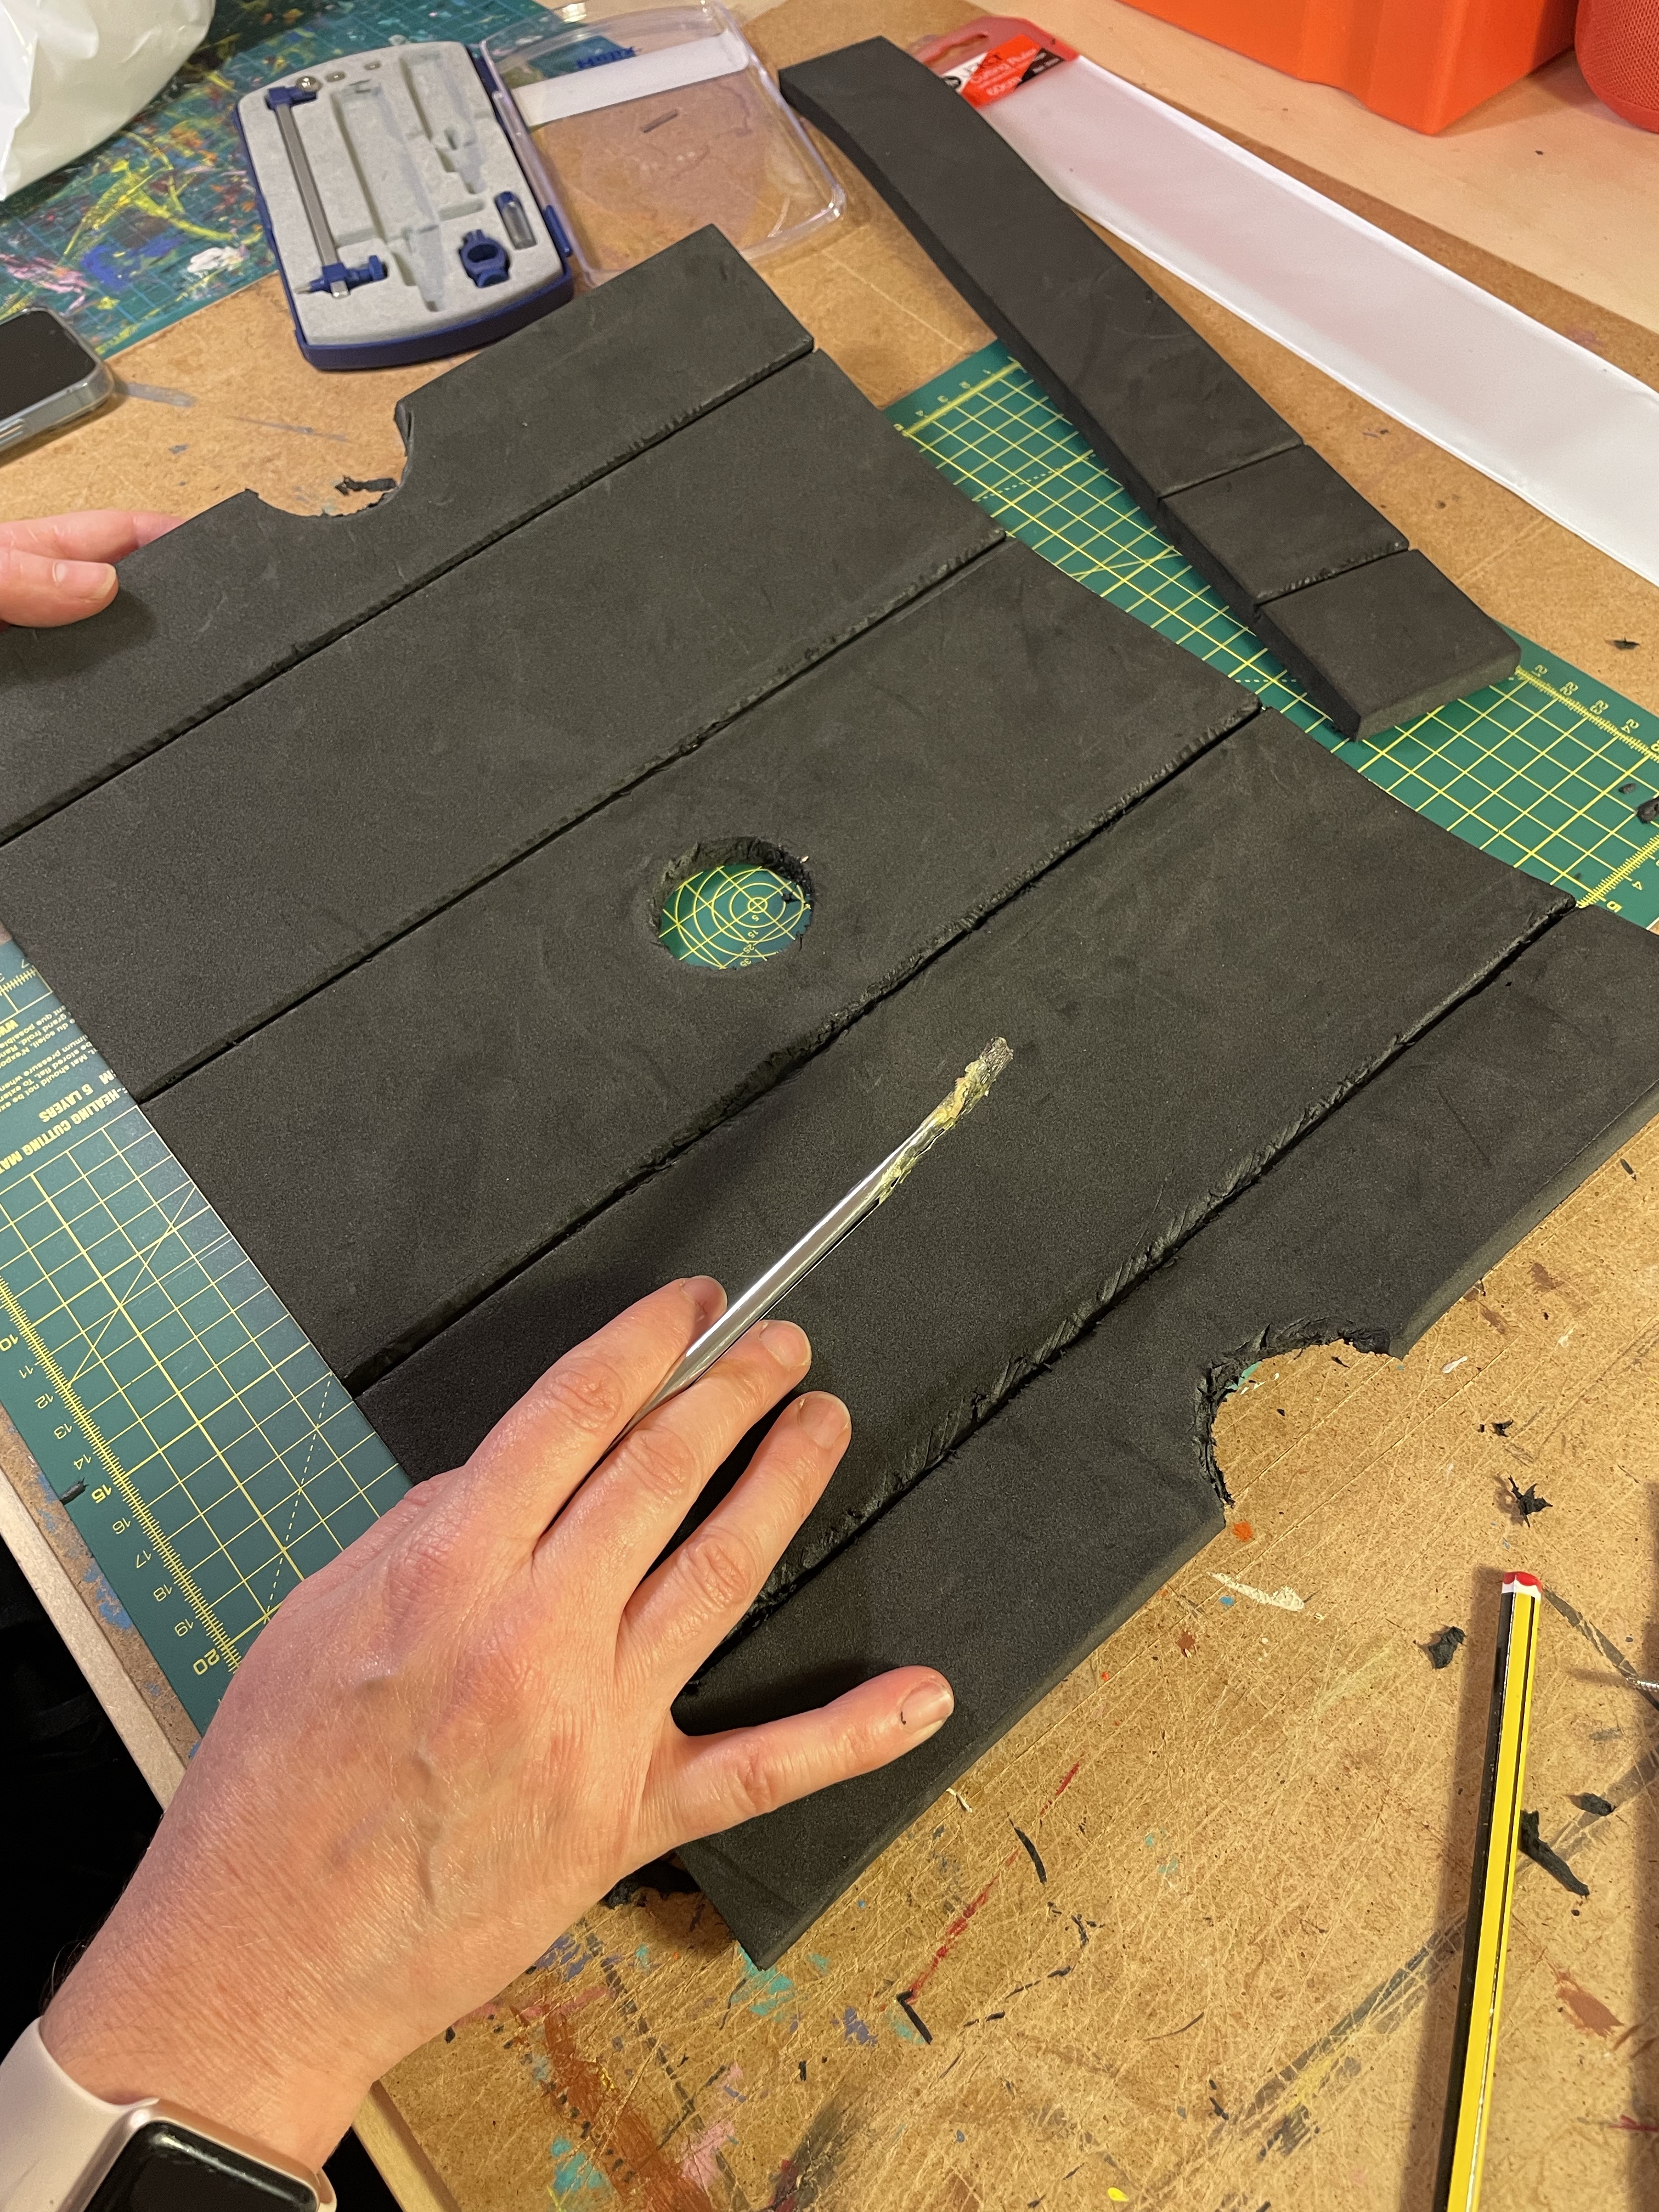
The template meant each side was about 10cm in size, so we cut a single piece of 10mm eva foam and then cut a v-shaped section out of the foam to allow it to fold and have nearly 90 degree angles. You can see the test strip we did the initial prototyping on above the flattened out hammer head. Contact adhesive (I like Alpha Thixofix) helped the foam take its shape and then affixed it to the handle.
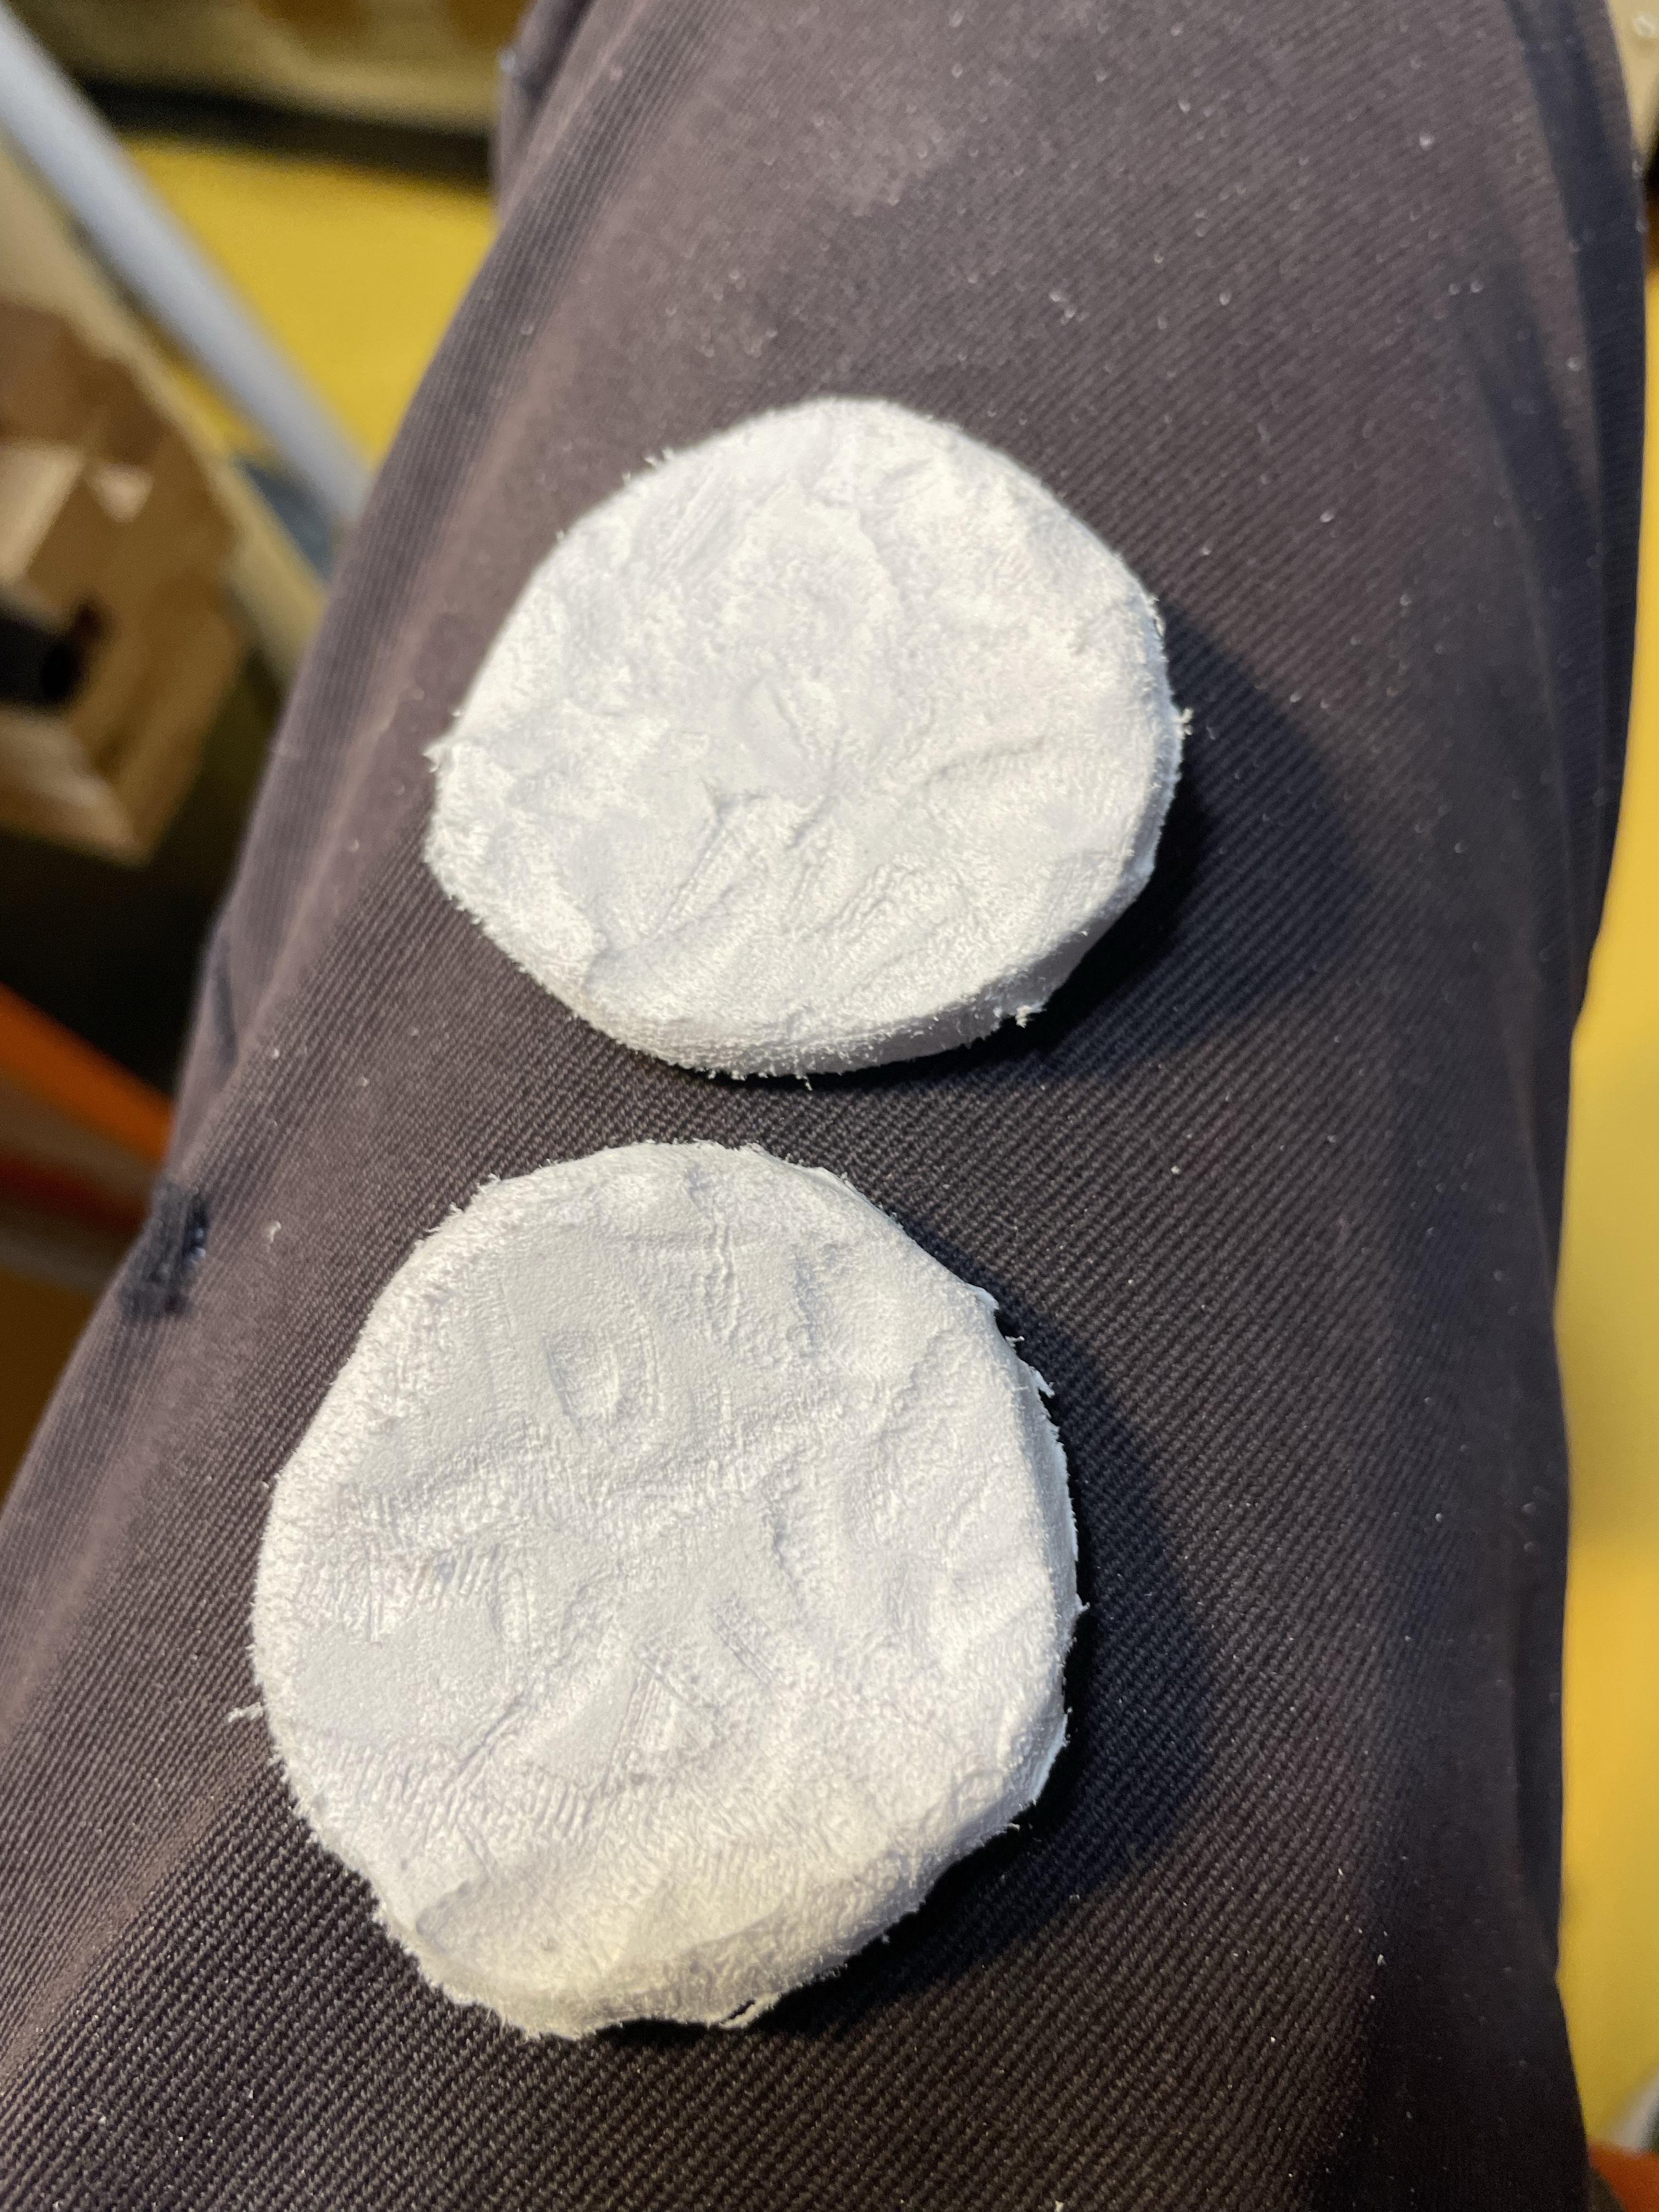
We added a second layer of foam inside the head to make the connection area between the head and the handle larger. The last part of the hammer head were the faces for the hammer and the ends of the handle, the photo below is the top and bottom of the handle before heat-treating, priming and painting.
You can see the hammer head taped up and curing in the photo below.
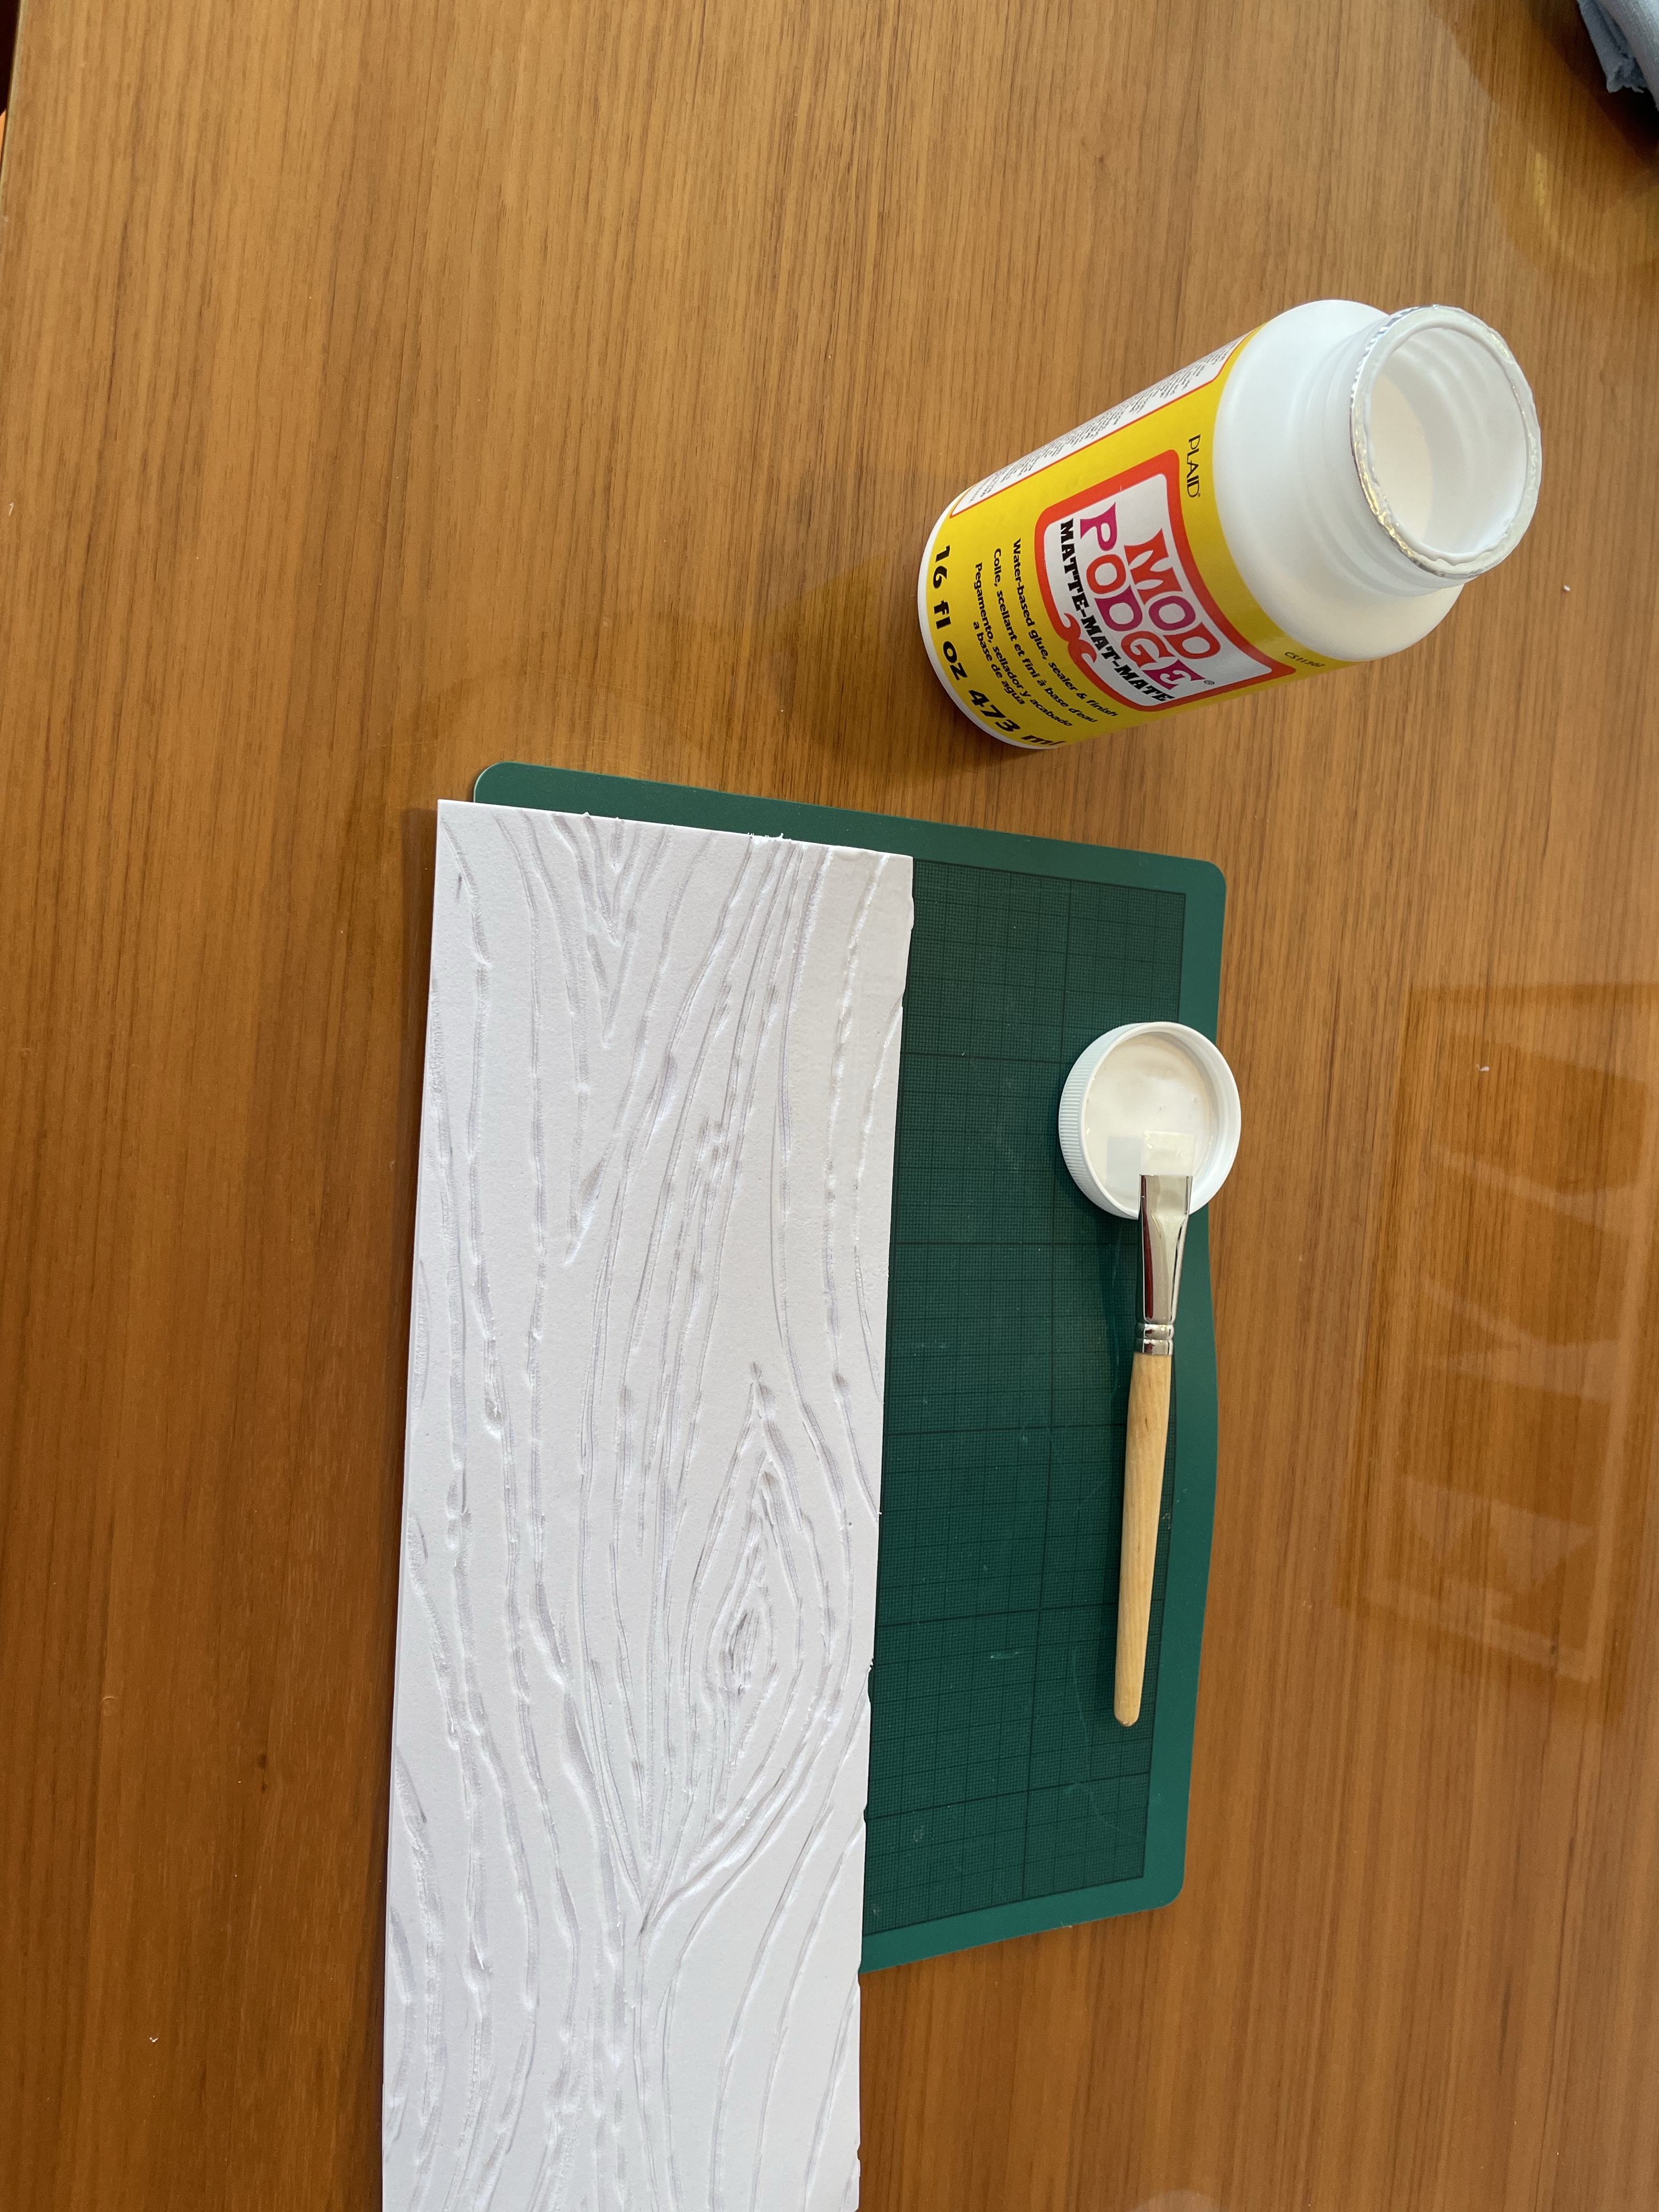
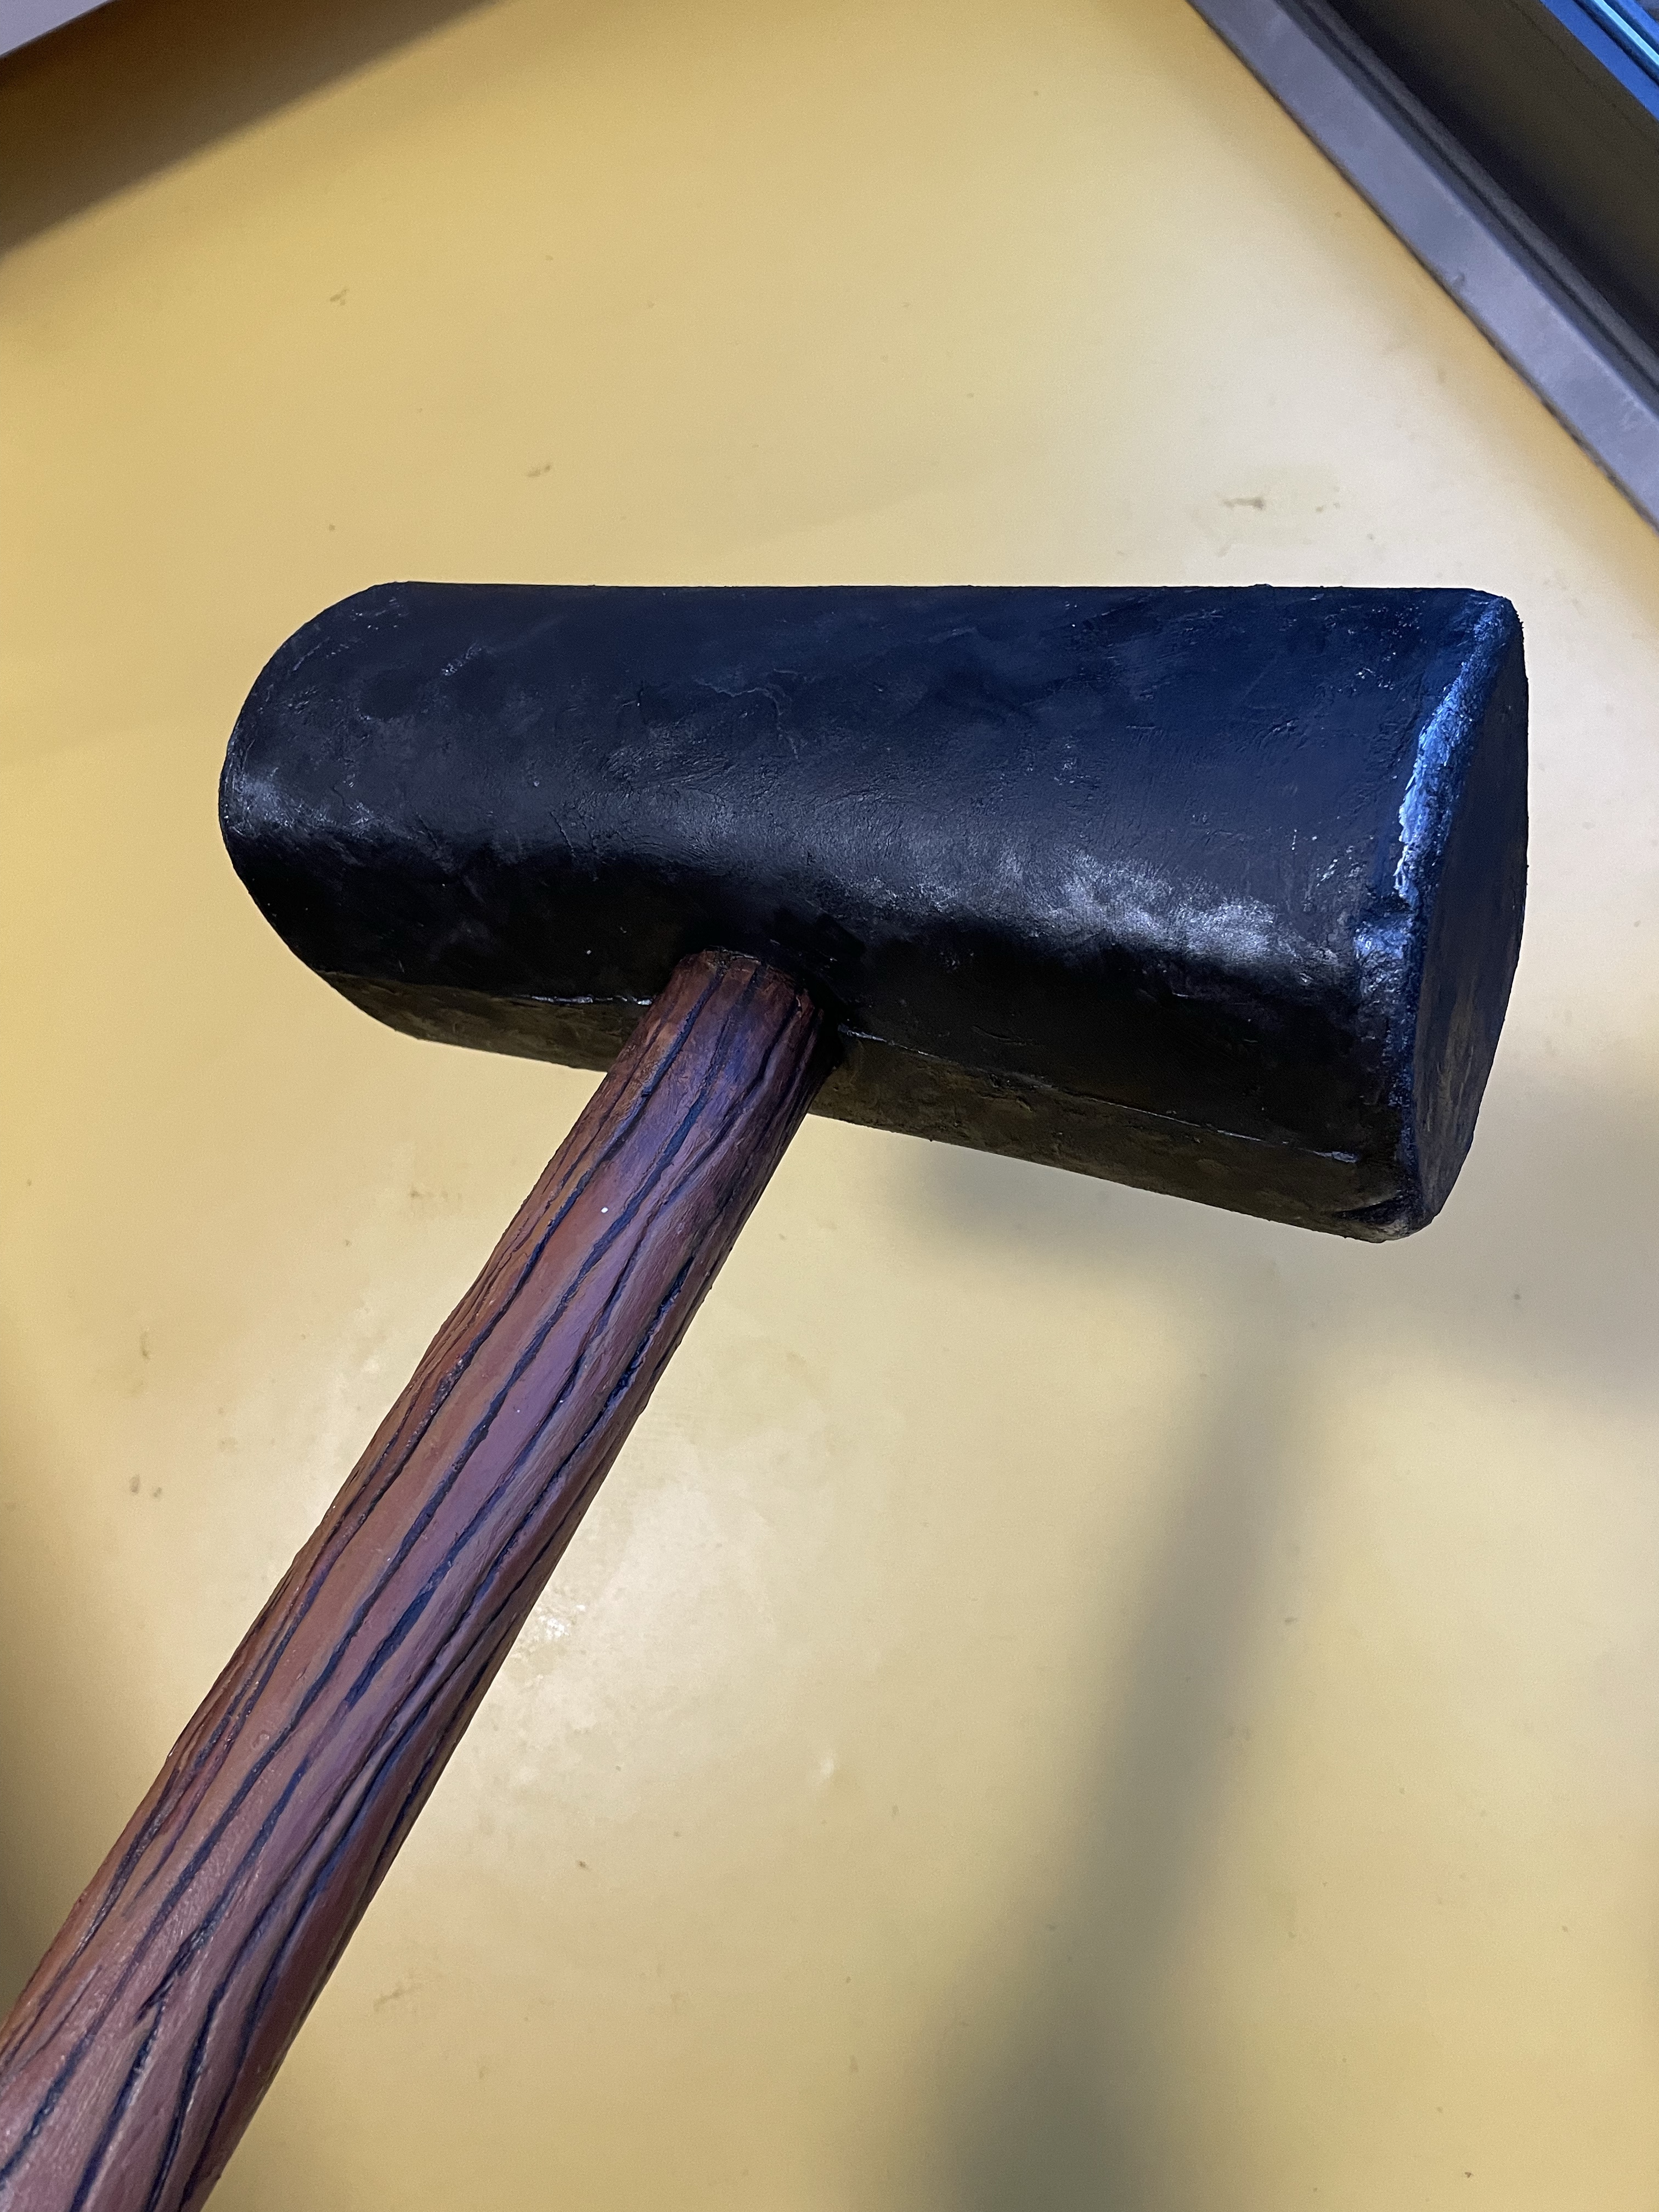
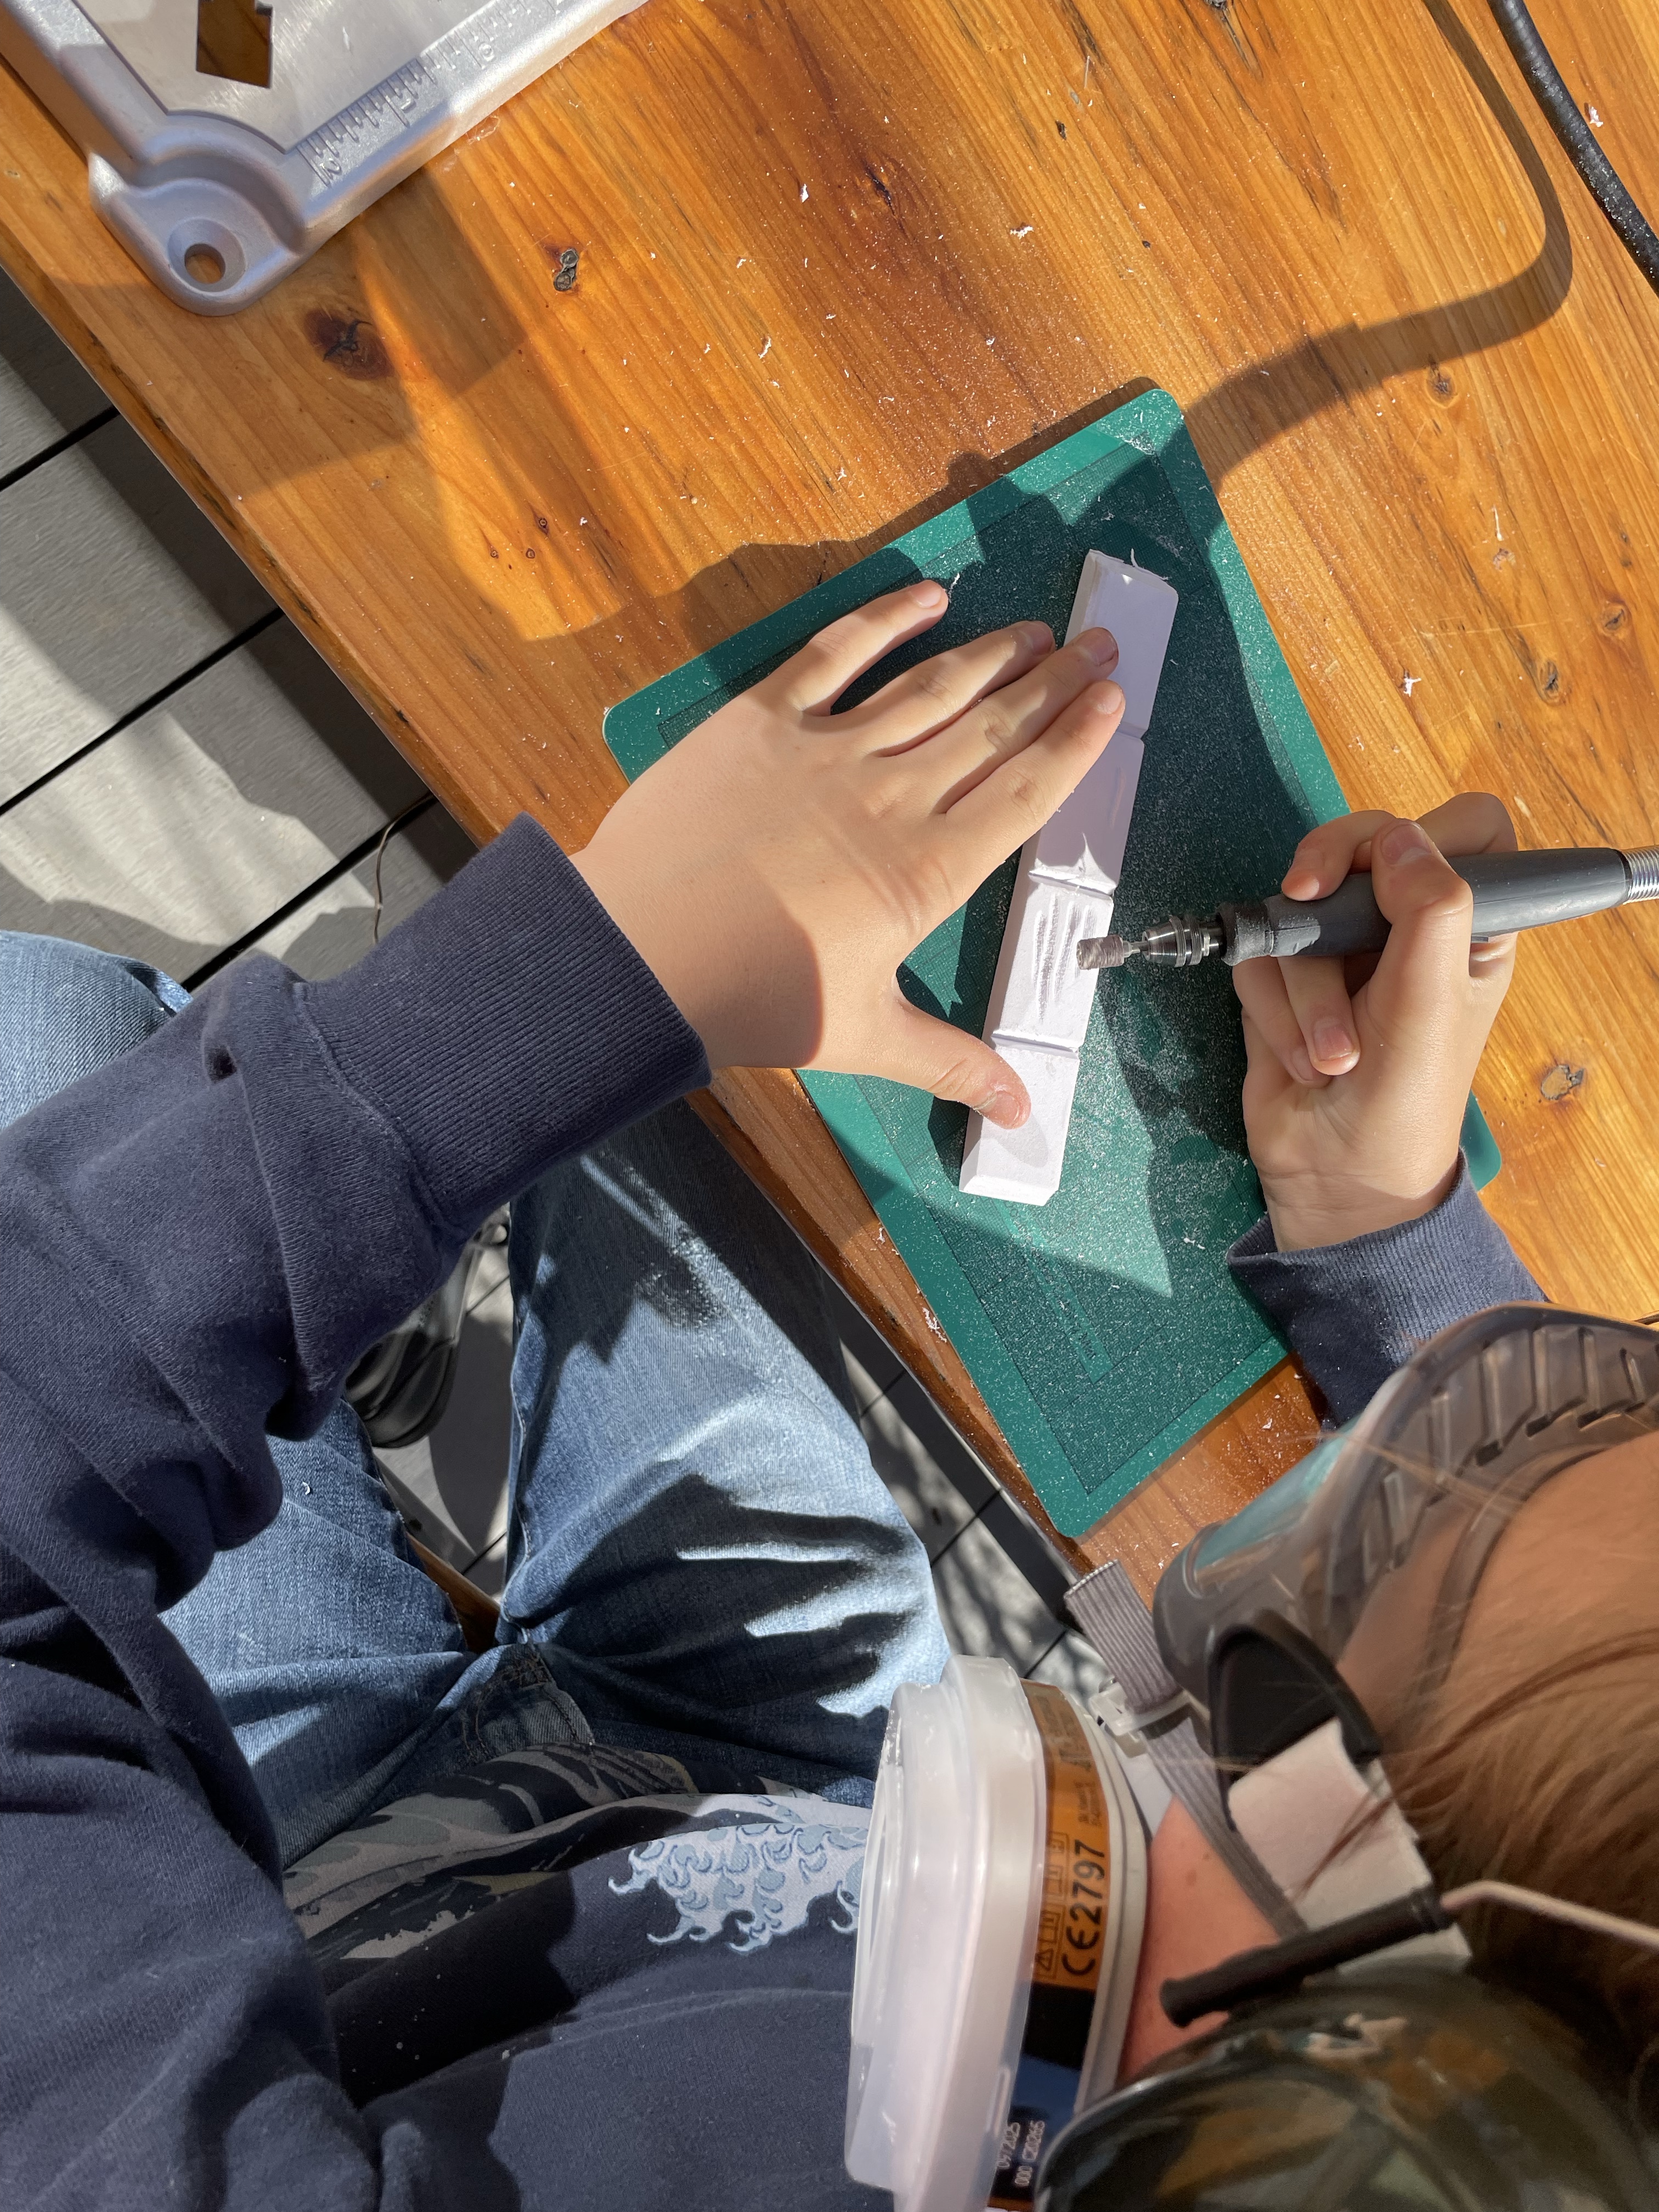
The handle was a piece of plastic pipe which was wrapped in foam. Max did an excellent job of mapping wood grain onto the handle and then carving it with a dremel. The snake handle or Flexible Shaft Attachment is essential for carving EVA foam, it makes the work less tiring, as it is easier to hold. Some safety kit, as you can see in the photos is important too. A set of sealed eye goggles, some breathing kit with the dust and A2 vapour filters and some ear protectors will save your eyes, nose and lungs as well as your hearing from the dremel dust.
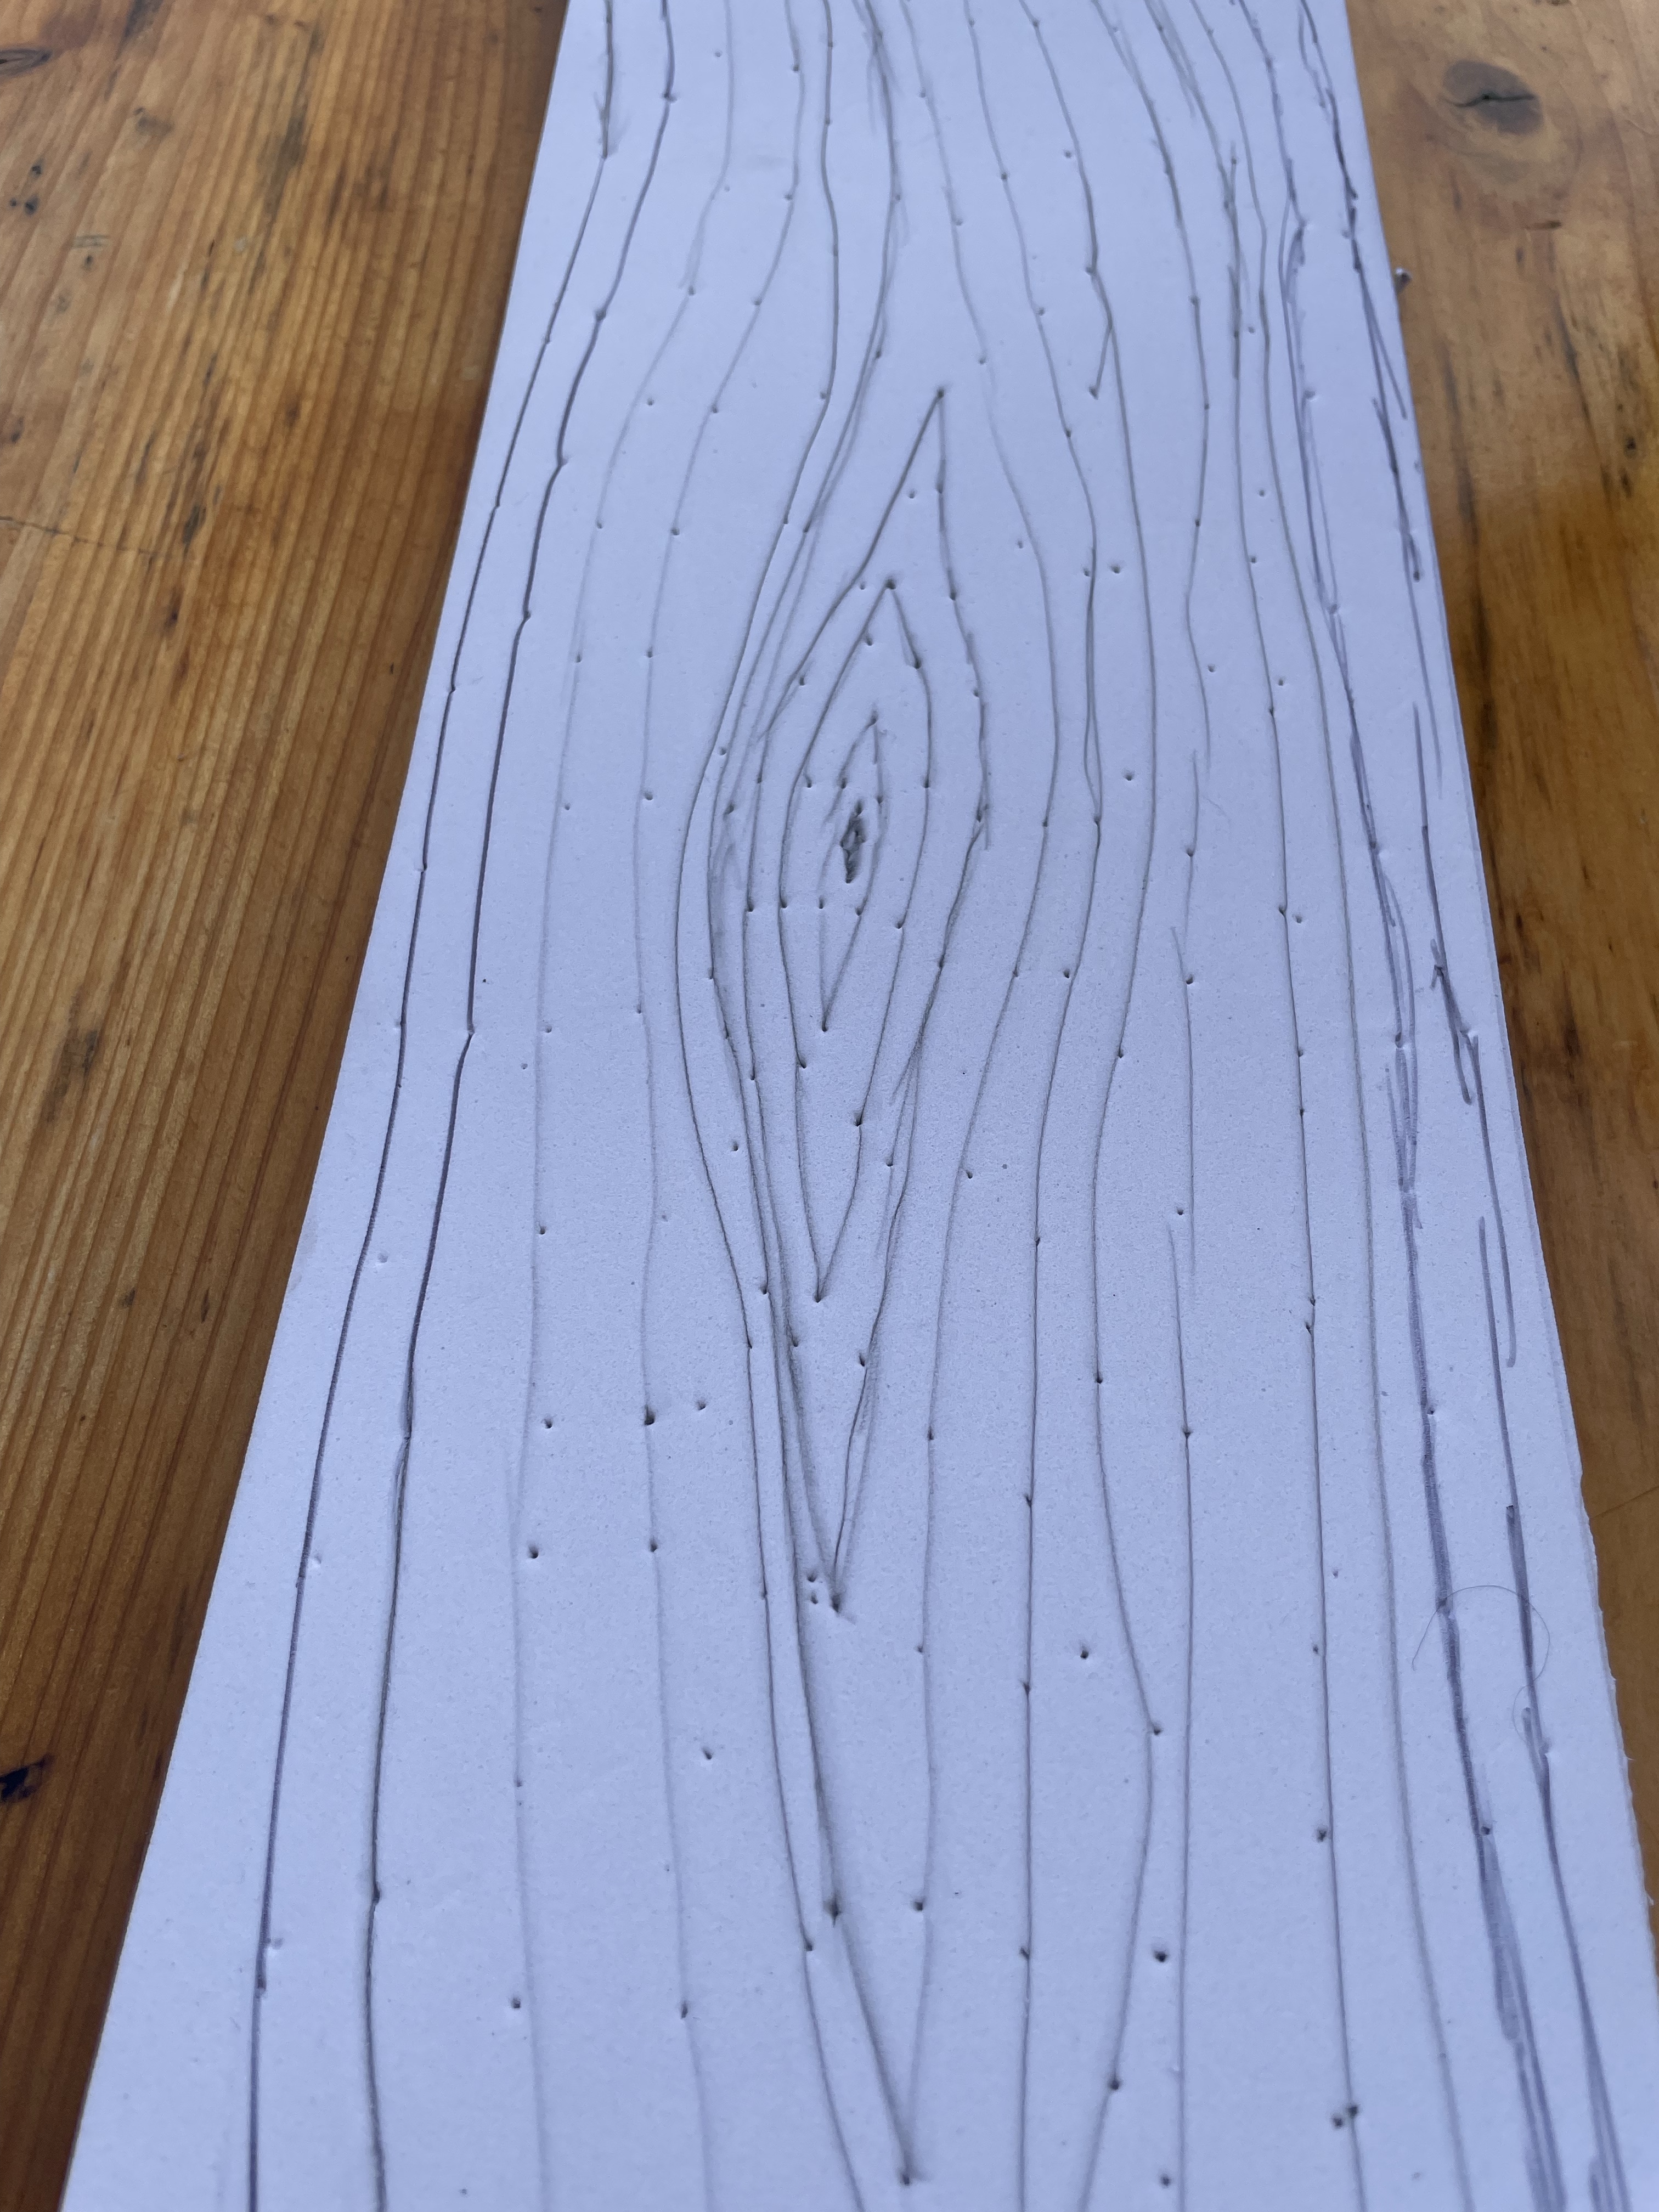
Testing out how to make wood grain
Mapping across the tracing of the wood grain before carving. Max used pins to transfer the tracing from paper onto the foam, which was really effective.
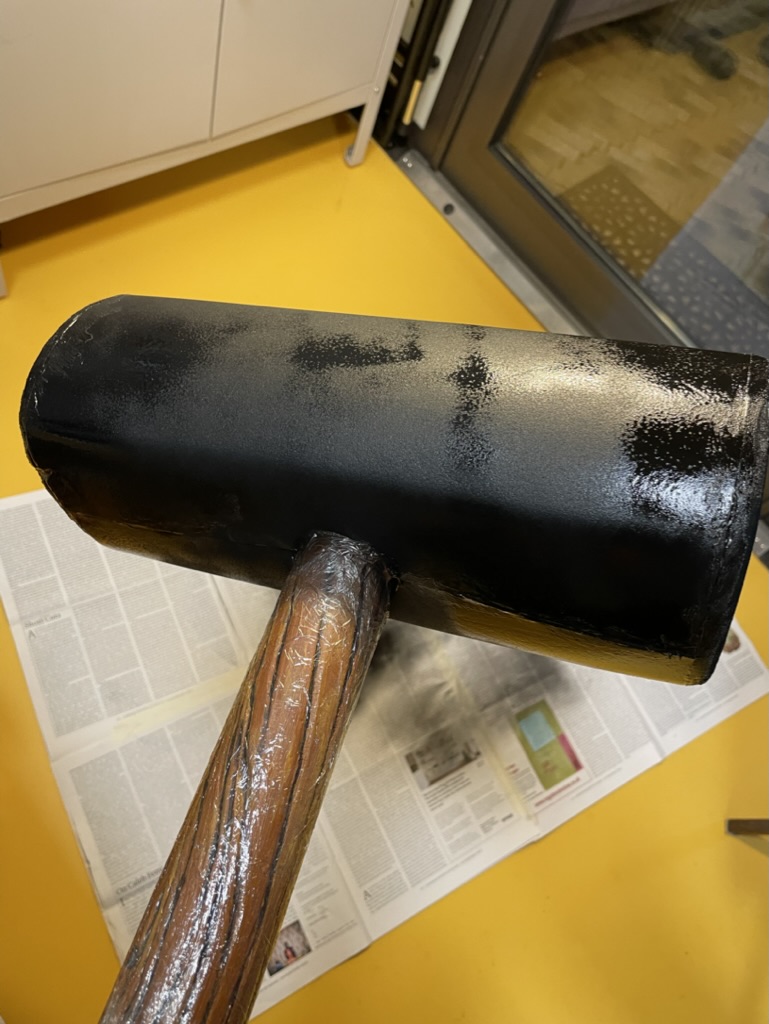
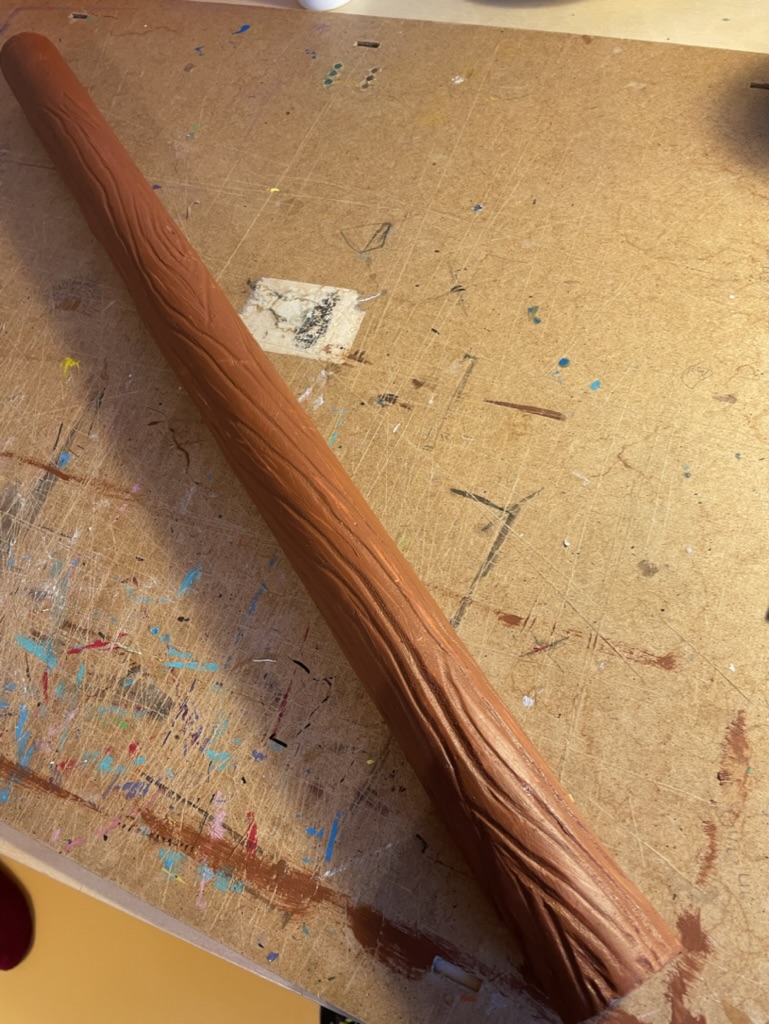
It then got painted and we stuck the handle onto the head of the hammer and added bit of aging to make it look less like it was just made. It would have been good to have more time to do the aging, but the hammer had a final coat of varnish the night before comic-con at 1am!
I was watching Adam Savage’s youtube video about the changes he’s made to his workshop. His is 450 sq feet and he’s added 600 to that, so maybe the overall space is 60 foot by 15 foot. That’s a big room. Svetlana Quindt / Kamuicosplay also has some amazing studio workshop walkthroughs including her new one in Portugal. Another one that is nearly 1000 sq ft. It’s great to see these big workshops for making things in for people who do it fulltime.
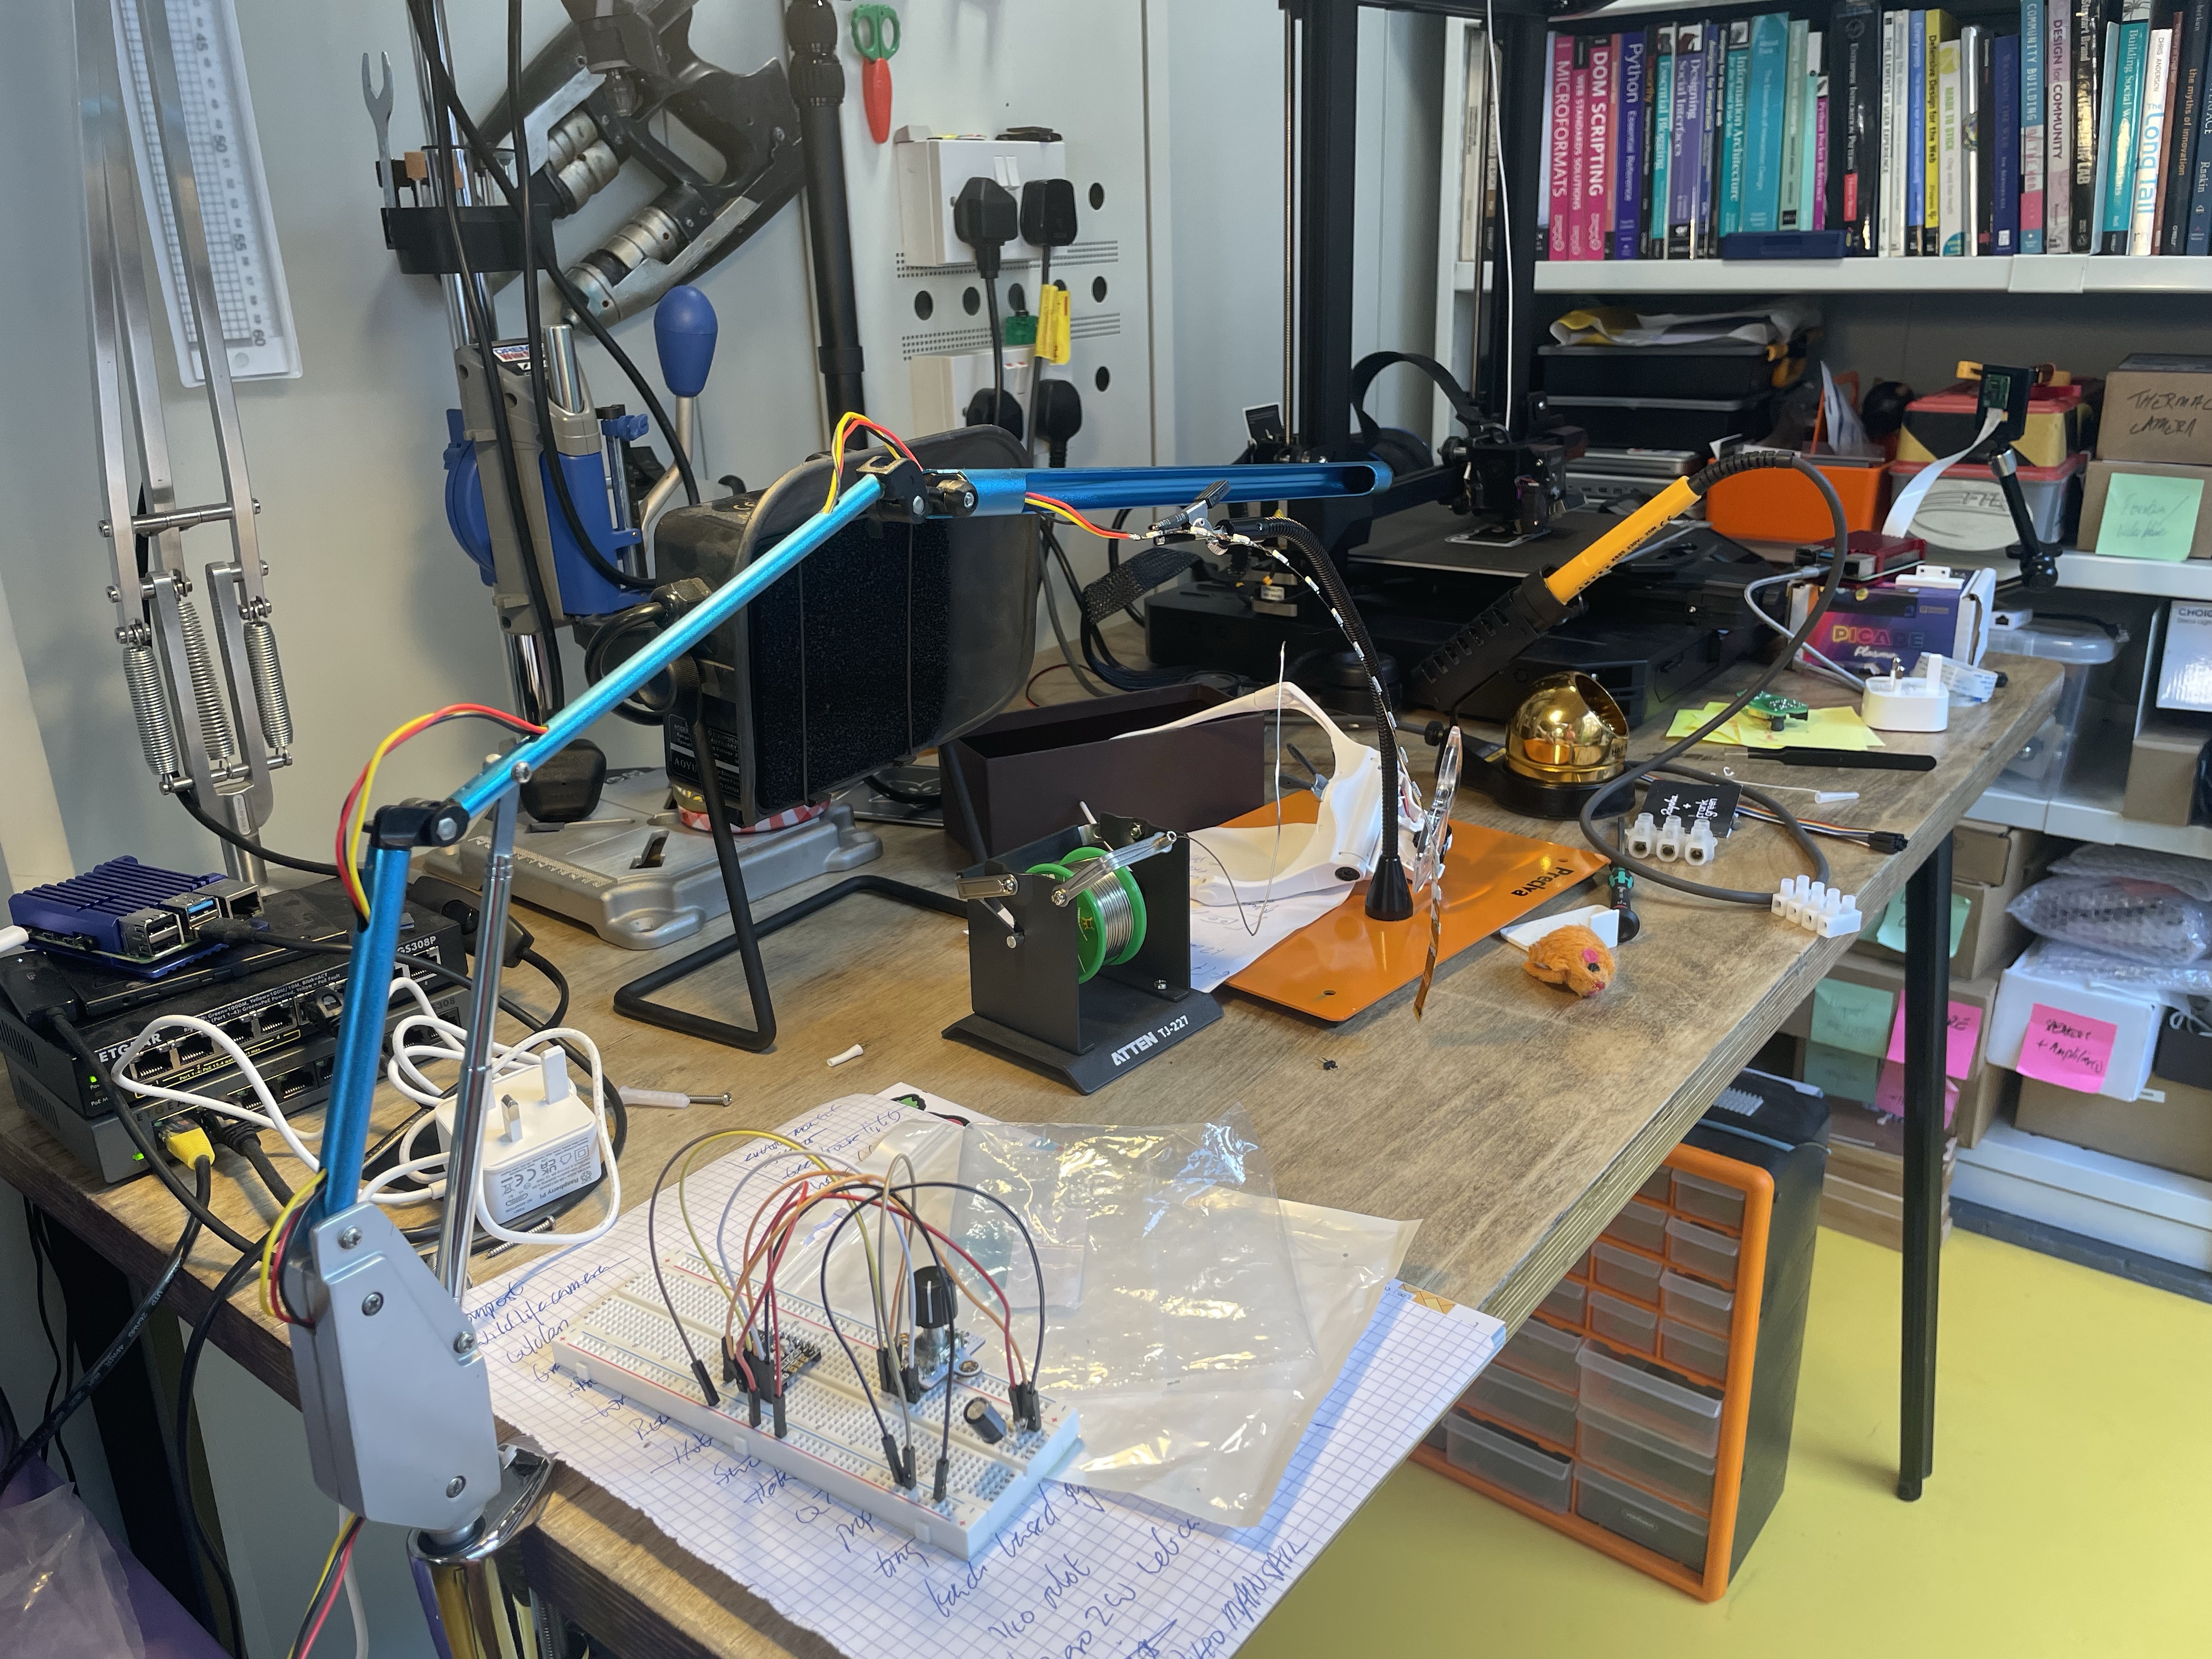
Mine workshop/studio/office is a shed in the garden, so it is also the place I do a lot of my day job too. It is 2 metres by 4 metres, but it’s my first workspace I have that’s just mine.
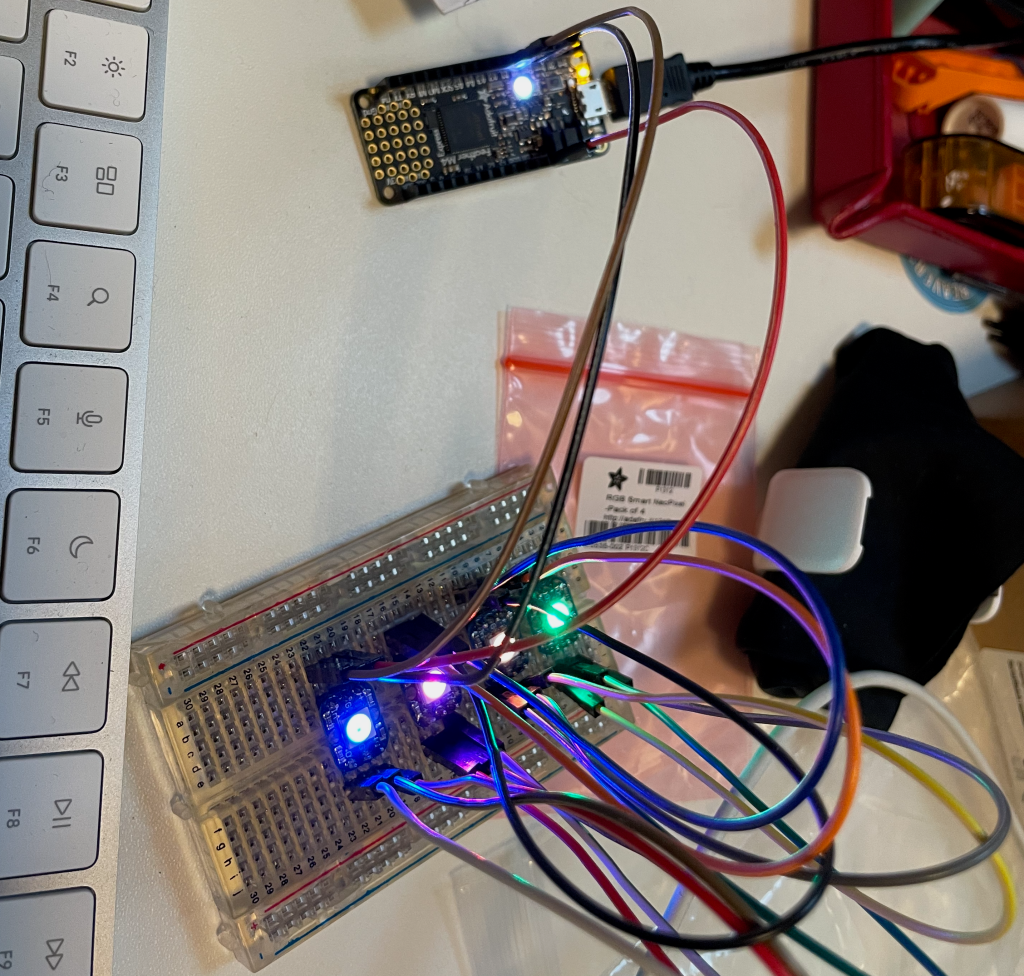
It’s changed again since I took that photo, the drill stand for the Dremel has moved to make way for a place to hook up raspberry pis with a monitor and keyboard.
A lot of the same decisions apply even in my smaller space. Which are the critical tools, which get to be out on the flat surfaces all the time? Which can’t be put away easily (3d printers don’t fold). Which finished projects get to stay out on display?
My workshop has changed a lot in the last year. A better table, which is more stable. Better arrangement for soldering and a realisation that I need a space to develop code which is on the making table, not on my work desk. The arrival of the 3d printer, which takes up quite a bit of the new table.
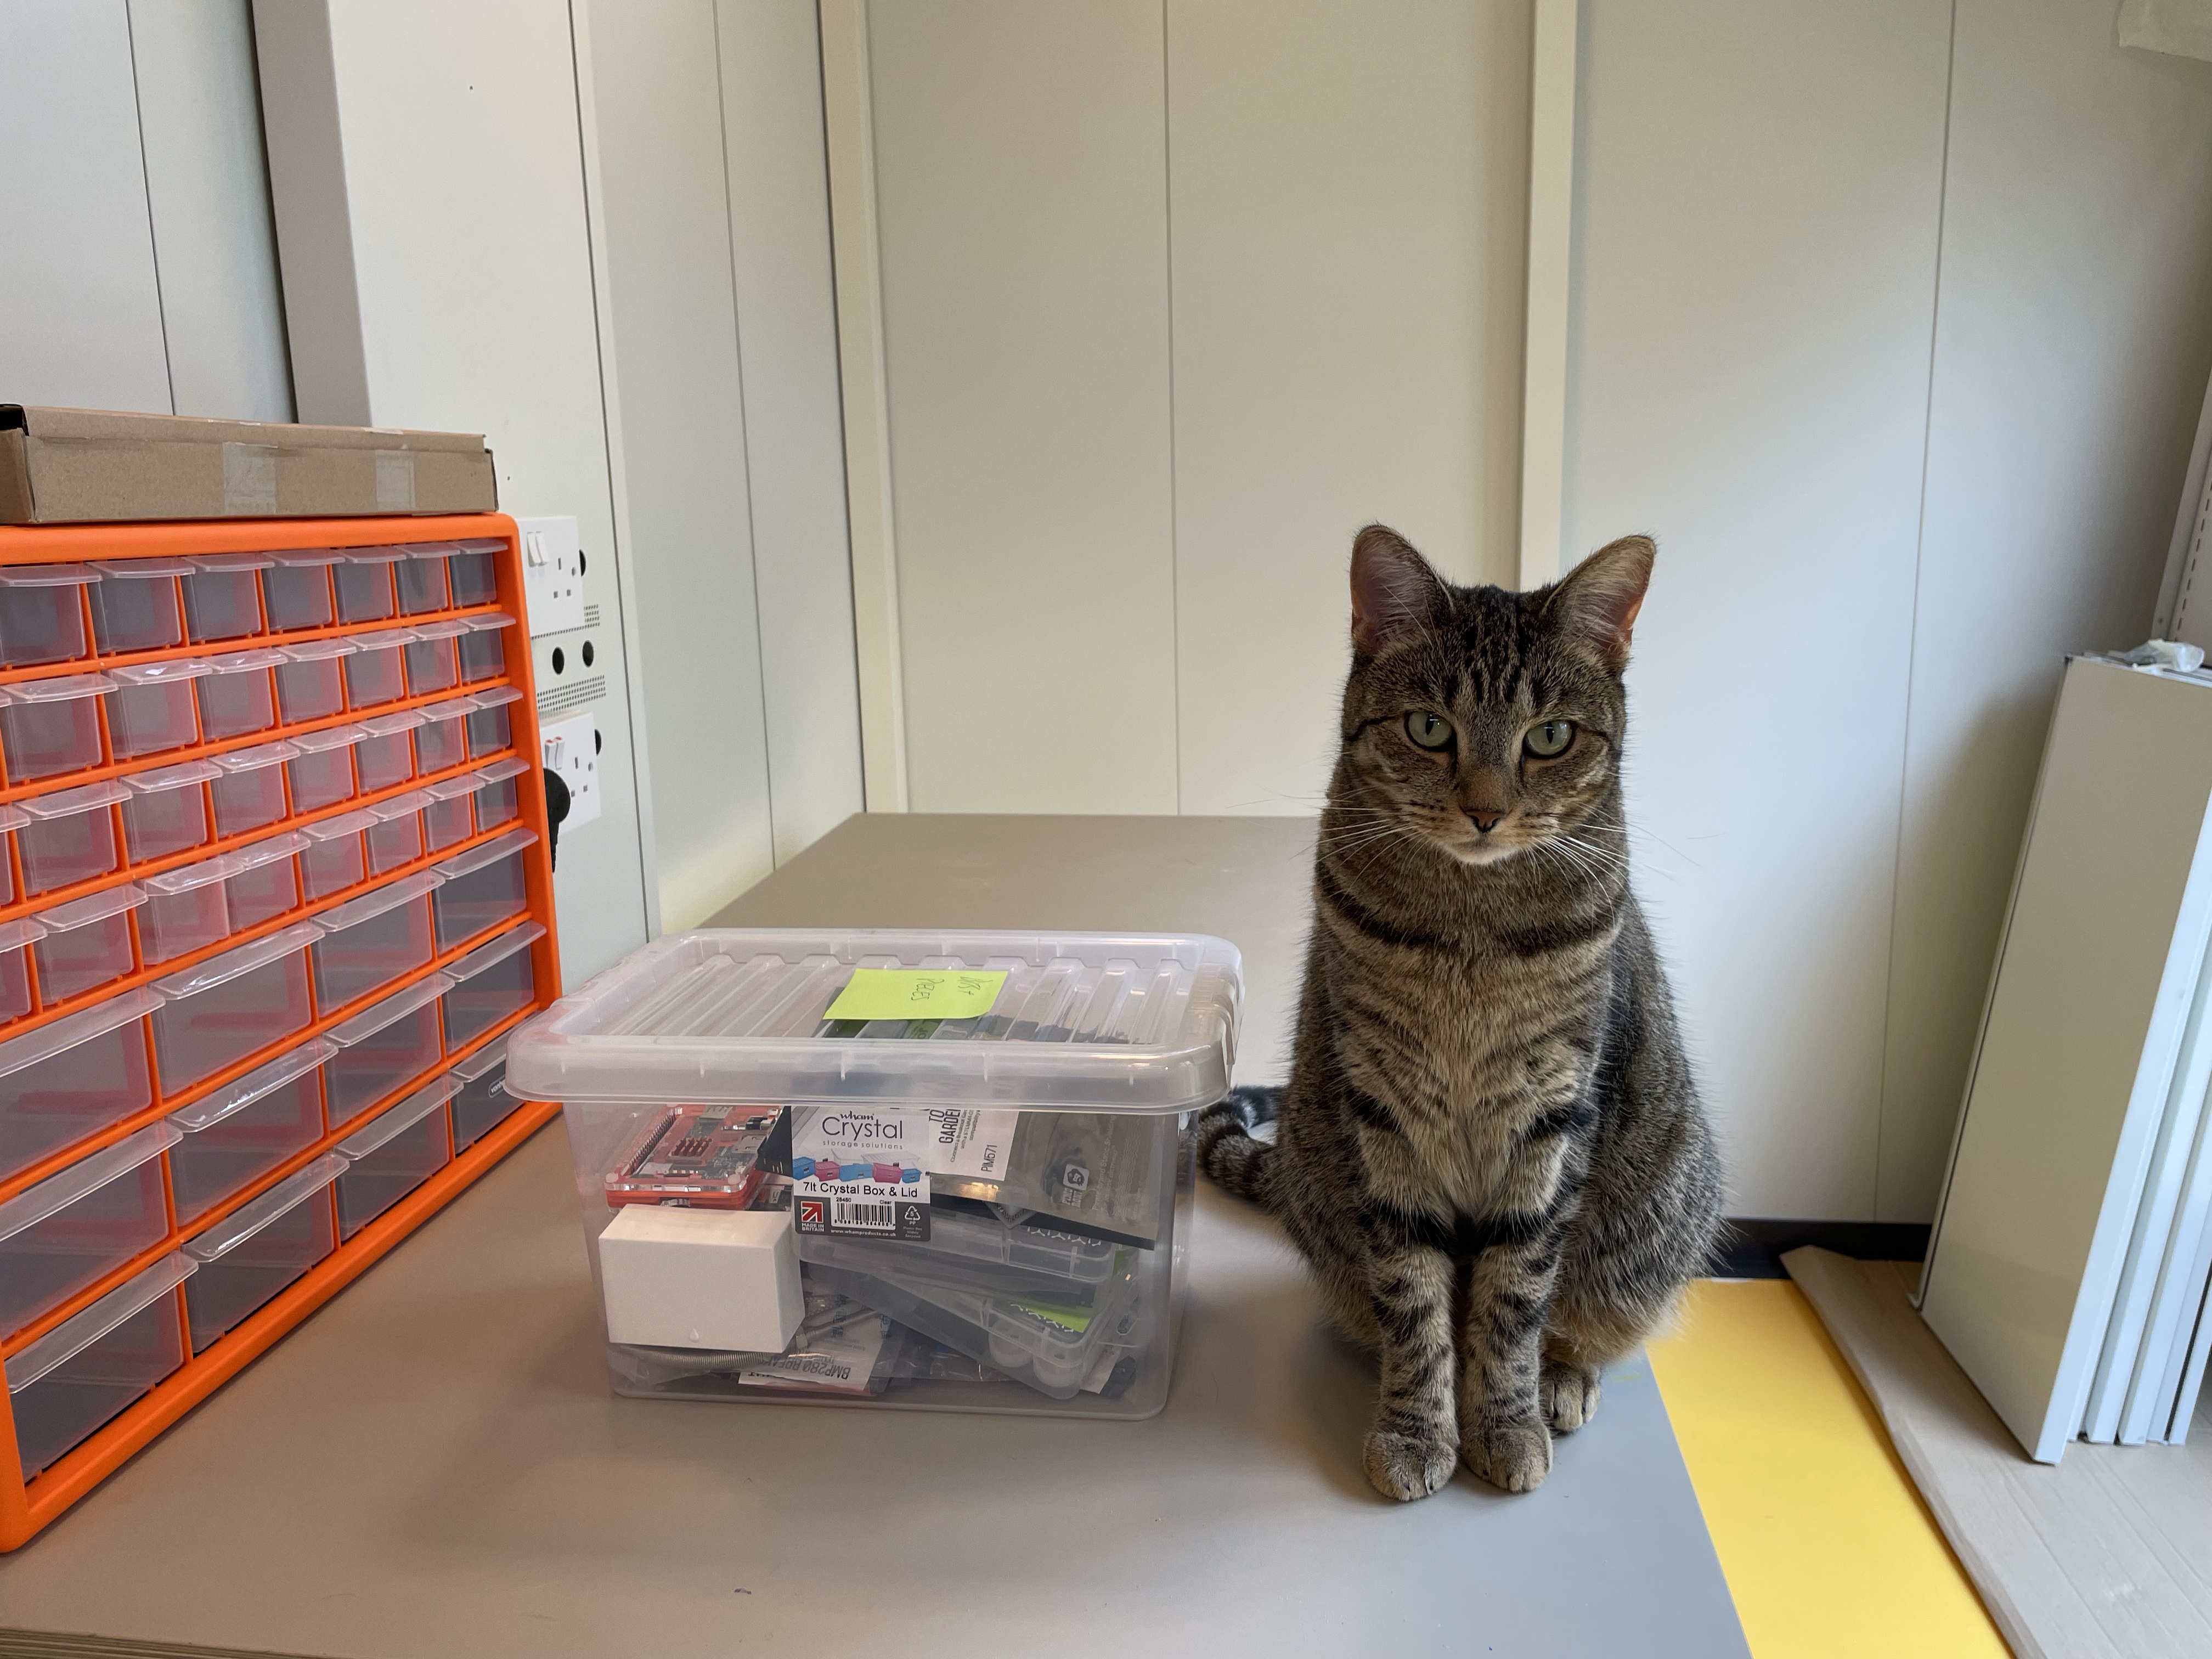
It will change again, I know that. So take this post as part of a journal for my evolving workspace. Below is flooring laid and old table in place for making in August 21 with our cat Evie.
I’ve used macs for years, bought my first one in 1990, a Macintosh LC with a 12″ colour monitor. A whole 40MB of disk space and 2MB of memory, which I upgraded to 4MB for £80 if I remember correctly.
I traded in my ZX Spectrum, which I’d got in 1983 and Apple gave me £250 discount on the price! The dealer was a bit surprised at my spectrum, as I think it was aimed at IBM PC type switchers, before that term was popular. However I had the manual and the power supply, so I got my deal. The LC was good value at the time, compared to previous Macs, I had it as my home mac, until I replaced it with a Power Mac 6500.
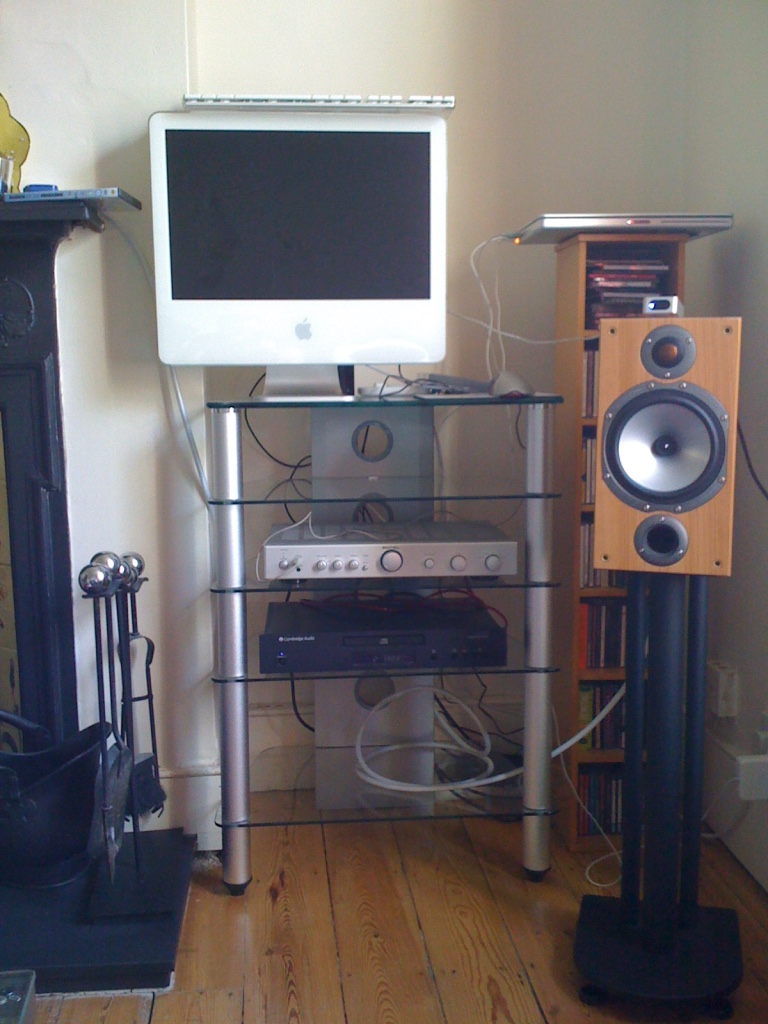
I have pictures of my LC somewhere and also a pre-release clear shelled iMac which I borrowed from Apple when I worked at Dorling Kindersley, but they are actual physical photos, so not to hand. Instead, here is a 2005 iMac G5, taken in 2009 when it had become the iTunes and TV mac.
I’m lucky enough to have always worked on a mac, sometimes a PC too, from PowerBook 140 I borrowed from University of Nottingham, through the “Pismo” PowerBook G3 which I had when I worked in advertising. Then a very long line of MacBook Pros right up to the Apple silicon one I’m typing on right now.
They’ve been great and taught me so much about video, fonts, writing a book, writing python and how the internet works. The combination of both graphics capability and then latterly unix underpinnings has offered a lot to me in my work. It’s never had the games, which might have been a good thing, looking back.
Shout out to BBEdit, as the software I’ve maybe had the longest engagement with beyond the obvious Word or Photoshop. Oh and ResEdit for giving such insight into the guts of software!
I’ve a few ideas for new cosplays for MCM comic-con this May in London.
I’m very taken with Buggy the clown pirate from One piece. That might be a mainly bought costume, as making that coat might be beyond my sewing skills.
Buggy
I’m also keen on Loki from the last few minutes of season 2, all forest feel and green lights, plus that crown. That’s more likely to be a full build.
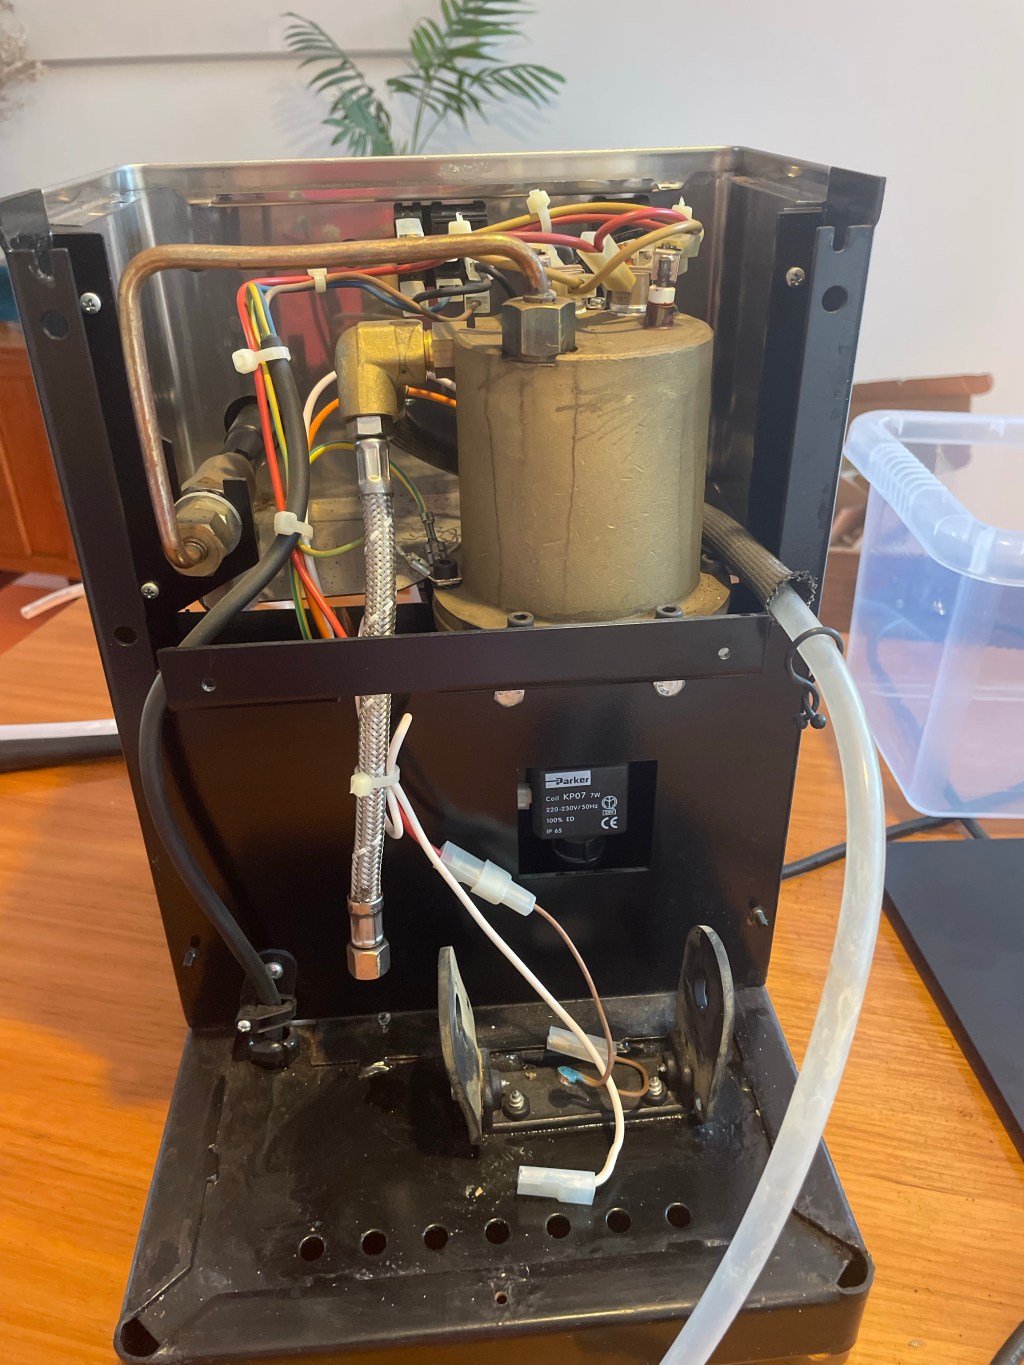
I have a nearly ten year old ranciliosilvaespresso machine which was great. However it needed more maintenance than I realised. So over the last few weeks, I’ve replaced the gasket and cleaned the group head. Replaced the pump and the brew switch. Next I’ll replace the group head cover, which was chromed plastic and aged badly. Should be set for another ten years now, as long as I backflush.
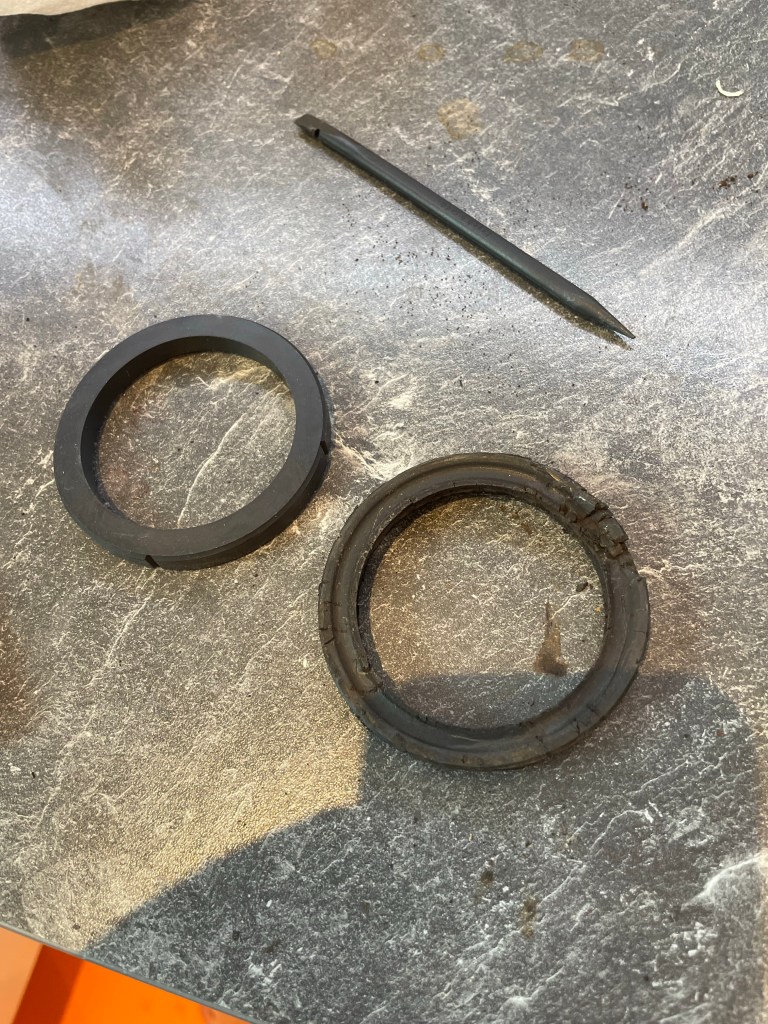
New versus old gasket
You can see that the old gasket is mishapen and cracked, I had to dig it out with some ifixit spudgers, which are perfect for the task.
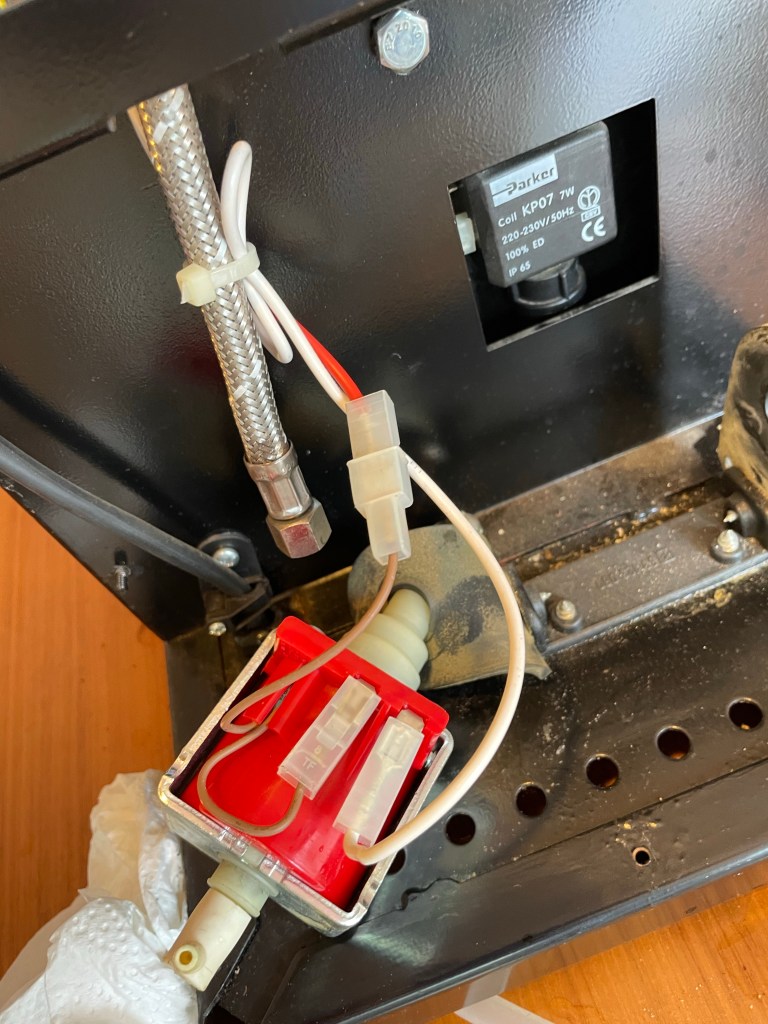
Back of the brew switch, the white plastic connectors just pull off and then there is a black plastic clip, which you press down to get it to pop out through the front of the machine. All you need to do is remember the wiring configuratuion.Pump removed, as shown above is a bit of effort. You need to take off the six screws at the top, there are also six corresponding metal threads which they fit into.
Once you’ve got the top off there are two screws which hold the rear frame onto the front of the machine. These are horizontal to the base of the machine and you can see the screw holes on each side at the top. there is then one more screw at the bottom at the back, in the middle of the shot above. This was quite stiff to remove on my machine, as it had got gunged up with coffee.
The pump lies in the rubber frame, remove the right hand side clip and disconnect the tube. To remove the metal hose you will need two spanners. I gave the whole interior a good clean after fitting the new pump. The replacement pump is an Ulka EX5, I got mine from theespressoshop in Glasgow, along with a bunch of other spares, I’d recommend them.
Pump showing writing configuration
Replacing the pump is as simple as disconnecting the two electrical connectors and the little sensor, which slides out from the slot above. Reconnect the metal hose, I did use some threadlocker, after some research I bought Loctite 243, as it seemed to be the right balance of viscosity working with the right metals steel and brass.
All pretty straightforward and took a couple of hours, including photos etc. My Silva is back to making brilliant espresso with great crema again. Backflushing with some Puly Caff cleaner approximately weekly seems to keep things sweet.
We made a huge EVA foam sword for Max to use at Comic-Con. It was about five foot long and lit with leds,
It was really popular and lots of people stopped Max to get a photo with him.
The sword has a wooden core and then EVA foam to shape it, we started with a template from NATA cosplay (thanks!) and then adapted it to work with the electronics.
Full how to coming soon with example code and circuit diagram.
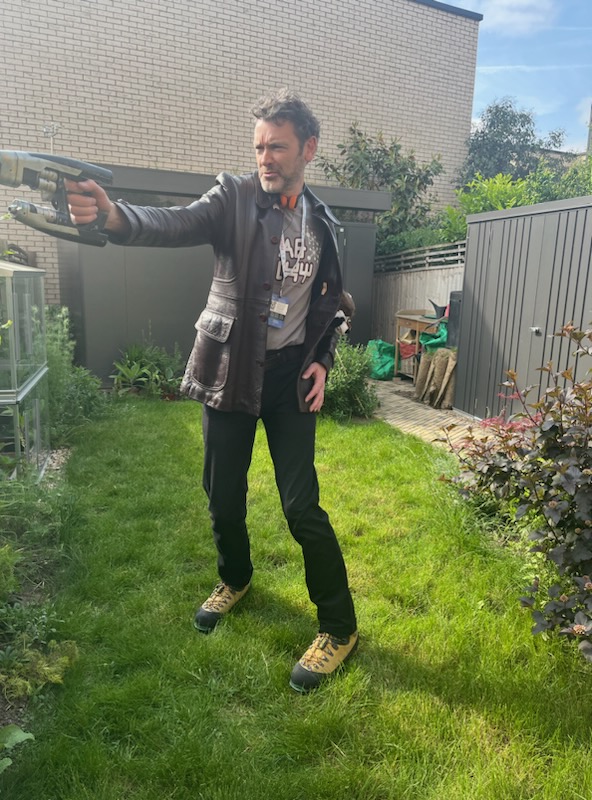
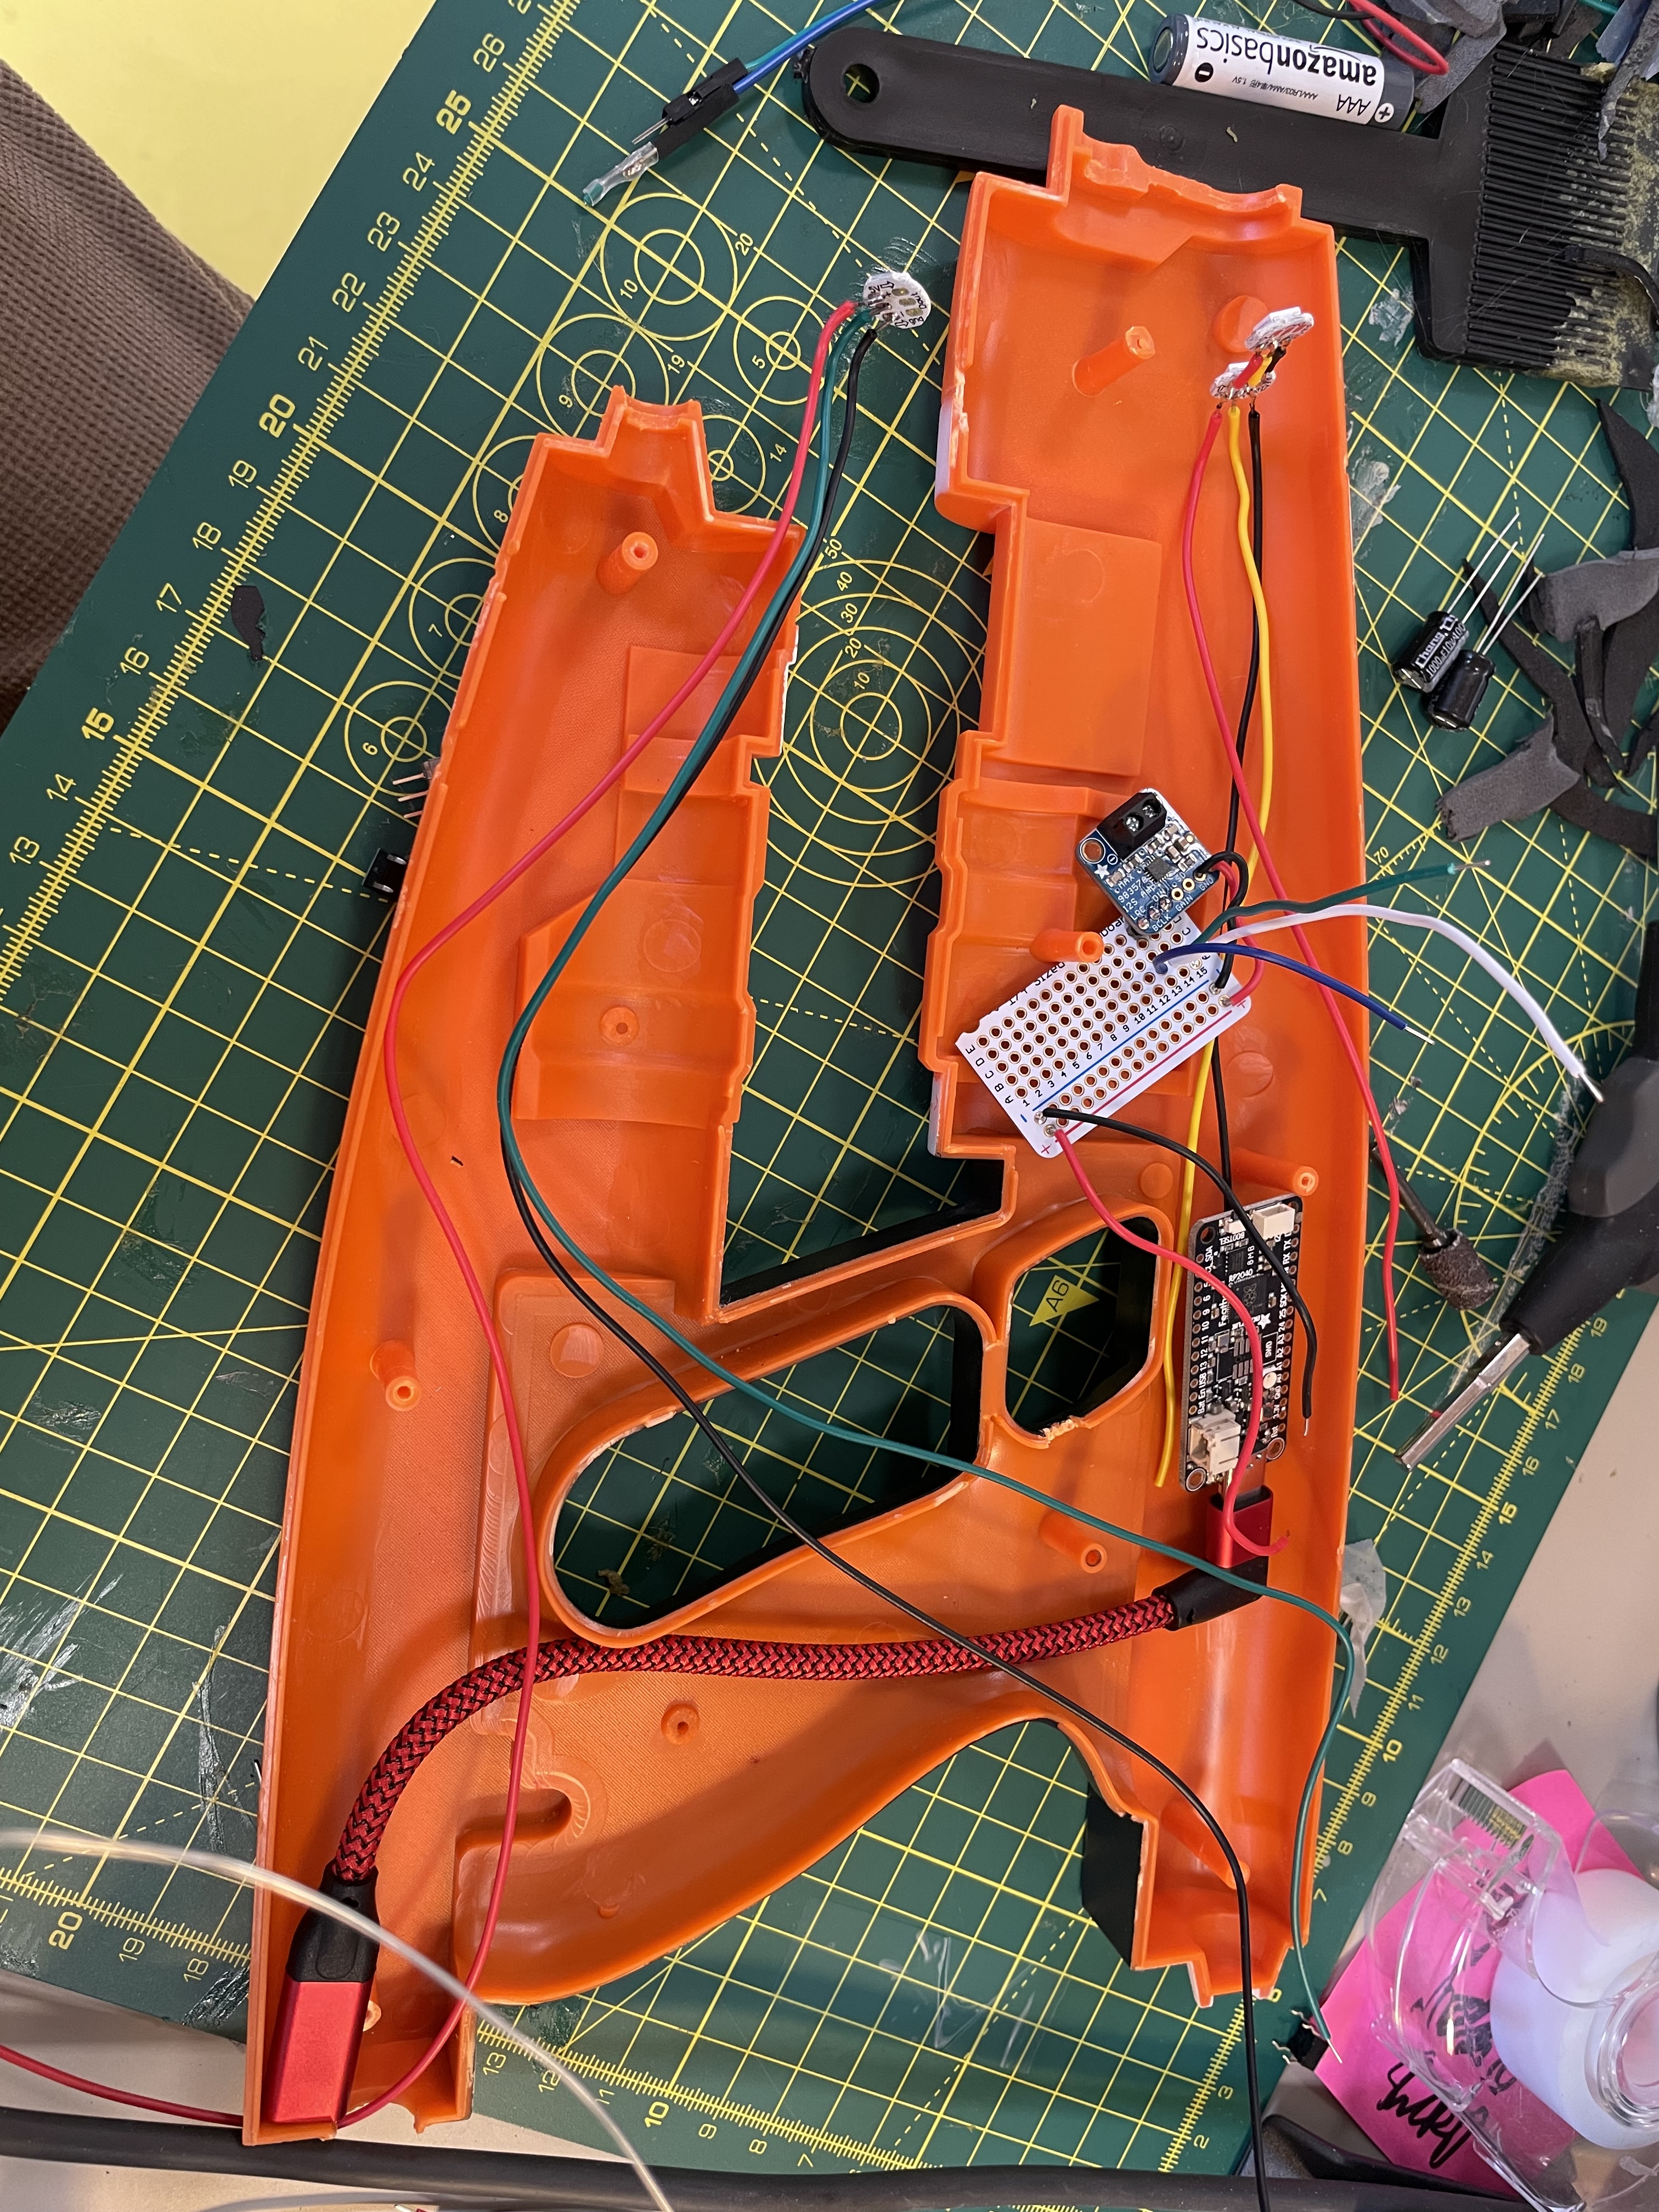
Back in May, I did a version of Peter Quill, Star Lord from Guardians of the Galaxy. It was great fun to be him for the day. The main element of the costume I made was the elemental gun aka his blaster.
This was a bought orange and white prop, which I split open to fit electronics inside and then ran out of time to complete, though I got close.
Needed to shift focus to help Max finish the sword.


You must be logged in to post a comment.