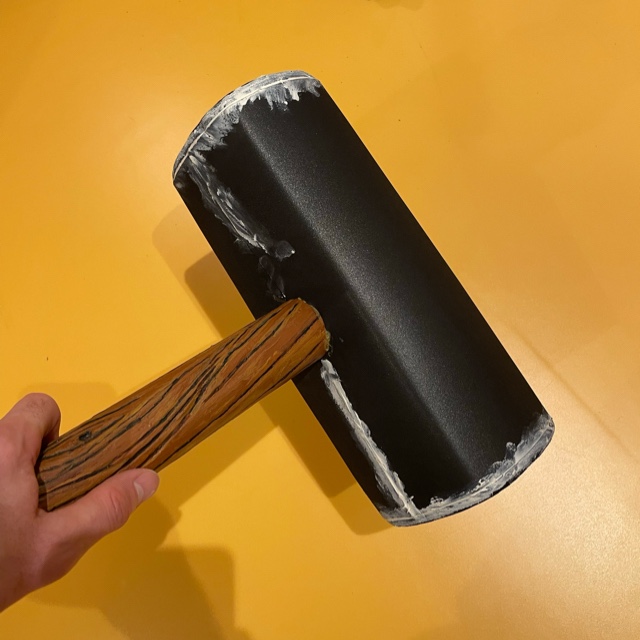
Gavinmakes gets regular traffic to the post about Leo Valdez’ hammer, so I’ve put together the blueprint or pattern for you to make your own one. The linked post tells the story of making the hammer and going to Comic-con.
It’s a perfect first cosplay prop, as the all the foam cuts are pretty straightforward. There is not a two sided edge like you might need for a sword. I’ve also written a detailed step by step guide with plenty of photographs and explanations to take you through the process. Making this will teach you to cut and texture foam. Assemble a prop with a rod for a handle. Then bring the prop to life via sealing, priming, paint and varnish.
There is a complete list of tools and materials in the guide as well, though I’ve suggested paints, rather than specified, as that is more of a personal choice.
More to come, I’ll finish the patterns for the Dagur props in April.
Hope you enjoy making the prop, I’d love to see hammers you make using the pattern.
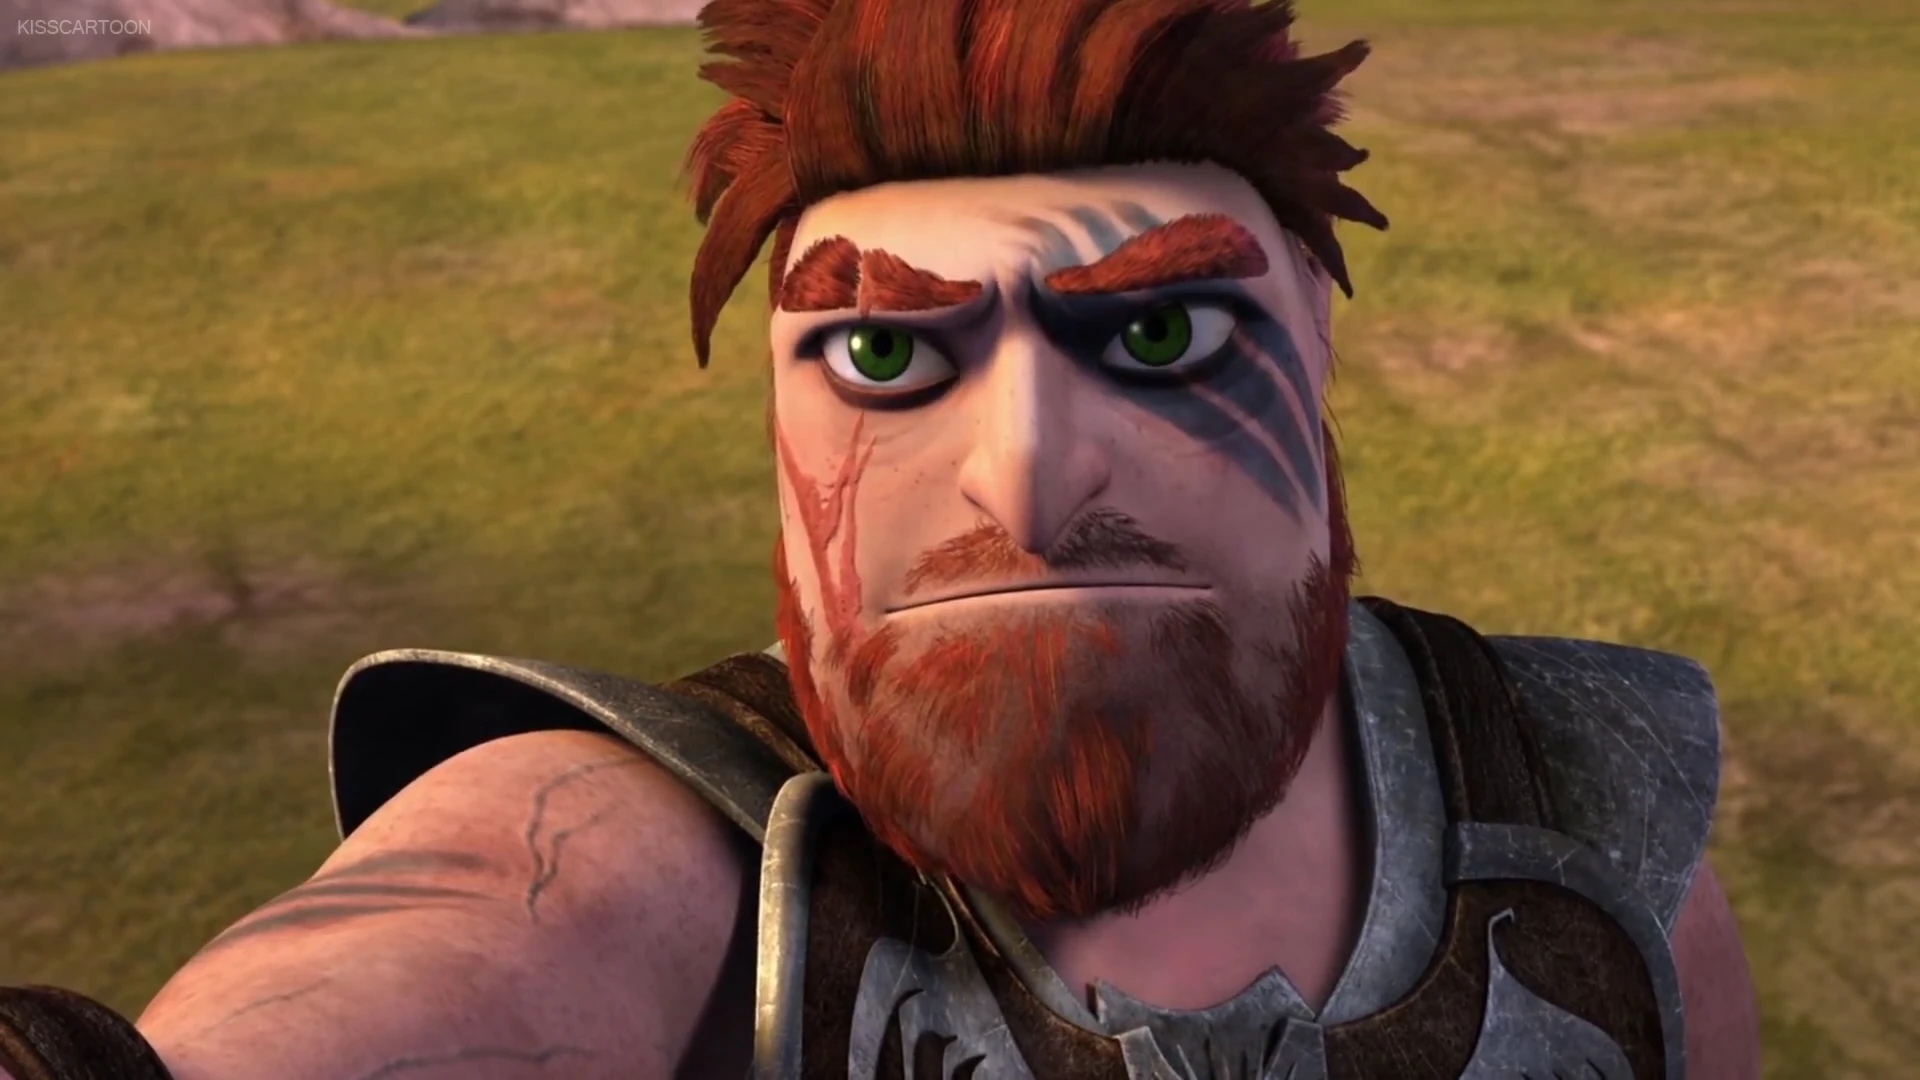
Dirt is essential, something is only new once. When we use things they become worn and they acquire a patina, sometimes they get dirty. How we look after them gives our things and our clothes character. While researching Dagur from How to Train Your Dragon, I become slightly obsessed about how to represent dirt and age on his armour or his axe. There are a lot of stories in the scrapes and grime on his armour.
Dagur from HTTYD, I’ve spent a long time looking at the armour
When we watch TV or films, we often are quick to spot changes in a prop or item of clothing as a continuity error. These jump out at us, as we know they’re not possible. It’s a whole job in film-making, taking Polaroids (back in the day) now digital pictures to ensure people look the same, even if filmed days apart.
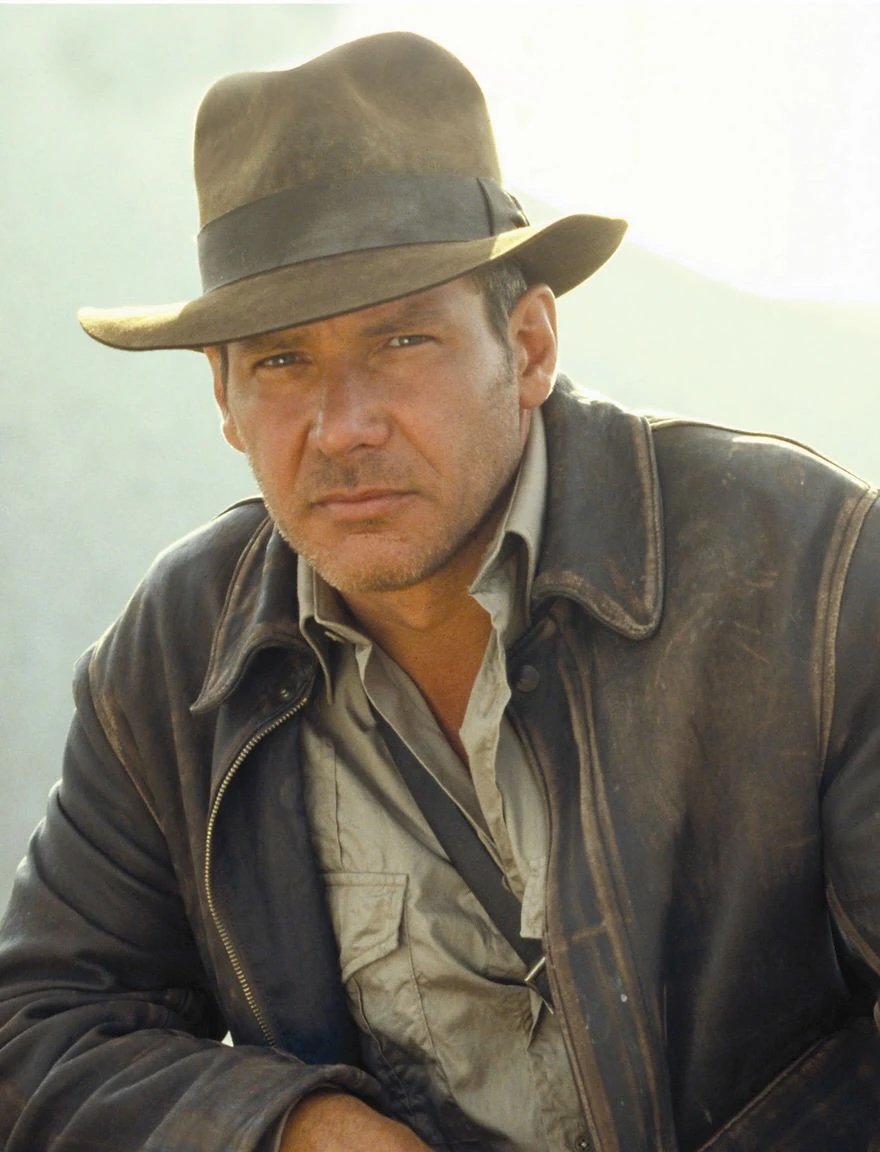
Indiana Jones (credit Disney wiki) the scratches on his jacket give a sense of what he’s been through, if they moved from scene to scene, we’d notice
Making costumes and props feel worn, not box fresh
In cosplay the materials were working with are not the same as the real armour, nor do we experience the same conditions. I’m not living with dragons on an island in the middle of the ocean. So we need to fake them and this fake aging or weathering sits on top of a prop which is ready an imitation of the real item. So our weathering has to do two jobs it has to show age and convince us that the underlying prop is the thing which is aging. Cosplay armour and props also need to appear to be rigid and have mass,
I chatted briefly to Beth from Amazonian cosplay and she describes it as “understanding the character narrative is essential” to creating a good cosplay. I’d wholly agree, I think that’s partly why I got stuck last summer over Dagur. I wanted to understand how the armour worked and was maintained. I think my initial idea of using worbla as external surface for the shoulder armour was the right one, so I’ll re-work my plans for Dagur to incorporate worbla with foam underneath to give a sense of mass and stiffness. Rather than just using 10 mm foam.
Understanding how the dirt or the damage arrives on the prop or the armour is really important. A solid heavy piece of shoulder armour is going to resist cuts. Surface scrapes and bashes feel more appropriate where as a lighter piece of leather armour might have a deep scratch. Thinking through the history of each piece of weathering will create more realistic prop. The dirt shouldn’t feel “stuck on” and understanding the psychology of the character will let us know how much cleanup they might do. An ork or a troll might walk around with a filthy tunic, but the armour and weapons will be well maintained. Whereas another character would look after the tunic and clean it, even if the garment was well worn.
Minis as a means to understand dirt and damage
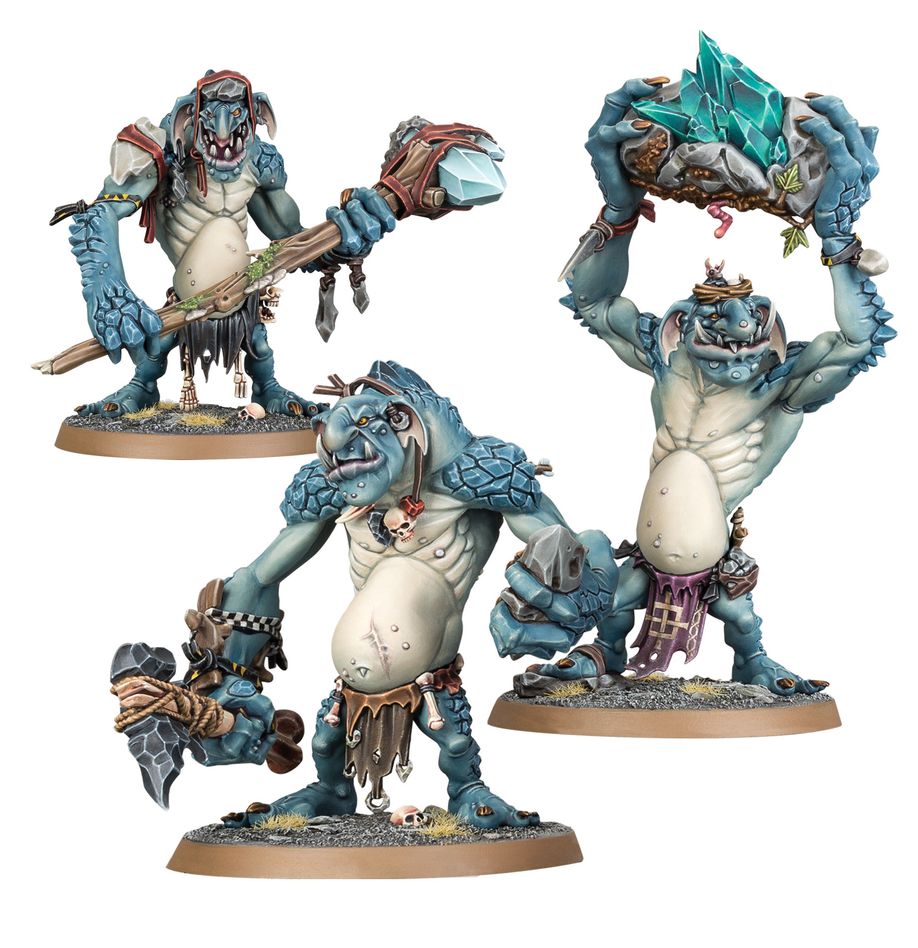
Rockgut Troggoths from Games Workshop / Warhammer. I love these models, but they look like they’ve been in the jetwash! I can’t imagine a troll being this clean
Recently, I’ve been looking at Warhammer figures again after a long gap. I was surprised how clean the painting of the figures look. I understand this is to show off the detail of the sculpt but particularly for orcs, trolls or creatures of chaos. I would expect there to be more dirt slime and general fluids. The trolls above look so polished, like they’re off for Sunday lunch.
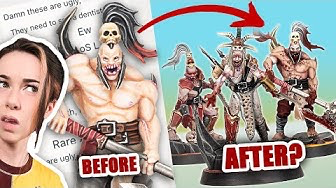
I find Rogue Hobbie’s / Louise’sretouching of the cultists fascinating as a way of bringing character to a very clean paint scheme. She really brought them to life by adding some gore and some warpaint to give them some individuality. See the reference images of the Kamandora’s Blades on the Warhammer site.
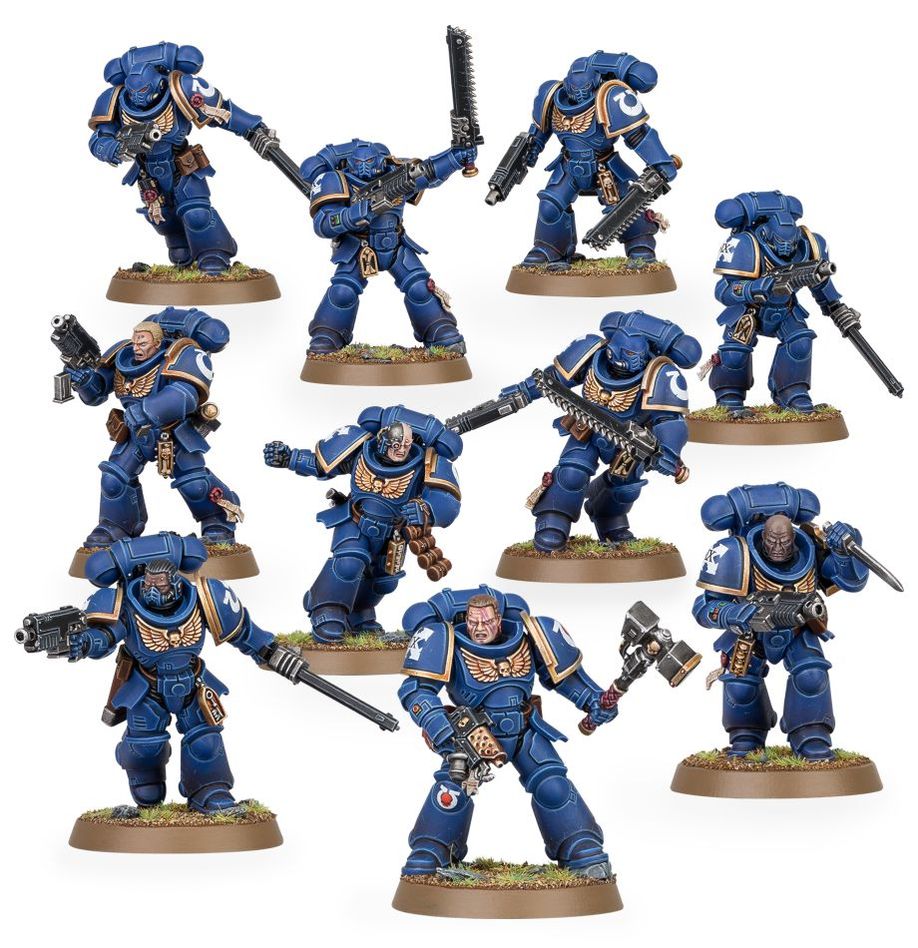
Leaning into the character narrative for space marines, I get it, they’re in parade dress looking their finest. I think the larger games like Warhammer 40 K or age of Sigmar drive this parade dress look or looking like the box photo as often there might be 100 models to paint. The more skirmish like games which are closer to role-playing allow each figure to have an individual character and so the paint represents the things which have happened to them, their history.
Ultramarines from Warhammer 40k
This balance between figures as tokens to represent forces versus figures to represent individual characters matters. I think cosplay leans much more into the individual. You are often picking a named character to play, often that person from a particular episode or film. I know sometimes people choose a space marine or a stormtrooper as their “character”. The anonymity of playing a uniformed character is also fun. Plenty of people really enjoy playing Spider-Man.
I drafted this before Christmas and have since got more involved in warhammer minis and have a few projects underway. I can improve my painting more quickly with a set of bought 28 mm scale miniatures, rather than making from scratch a 1930 mm scale cosplay for myself. There is such a wide range of painting styles for minis. From a clean and quick table ready for a game through to incredible painting of Nurgle characters in particular from Warhammer Quest Darkwater. Some great Ork models too. I’ll be sharing a mix of cosplay, electronics and warhammer on here this year. Moving between mini scale and human scale is helping me to think about different layers of representation.
Con crunch catches many cosplayers out, when things don’t go to plan or “one more thing” takes hold. It got me good at the last comic-con, as I mentioned earlier in the week. In the wee small hours of Friday into Saturday, a thought came to mind. What if con crunch was actually a mischief making character who comes to visit. I imagine them feeding on the nervous energy build-up to con and causing havoc to make that increase.
Capt Con Cruch – thanks to junkohanhero for the destroy x font and to Joanne for taking my crunch / car crash idea and bringing it to life.
Introducing Capt Con Crunch, they are the personification of the things that go wrong on a cosplay build. Paint that takes too long to dry, 3D prints that go wrong. Ideas for extra props that take hold of you so strongly, you put aside what you are working on. New techniques which you decide to use unpracticed, etc. You know the sorts of things – comment and tell me your stories.
It is like the man with the hammer who you meet on poorly planned, long bike rides.
Cycling folklore speaks of “The Man With the Hammer”. He will cause you to go from smoothly spinning your pedals to pedaling squares. He strikes when your mind takes more from legs than your body can provide.
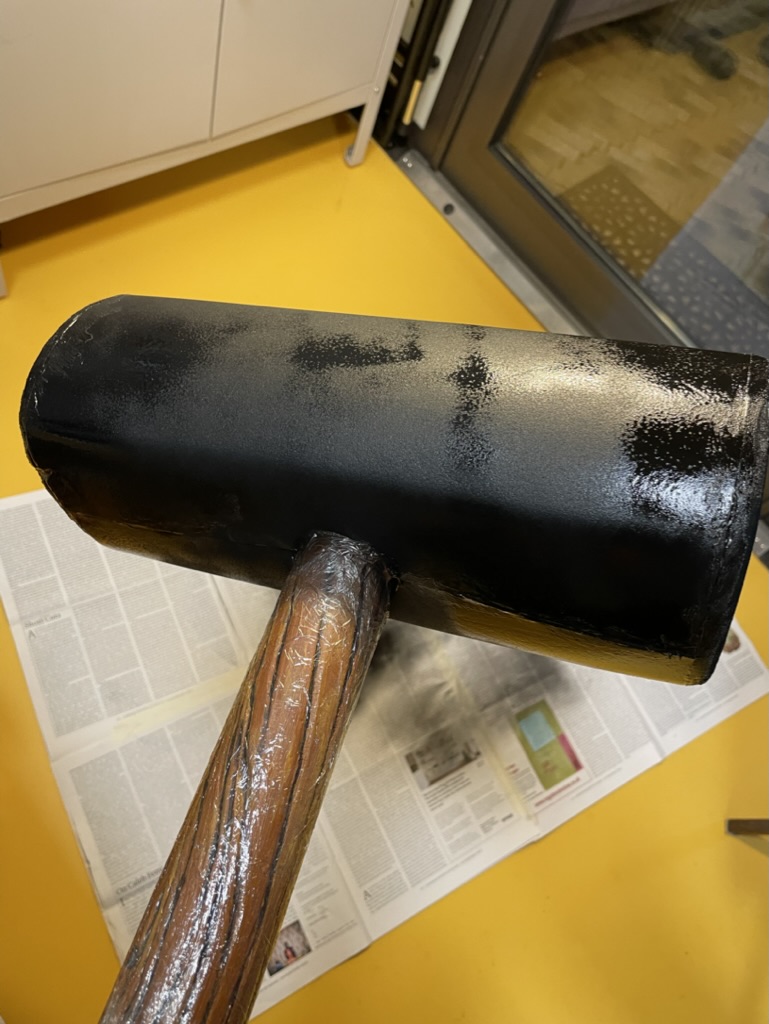
Airbrushing at 2 am, finished at 4 am
The idea is never to meet him. Con crunch isn’t great, though the urgency of it all can feel like fun. It leads to doing things in a rush, skipping the second layer of primer etc. This time around, rather than rushing Dagur, I’ll do it properly and have a costume I’m happy with and not one I’m disappointed in.
I’ve also created a silly new character from all of this, so I expect Capt Con Crunch will return in some form over the next few months.
We made Max’s Heather costume which was a success, photos coming. My own Dagur costume got parked, as Max needed my help. This has given me time to reflect and approach building Dagur as an open learning process, aiming for May next year. Doing two at the same time was too much pressure on time and space.
There are a huge number of skills that you need to make a cosplay from scratch. I’ve made a few props and some costumes already, but there is still a lot to learn, so I’m going to take advantage of this and document my process as I complete Dagur. I need to work in a sustainable manner, not try to do everything. Con-crunch only gets you so far and some processes, like sealing, priming and painting foam have built in delays for drying.
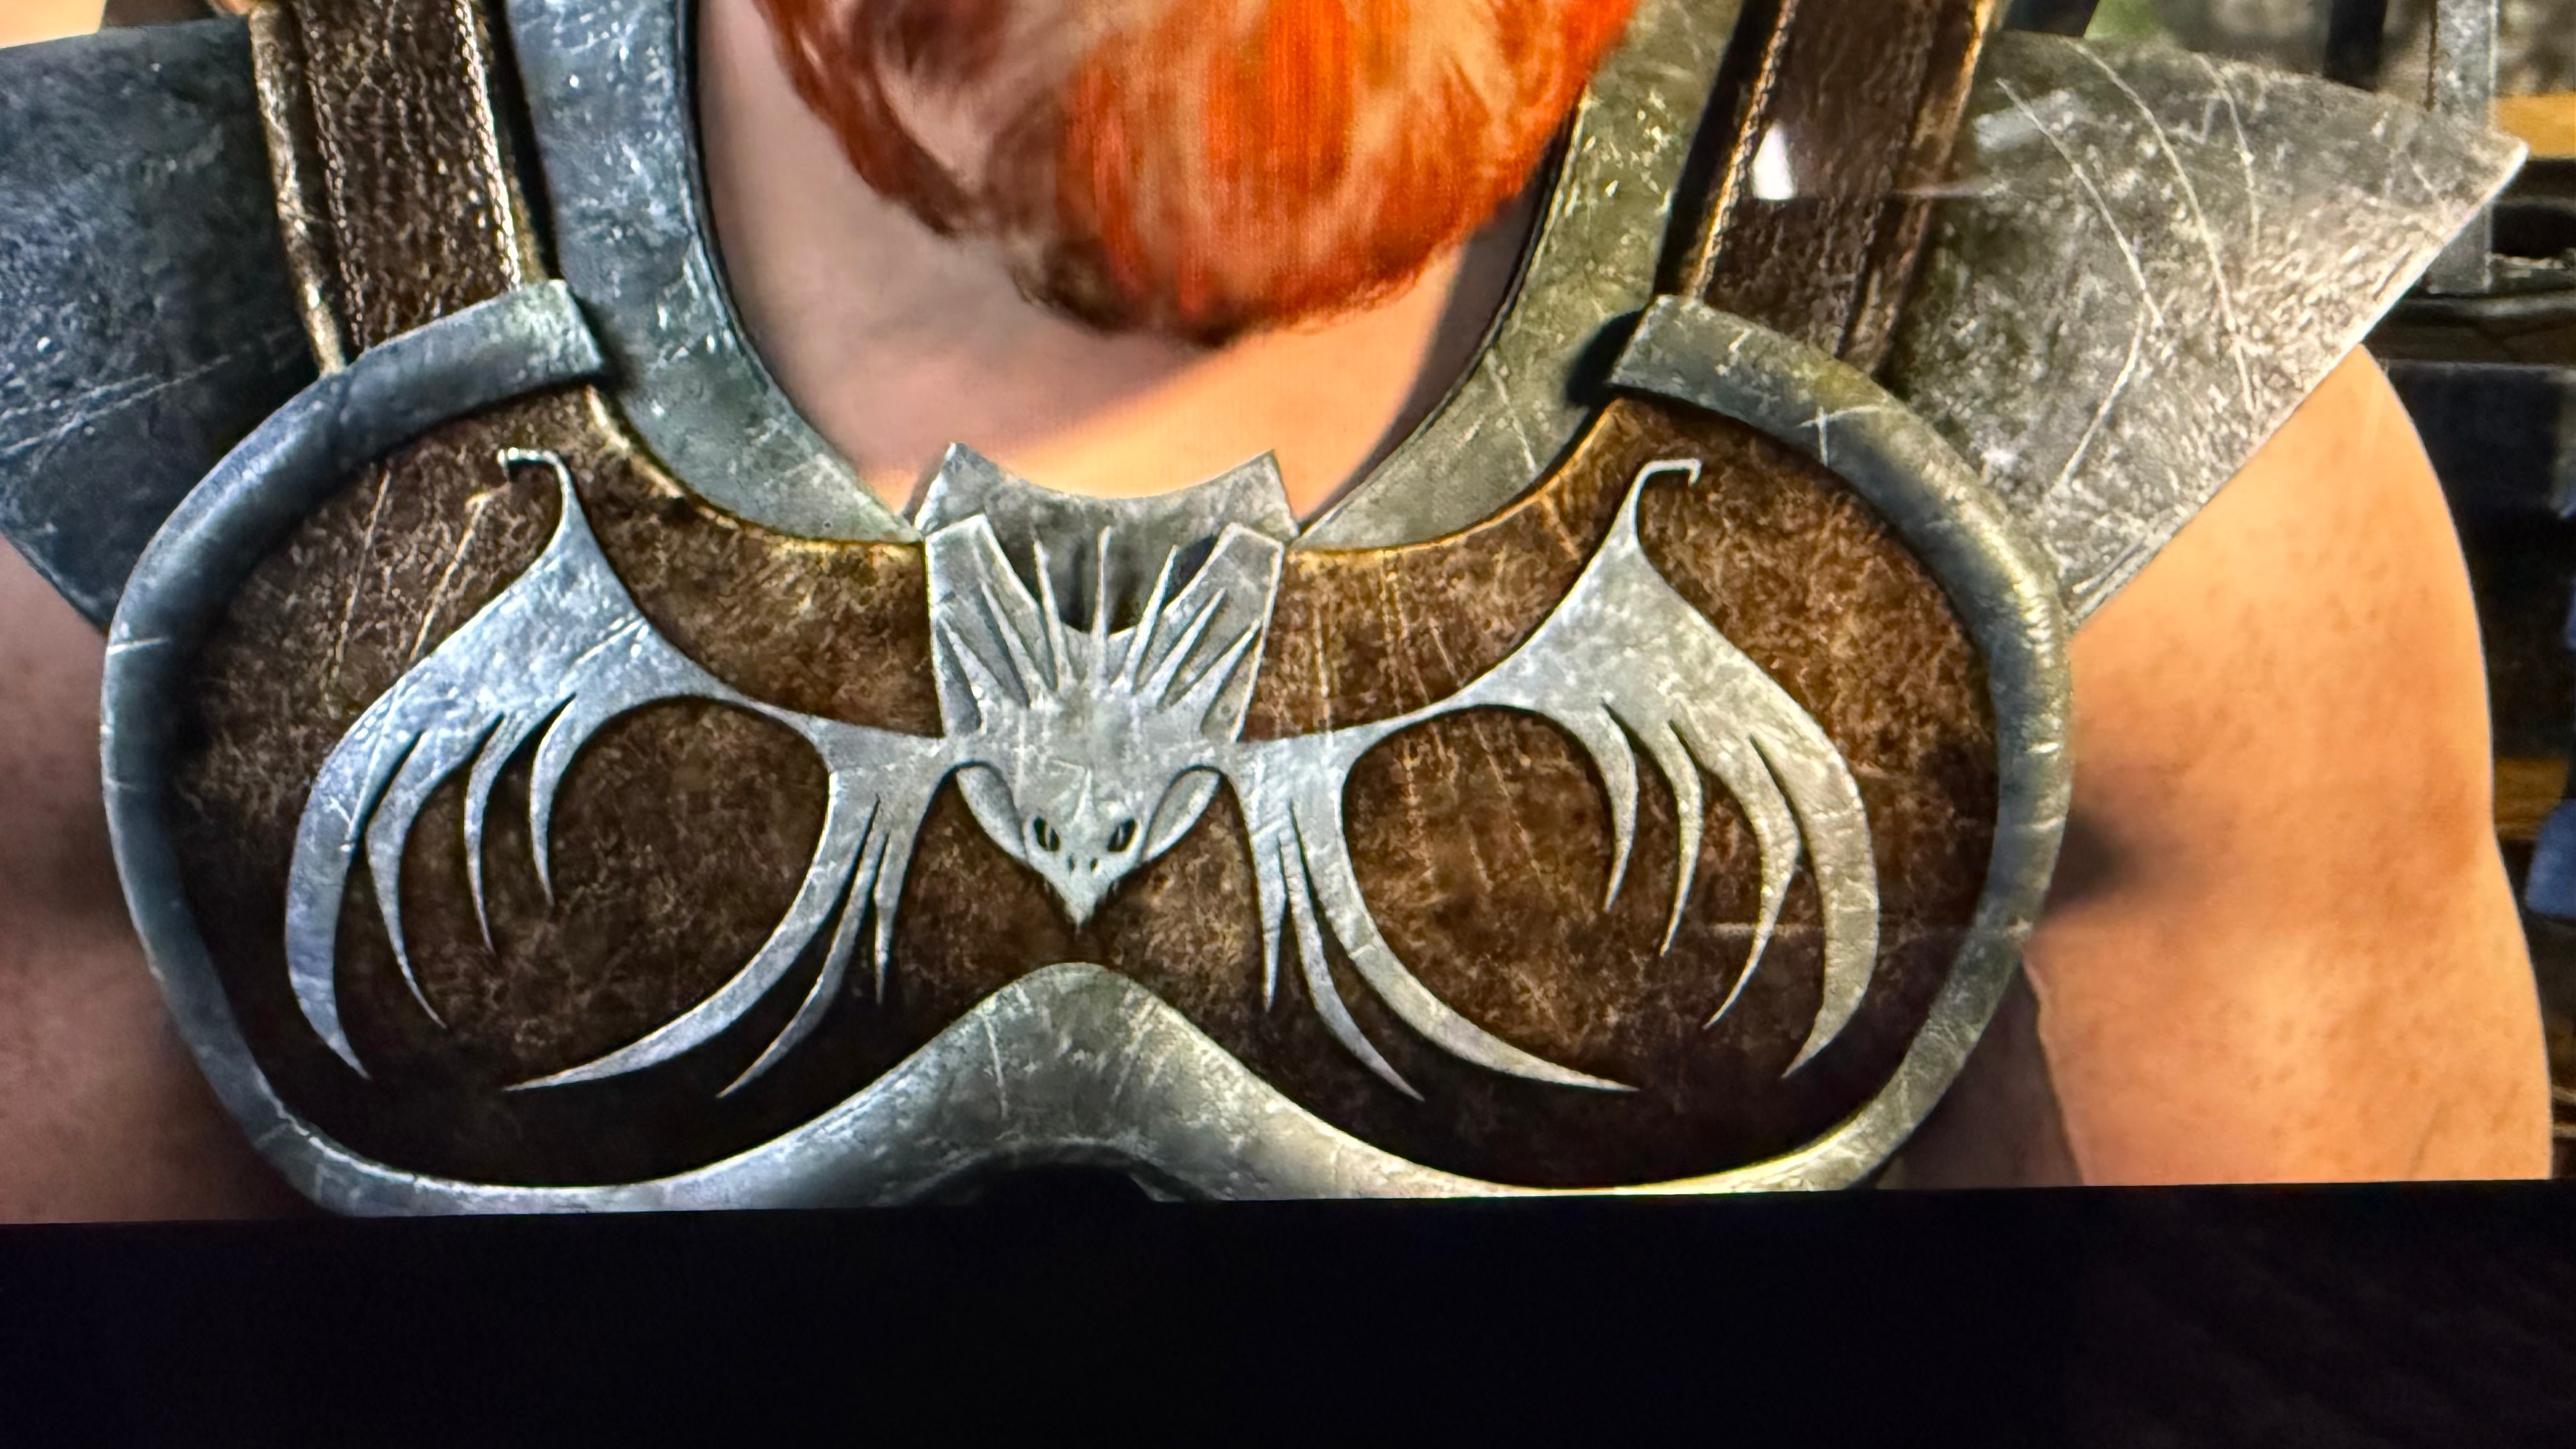
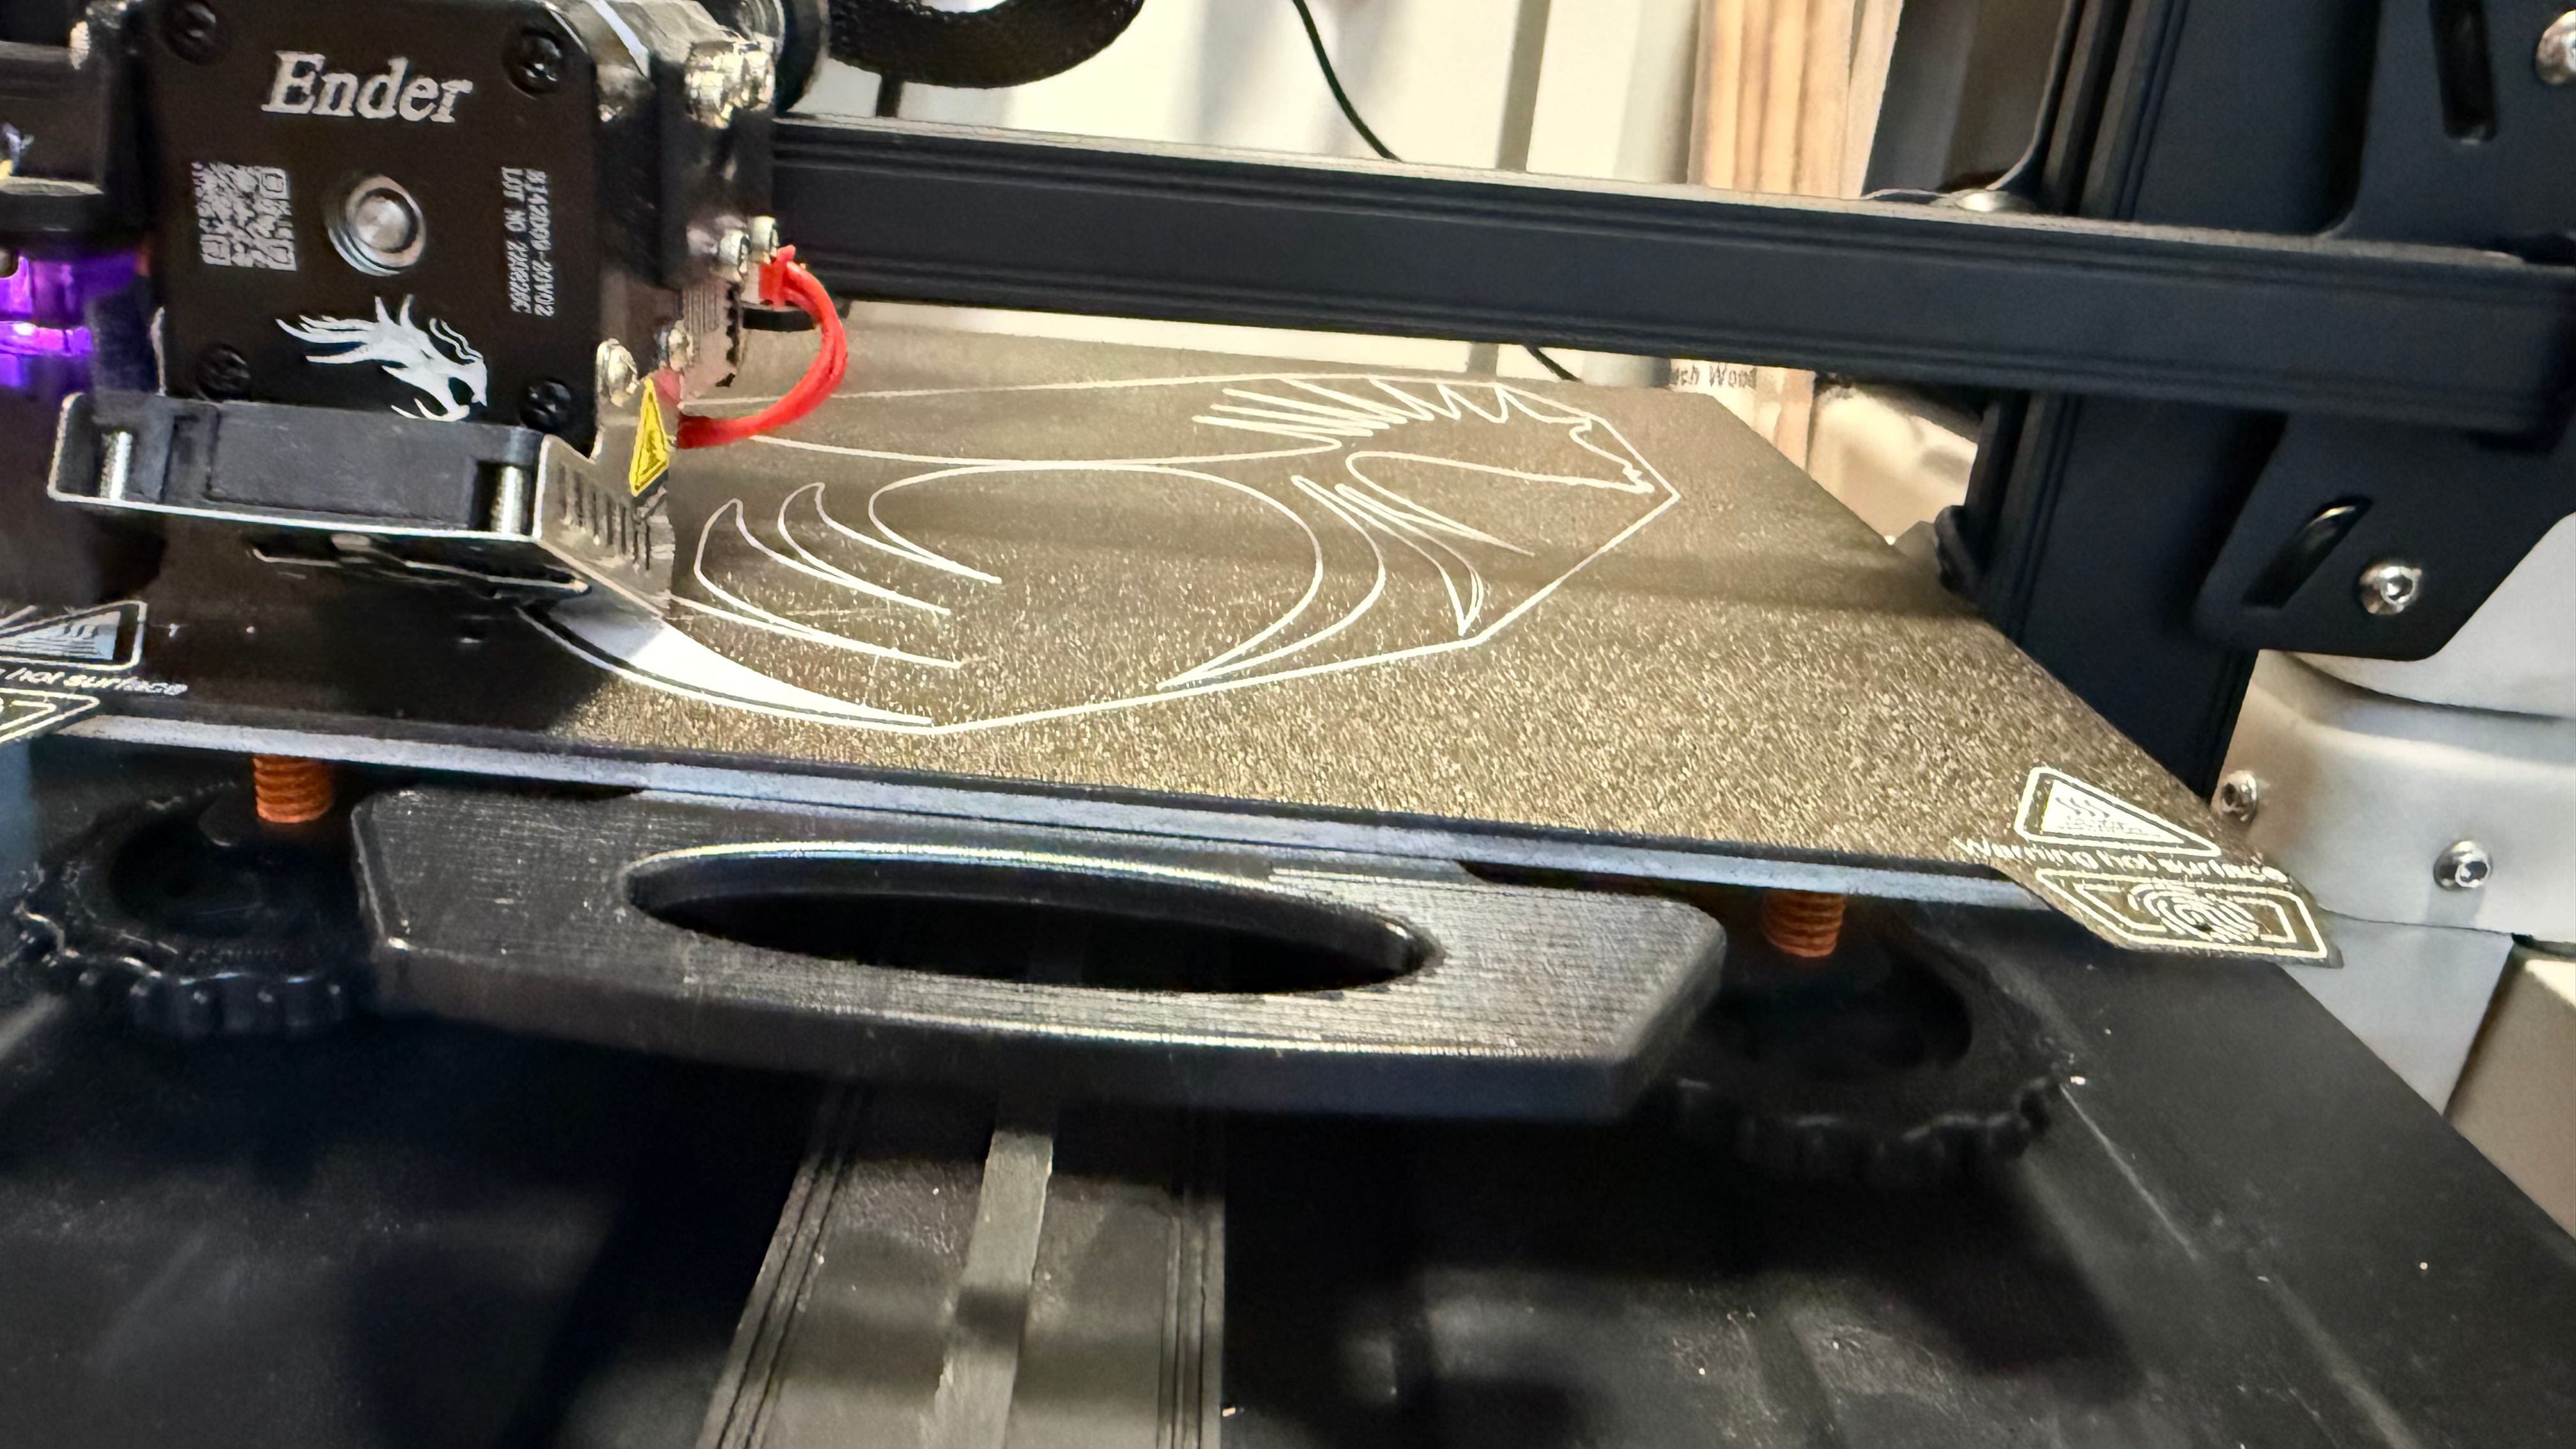
Dagur’s Skrill emblem
So far, I’ve traced weapons shapes and armour designs from screenshots from RTTE. I’ve been using Adobe Illustrator and comparing it with Lunacy from Icons8. I’m going to make a video explaining how to trace a pattern from screen to generate a blueprint for an eva foam prop. I know there are some out there, but they seem to show everything quite quickly. So I’m going to slow it down and explain how pen tools work and about Bezier curves for people doing this for the first time.
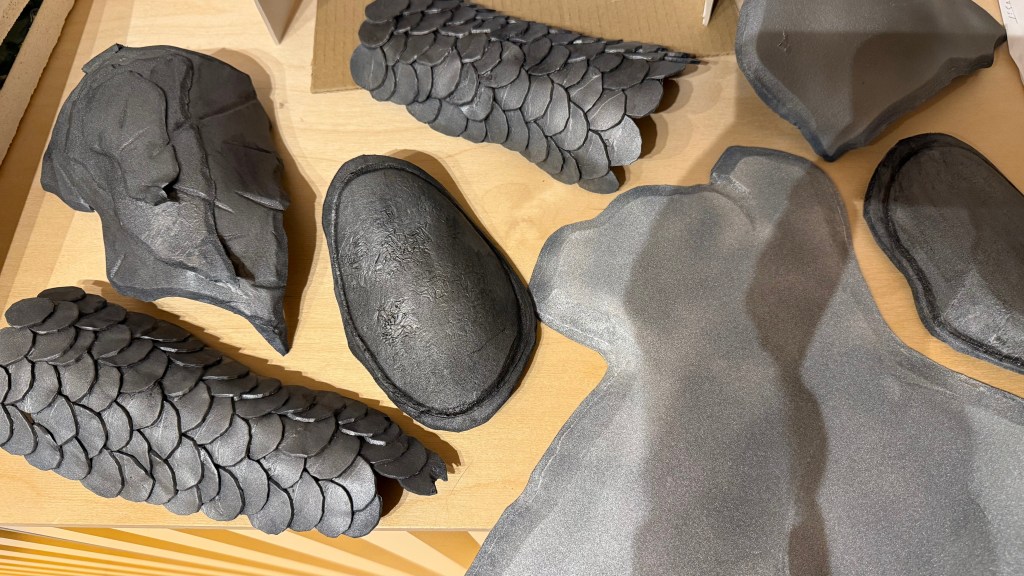
Beyond that, I’ve taken those tracings and made 3d prints from them, in fact the Skrill about became a 3d print, as it is too fine to cut from 2 mm foam.
Then I’ll pull out over the coming weeks tutorials and examples from
different approaches to prototyping and pattern design using paper and card
Foam clay and leather work for belts and straps
a simple free 3d design workflow to create basic objects and when to use that
airbrushing, painting and weathering
I’ll create samples of these as I go showing the results from each process, as a work towards a finished costume and prop, rather than the focus being the actual finished item. Working in the open and showing my work in progress is the plan, borrowing form my day job.
I’m also going to put the patterns I have made up on Etsy, starting with the forge hammer from Leo Valdez.
My next character will be Dagur from the how to train your dragon tv series. I loved watching the programmes with my son Max, when he was younger. We both went to see the live action remake of the first film earlier this summer, which was also great!
Dragons: Race to the Edge
The tv programmes ran between the first and second films, expanding on the lives of Hiccup, Stoick, Astrid and all the other Berkians, with the Berserker tribe set in competition with Berk. Dagur becomes the leader of the Berserkers and over the seven series of Race to the Edge, he gradually becomes an ally to the Dragon Riders led by Hiccup. Neither Dagur, nor Heather appear in the films.
Dagur synopsis
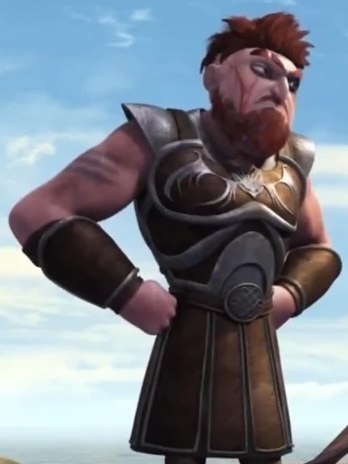
He’s such a lovable idiot, as he reforms through the tv series. I’m going to choose how Dagur looks during the Race to the Edge seasons, when he’s trying to obtain the Dragon Eye and slowly becoming an ally to the Dragon Riders, led by Hiccup. The quote below is from the Dreamworks synopsis of Dagur for Race to the Edge.
Dagur is obsessed with Dragons and hates Hiccup. After his defeat, Dagur the Deranged was imprisoned on Outcast Island for three years. But rather than rehabilitate his fractured mind, Dagur instead focused solely on his next attack on the Dragon Riders. Dagur packed on considerable muscle during his time in jail, making him an even more formidable fighter. He finally escaped from his cell and the archipelago, eventually finding a new fleet of ships. With a new armada now under his control, Dagur is ready to launch his final assault on Hiccup and Toothless, and he’s going to use the mysterious Dragon Eye to do it.
Quick breakdown of how I’ll approach the costume
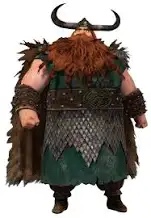
The costume has a lot of elements with a fair amount of armour and quite a centurion vibe to the look. I will also make his asymmetric double headed axe too.
Bracers
The arm bracers look simple enough, EVA foam and some straps, with the tin foil technique to make the foam look like leather. Warm the EVA foam and press the a ball of foam to make random indentations and make an edge from the sheet of foam to mimic the metal rim.
Bracers
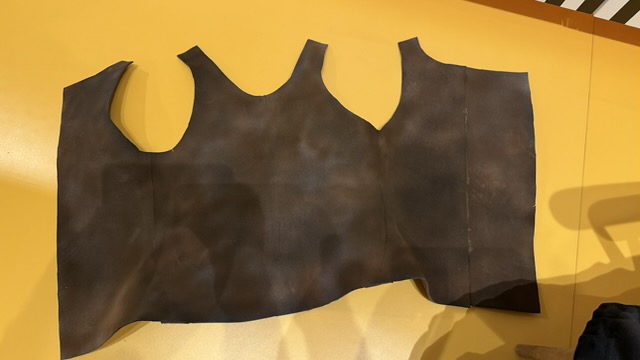
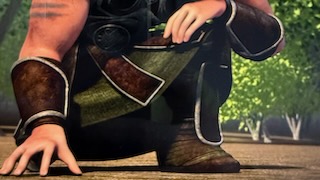
Lower body armour
The skirt has pteruges, those heavier panels of leather with a metal edge in the image above. These are a greco-roman armour element, which Hollywood loved in its heyday. Think of Ben Hur or Spartacus. Actual archaeological evidence is scare, as linen or leather doesn’t survive. The Hollywood look is one which was led by style, rather than historical accuracy, but it is what the 20th century has left us with as Roman!
It is a little odd that Dagur, as a Viking, is cosplaying a Roman legionary. However that’s his costume, so I’ll create a panel based armour with 10-15 cm pteruges made of foam with an edge defined by a groove in the foam, rather than cutting dozens of strips and attaching them. I’ll then layer this over a short, semi a-line skirt using a pattern from New Look (6843).
Lower body armour showing ptergues
I looked a viking era dyes and materials, out of curiosity, There is a bit of disagreement over whether vikings had a reliable green dye for clothing. Some claim green came from Greater Knapweed (Centaurea scabiosa), others a yellow dye and an over dye with woad. Reeds do work as a green dye, but this wasn’t found until later. So it’s a little unclear if that green could have existed, but it’s a good colour, so we’ll use it. I should be using either linen or wool, but I’ll cheat a little and use a lighter fabric, as comic-con at the Excel is warm, even in October.
October update: I found a lovely video of viking dyeing processes, showing blue dyes and examples of greens on the table.
Lastly there is the body armour. I’ve spent a lot of time watching RTTE to figure out how the different panels work and how many layers there are at front and back. My understanding is that there is a shoulder piece, then a front and back panel which link through the strap you can see in the photo. They then connect to the cuirass, which is in close to the body. I’ve probably spent most time thinking about how this works and how to assemble it. I’ll use a mixture of worbla for the main shoulder section and 3 and 5mm foam for the rest of the armour.
Dagur in armour
Cardboard prototyping has been really helpful in figuring out how the different sections work together and which layers interconnect.
Boots
The boots are a fabric wrap with an armoured panel, similar to the bracers. Leggings will be bought woollen stockings and then there are also metal knee pads, which I’ll make from EVA foam.
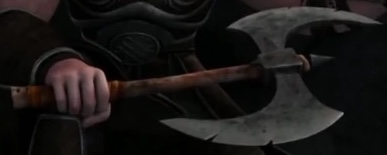
Double headed axe
The double headed axe is a type of bearded axe or Skeggox, skegg is beard and ox is axe. These alledgedly come from wood working tools, but make for a good and dramatic weapon. Dagur’s is suitably large and has a fun shape, if not one that’s particularly historically accurate, but as a cosplay prop, it’s brilliant.
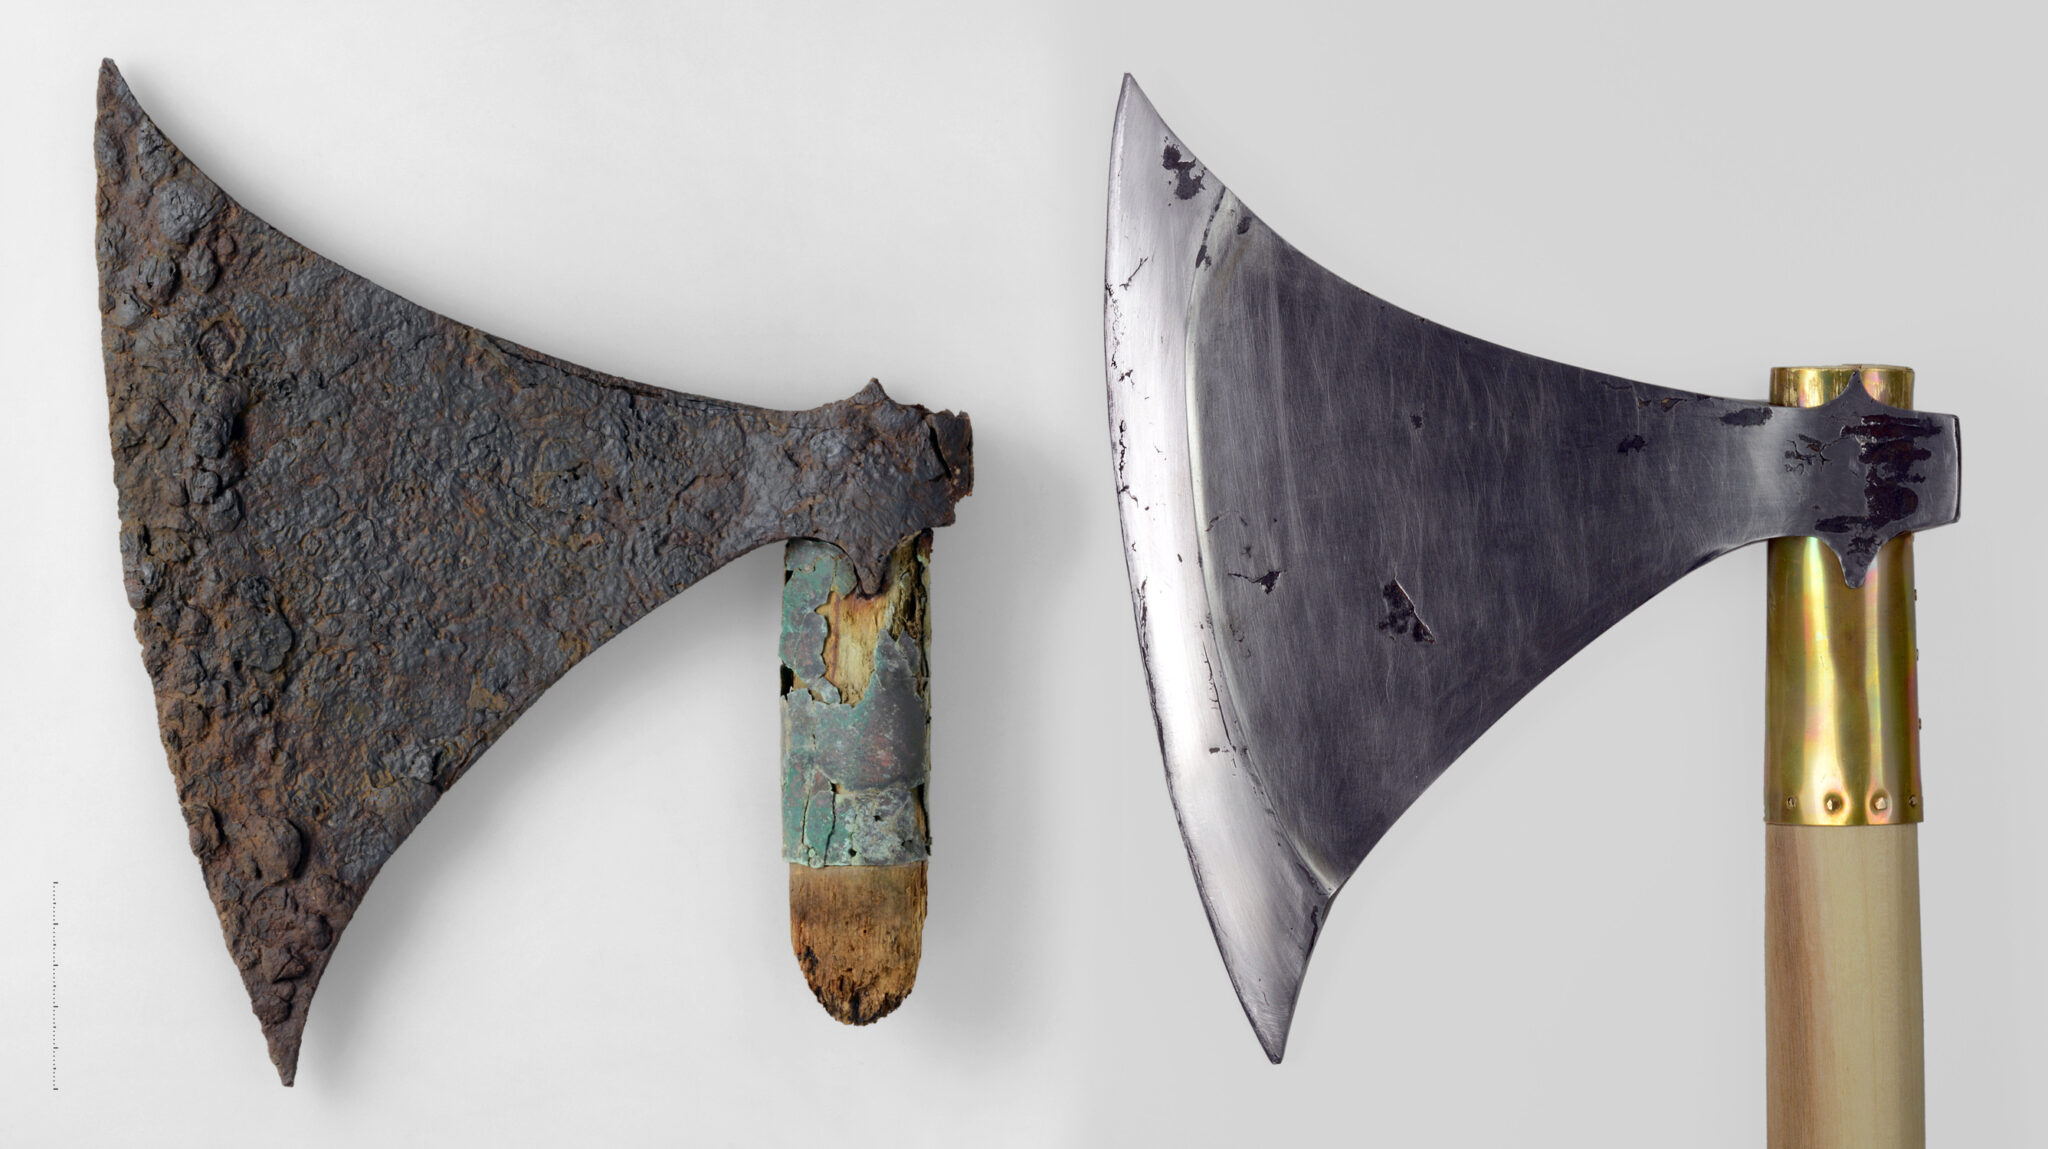
Metal wrapped axe head shafts in reproduction on right and the archaeological find from Langeid on left
The main purpose of the leather or metal wrapping is to strengthen the shaft in its narrowest part, which is most prone to cracking. An important fact is that metal-wrapped axes are basically always mounted from the top and not from the bottom. When mounted from below, the length of the entire shaft must be narrowed to the size of the axe eye. The installation from above allows the manufacturer and the user that the shaft does not have to be thinned along its entire length – it is thinned only at the intended top and at this point it is reinforced with sheet metal
I can imagine the heavy double headed axe which Dagur wields would benefit from this design approach, so i’m going to borrow this idea and retrofit it to the axe design. Looking at the screengrab above, I think it’s reasonable, as the handle for the axe does widen towards his hand.
Wrap up
I realise I am doing historical research on a tv programme which has flying dragons in it, but I’m enjoying this process and feel like it’s getting me into the character. Five weeks to comic-con and I’ve got materials and patterns bought or made for the main items and made a cardboard mock up of the main armour.
I’m also going to make the Dragon Eye, but more on that later in the week.
Much as I liked the earlier “code and components” branding, I’ve decided to change to a more straightforward gavinmakes. This is also the new handle for my main YouTube channel too.
So that allows for gavinmakes 2040cosplay and gavinmakes 2ndmagpiefilms (in time).
The main thing I’ve been working on in the intervening time has been a YouTube based course on how to make props with LEDs, sounds and buttons. I like teaching people how to do things in my job. From looking at youtube and going to comic-con, I think there is a gap on the electronics side of cosplay, which hopefully I can help fill.
I’ve got 12 episodes planned, which will grow, as I continue developing the material. I’m focusing on blaster type props, but will also cover swords and similar weapons, as I’ve made both types. It will cover
RGB LEDs from strips to individual one
Power management and power sources
Buttons as triggers and power on or mode selection
Amplifiers, speakers and making sounds
Which micro-controller to use
What kit you need covering soldering and no soldering options
How to put it all together into a prop
Programming the prop in circuit python
I should have the first videos starting this May, this autumn, as ADHD slightly got in the way. If there are things you’d like to see me cover, then please do add a comment.
Next is a build for comic-con, actually completing Buggy, but also possibly a new character, Stoick!
I’ve started scripting videos for my you tube channel on 2040cosplay and have got drafts for the following.
glues, primers and why they are complex and country specific with a guide to each country
Which microcontroller to chose for different lights and sounds props
Expanding on the microcontrollers video to show five different ways to include lights
How to put sounds into props
Let me know which of them sound the most useful?
I’ve also been learning a huge amount about making videos, recording audio, lighting, scripting, editing and generally setting up a youtube channel. There is a LOT to think about. I’ve also had the most shocking sinusitis, thankfully that was back in June.
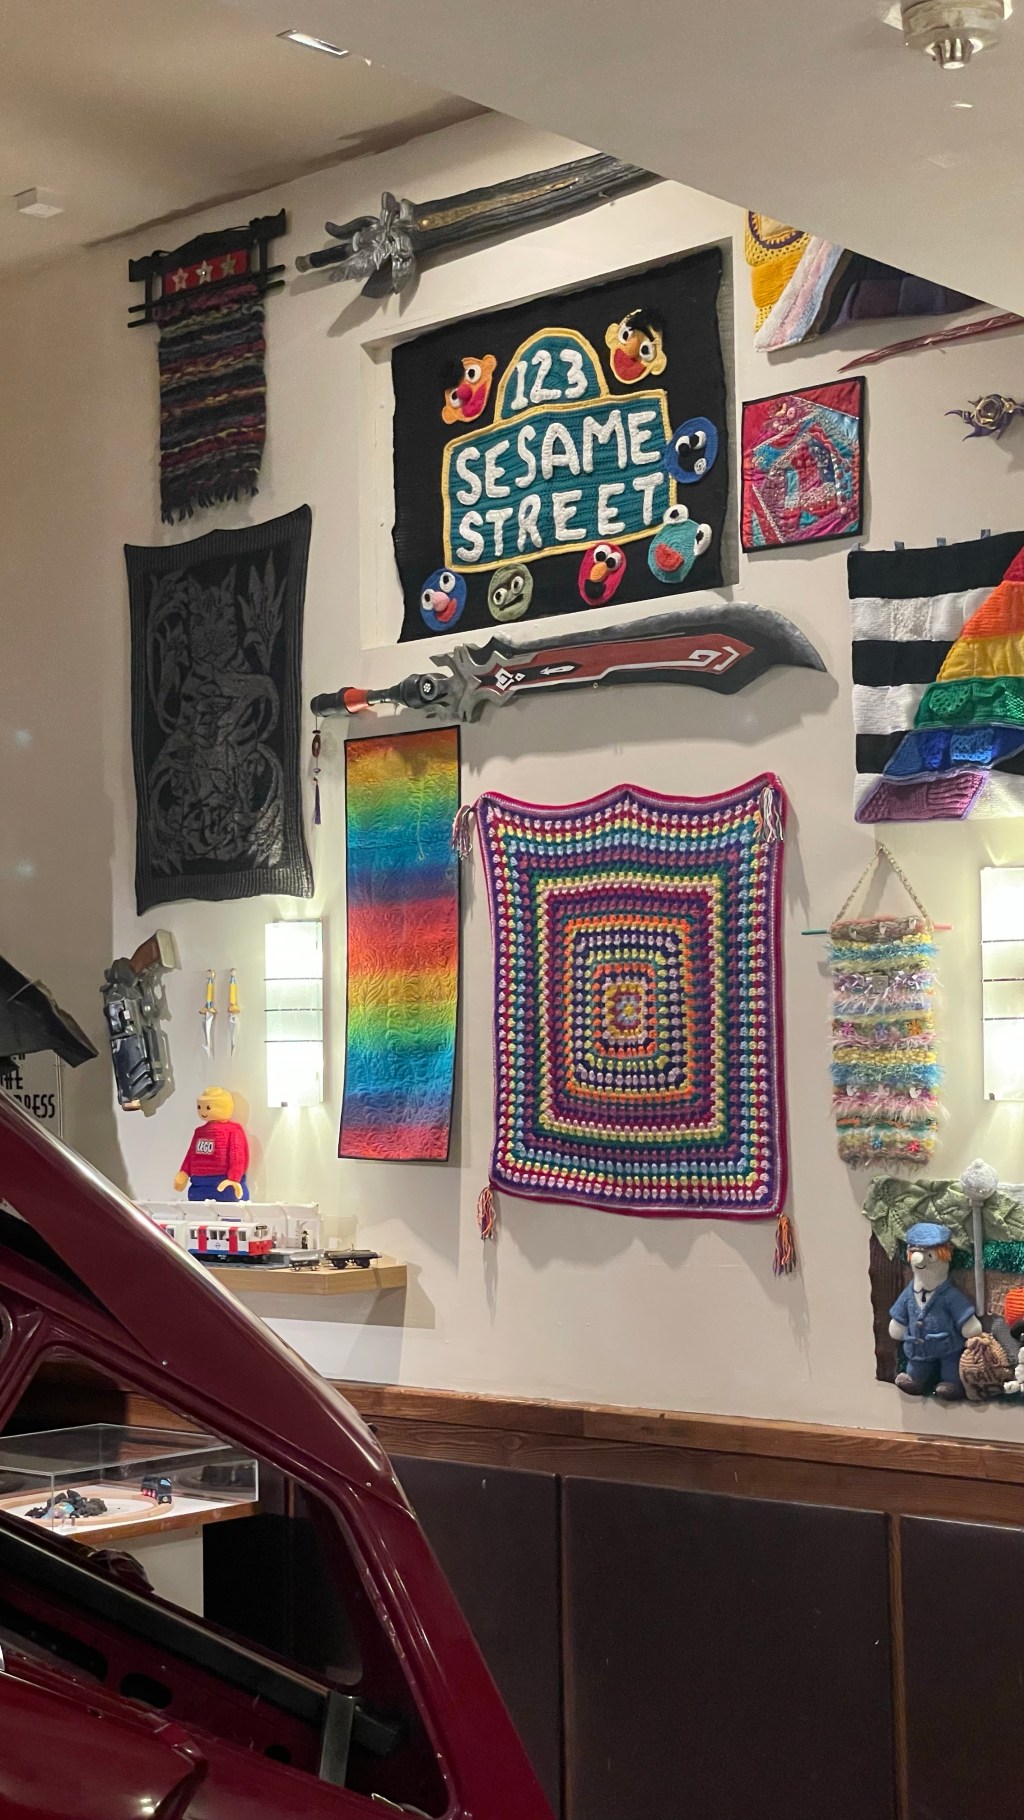
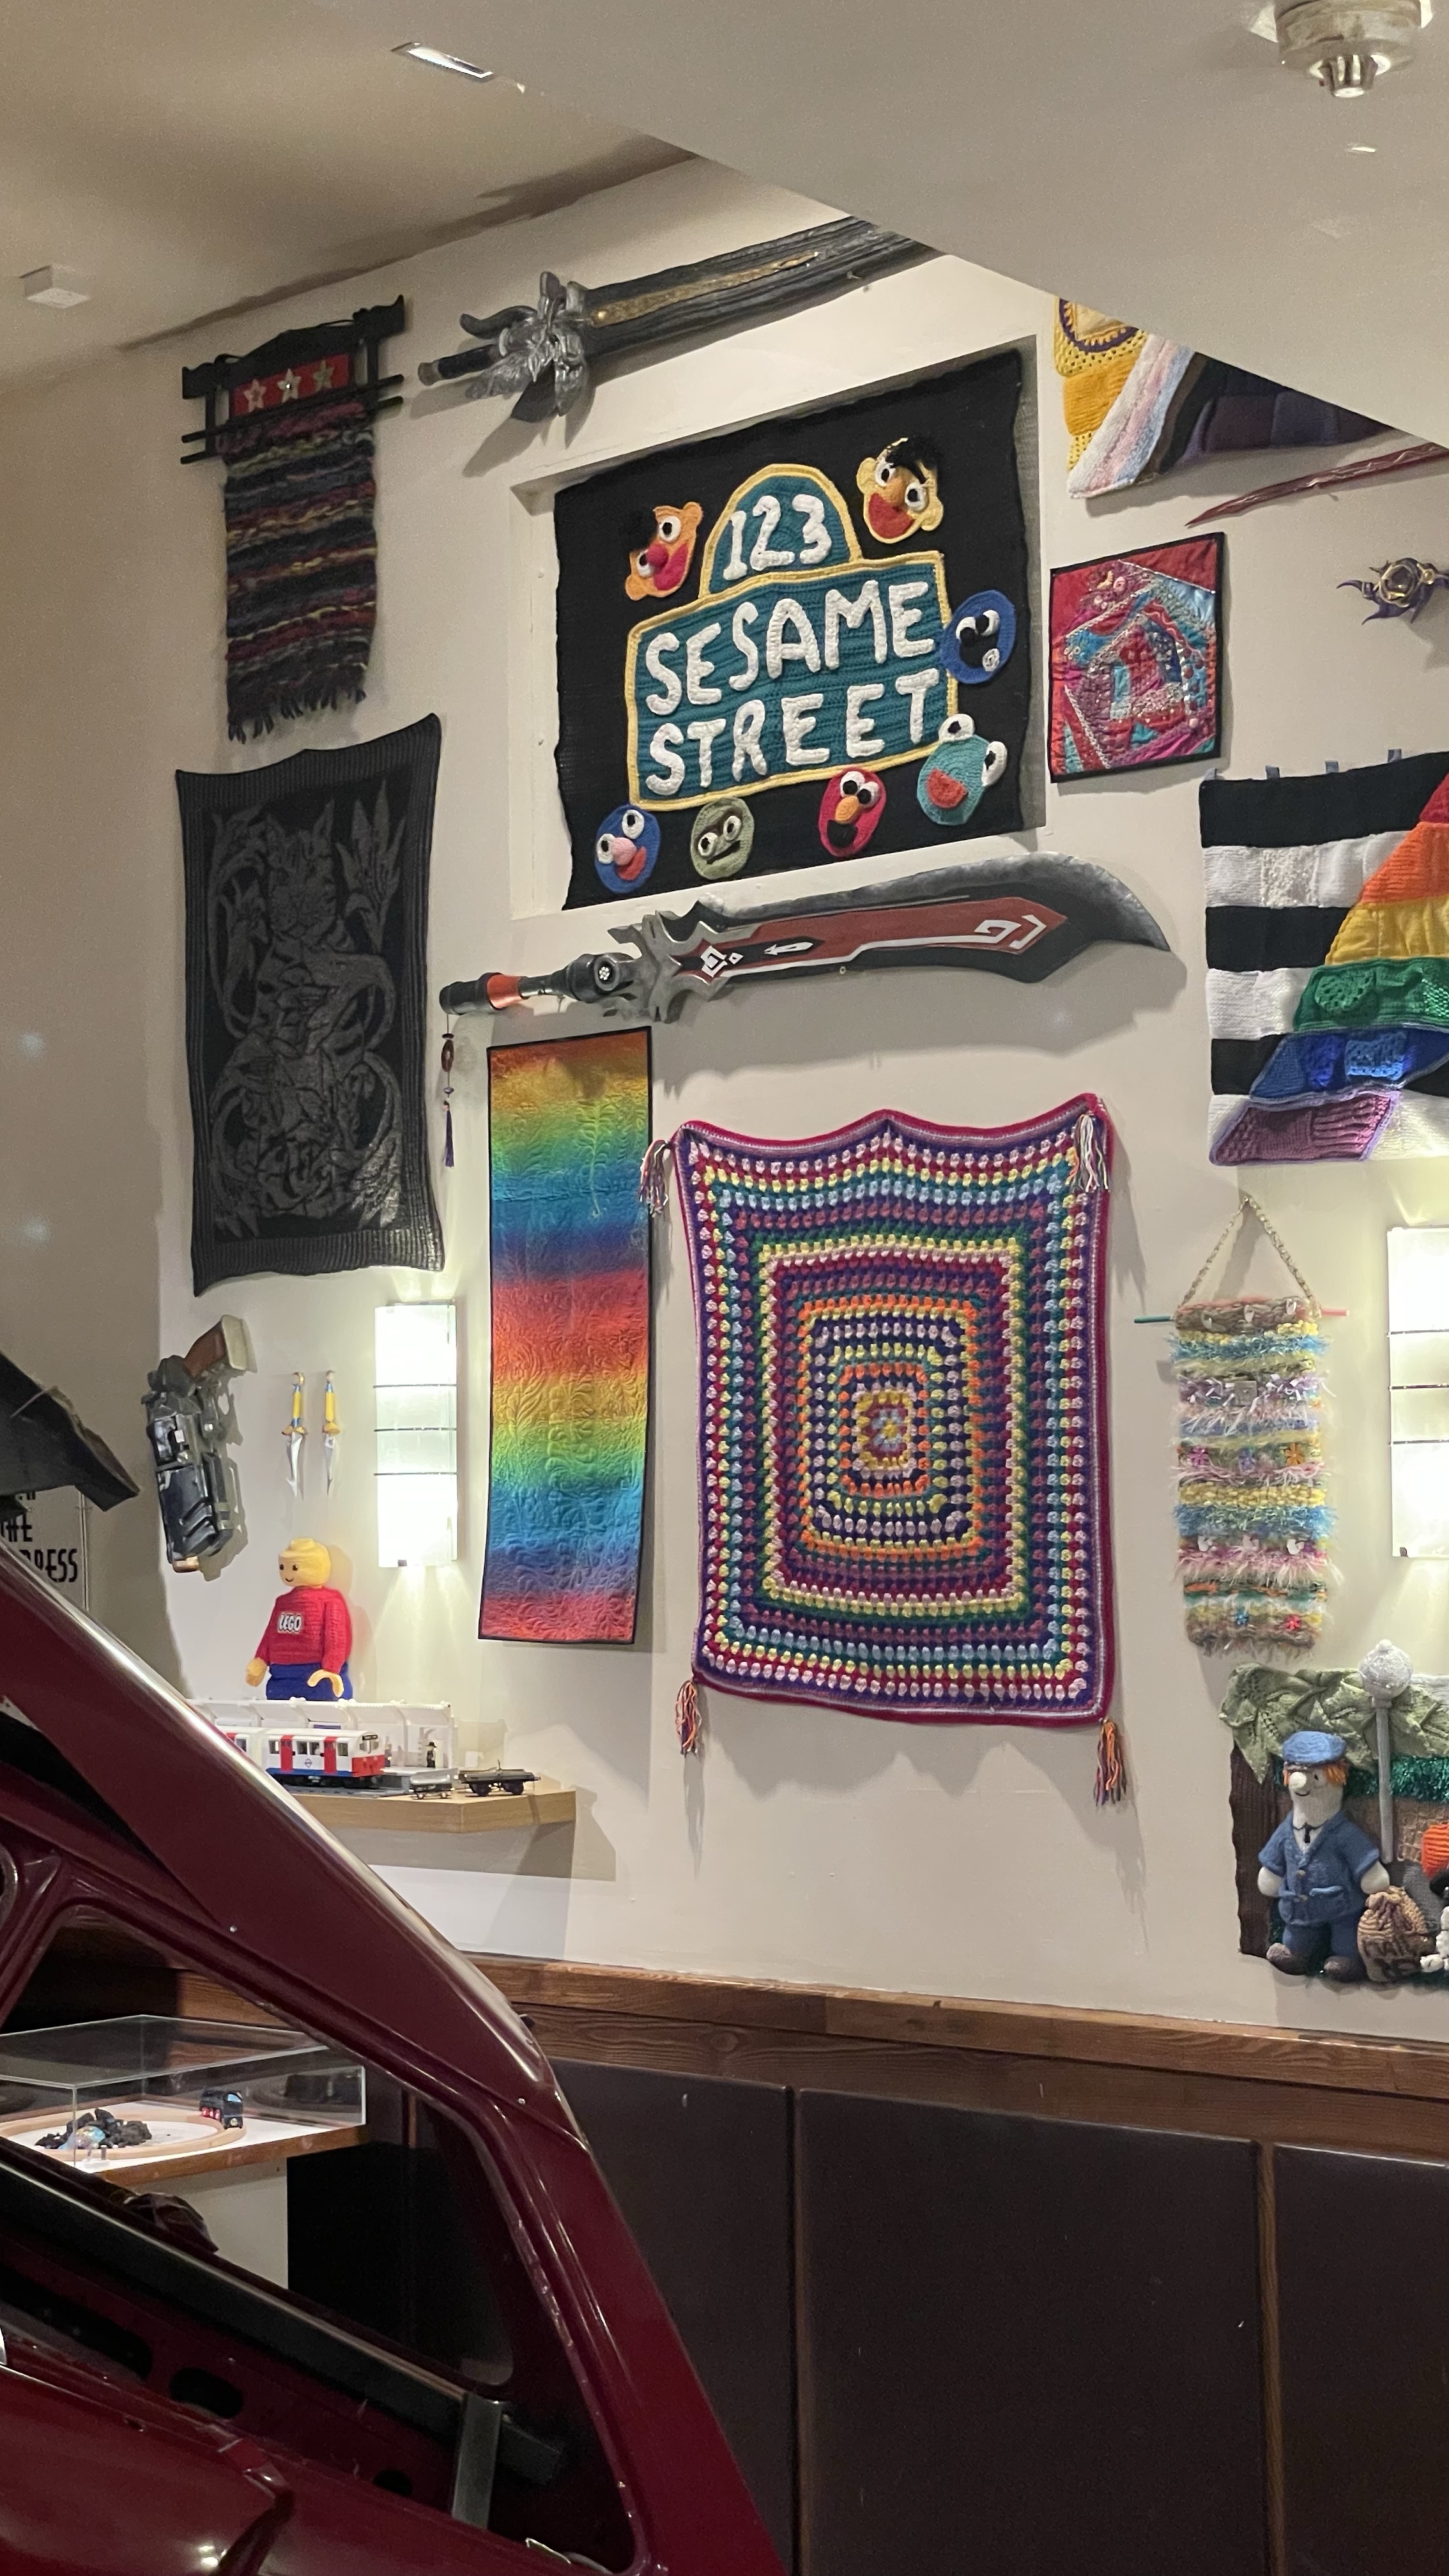
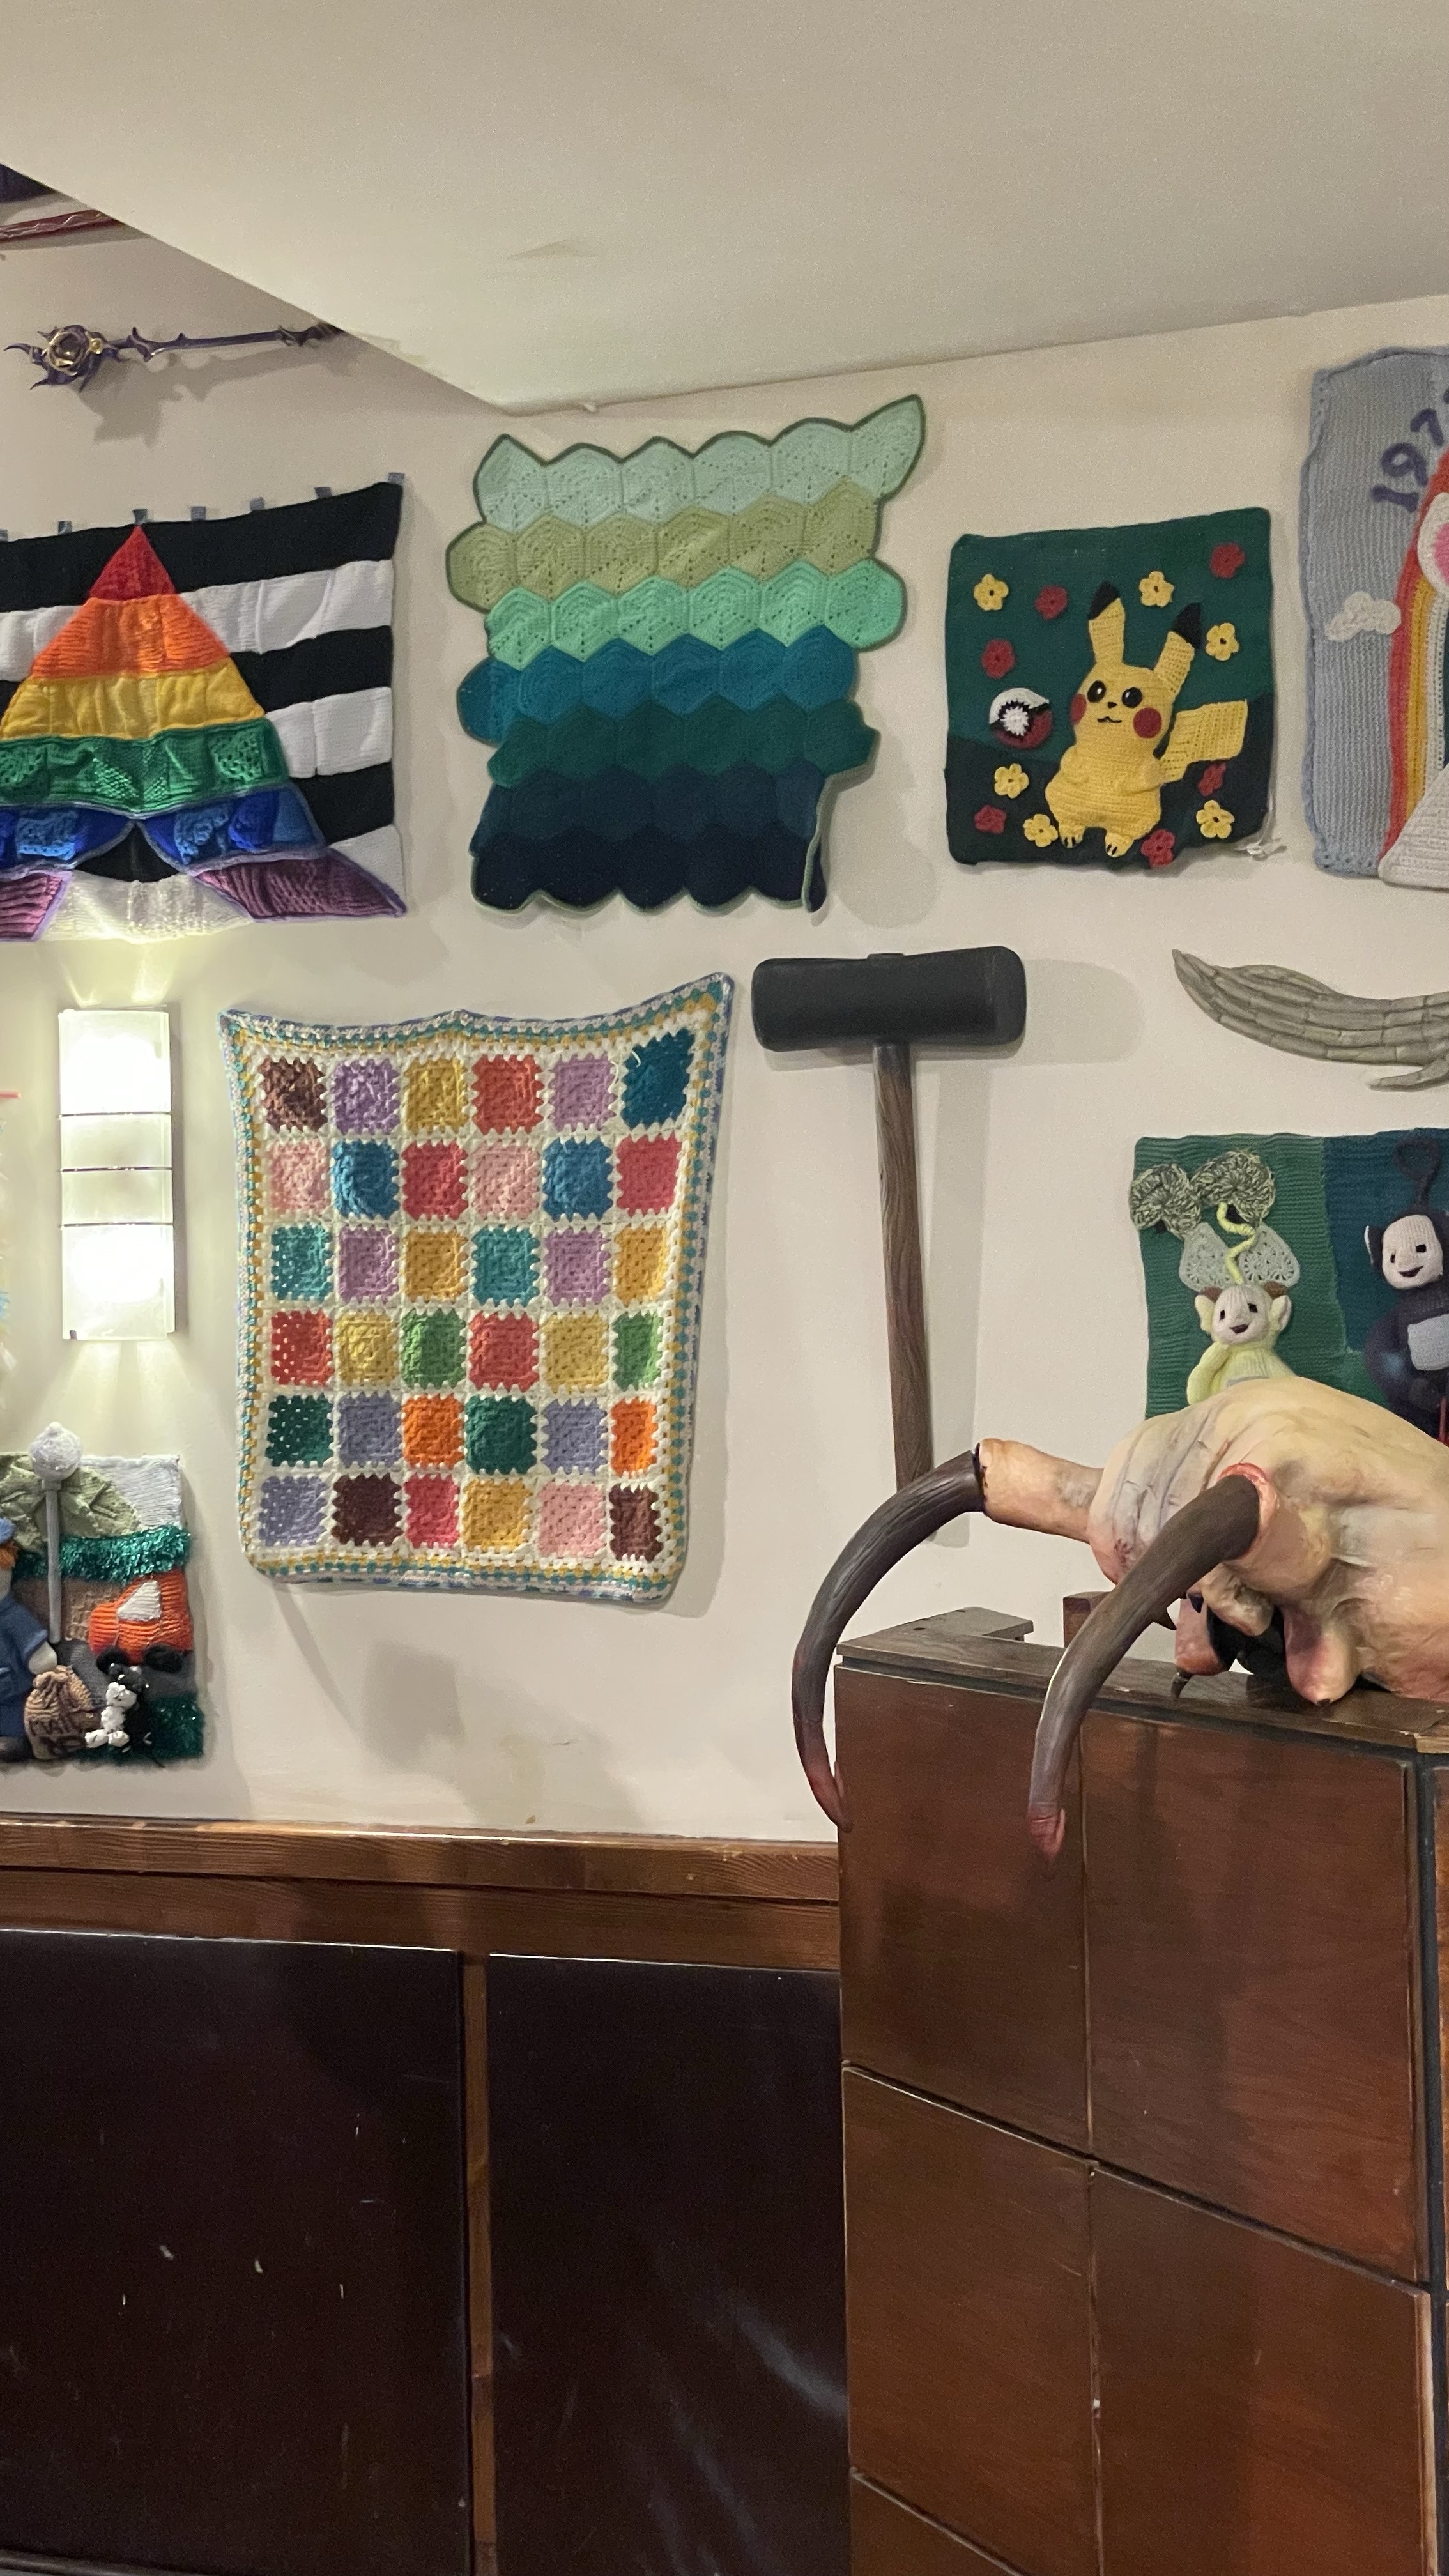
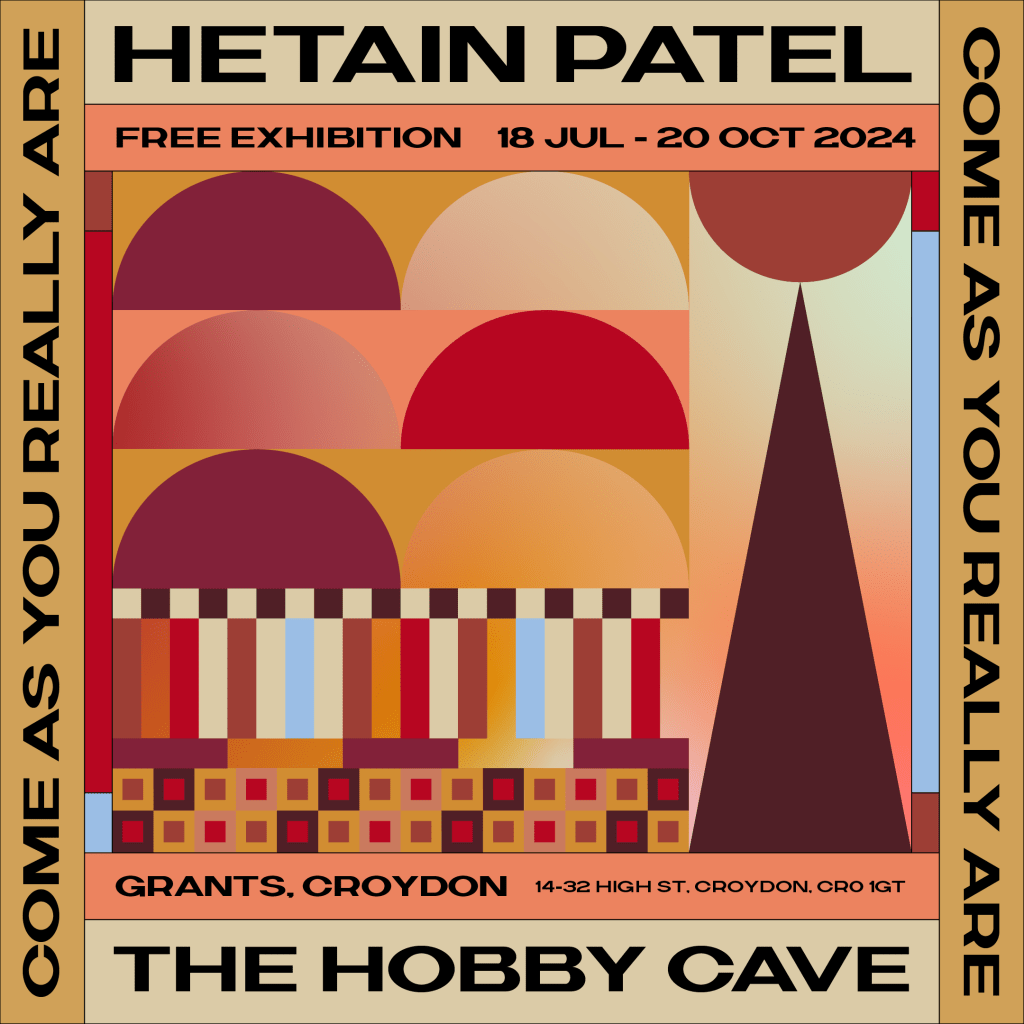
It was great to go to the launch of the Artangel show “Come as you really are“, last week in Croydon. So many amazing objects in one room. Such a lot of creativity which Hetain Patal managed to bring into one building. The Guardian review writes nicely about the quiet sense of joy which the exhibition offers.
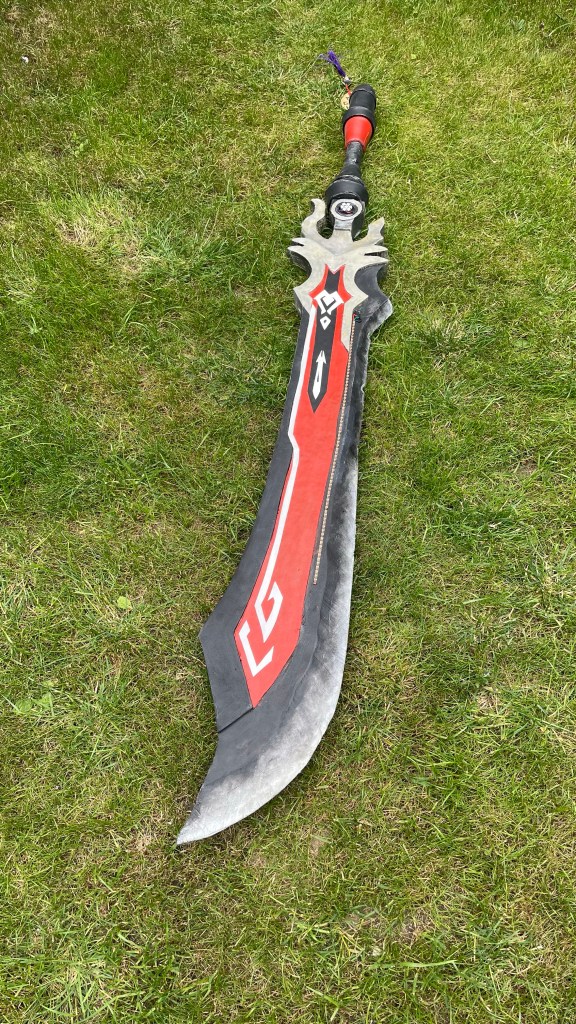
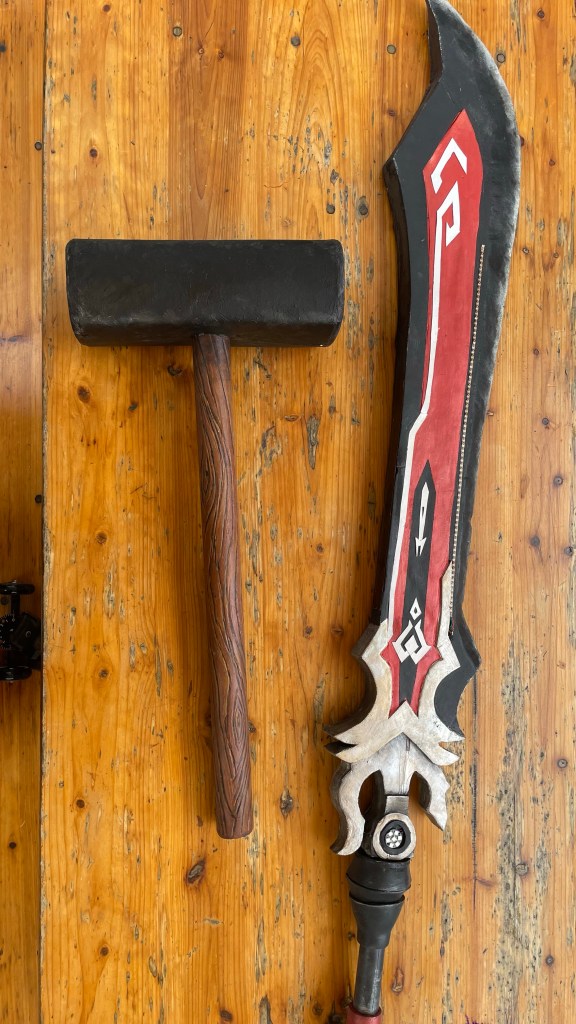
Above is the sword hanging below a sesame st sign and below is the hammer hanging out with Pikachu.
I’m delighted to say that 2040cosplay work is going to be in an art exhibition. The Blackcliff slasher great sword from Genshin Impact and the forge hammer from Leo Valdez have been selected to be in “Come As You Really Are“, run by Hetain Patel for ArtAngel.
The show opens on 18 July 2024 with 1000s of objects from hobbyists filling the space of Grants of Croydon in an exhibition that celebrates everyday creativity.
Blackcliff slasher
It’s been a lovely experience to take part in and I’m looking forward to going to the opening with Max. Really pleased to see the props get another showing outside of comic-con. Last night at the Cosplay Academy there was a good conversation about getting outside of the pure-con focus that cosplay can generate. So lovely to have this opportunity already. It will be great to see the other exhibits too at the show.
Hammer and Sword
Tickets are free and available now, the show runs from 17th July until 20 October in Croydon in South London. It’s approximately a 10-12 minute walk from either West Croydon or East Croydon train stations.
I was all set to be Buggy from Onepiece, but life intervened and took me in a different direction. The clown pirate will return, probably in October or around season 2 of onepiece.
So this comic-con I’ll be playing a combination of the war journalists Lee and Joel from Alex Garland’s 2024 film Civil War. I’m in the process of setting up a youtube channel for both here and 2040cosplay, so I have a nice new camera for that. I intend to cover costumes, code and components and shoot more of the making of things, rather than write up once it is made.
I think I can play a sort of Lee as photographer with Joel as audio journalist cross with my youtube channel. We’ll see how it works.
My plan on Saturday is to walk the floors (searching for the President) and interview lots of people, then edit and post a compilation of the people I met at comic-con.
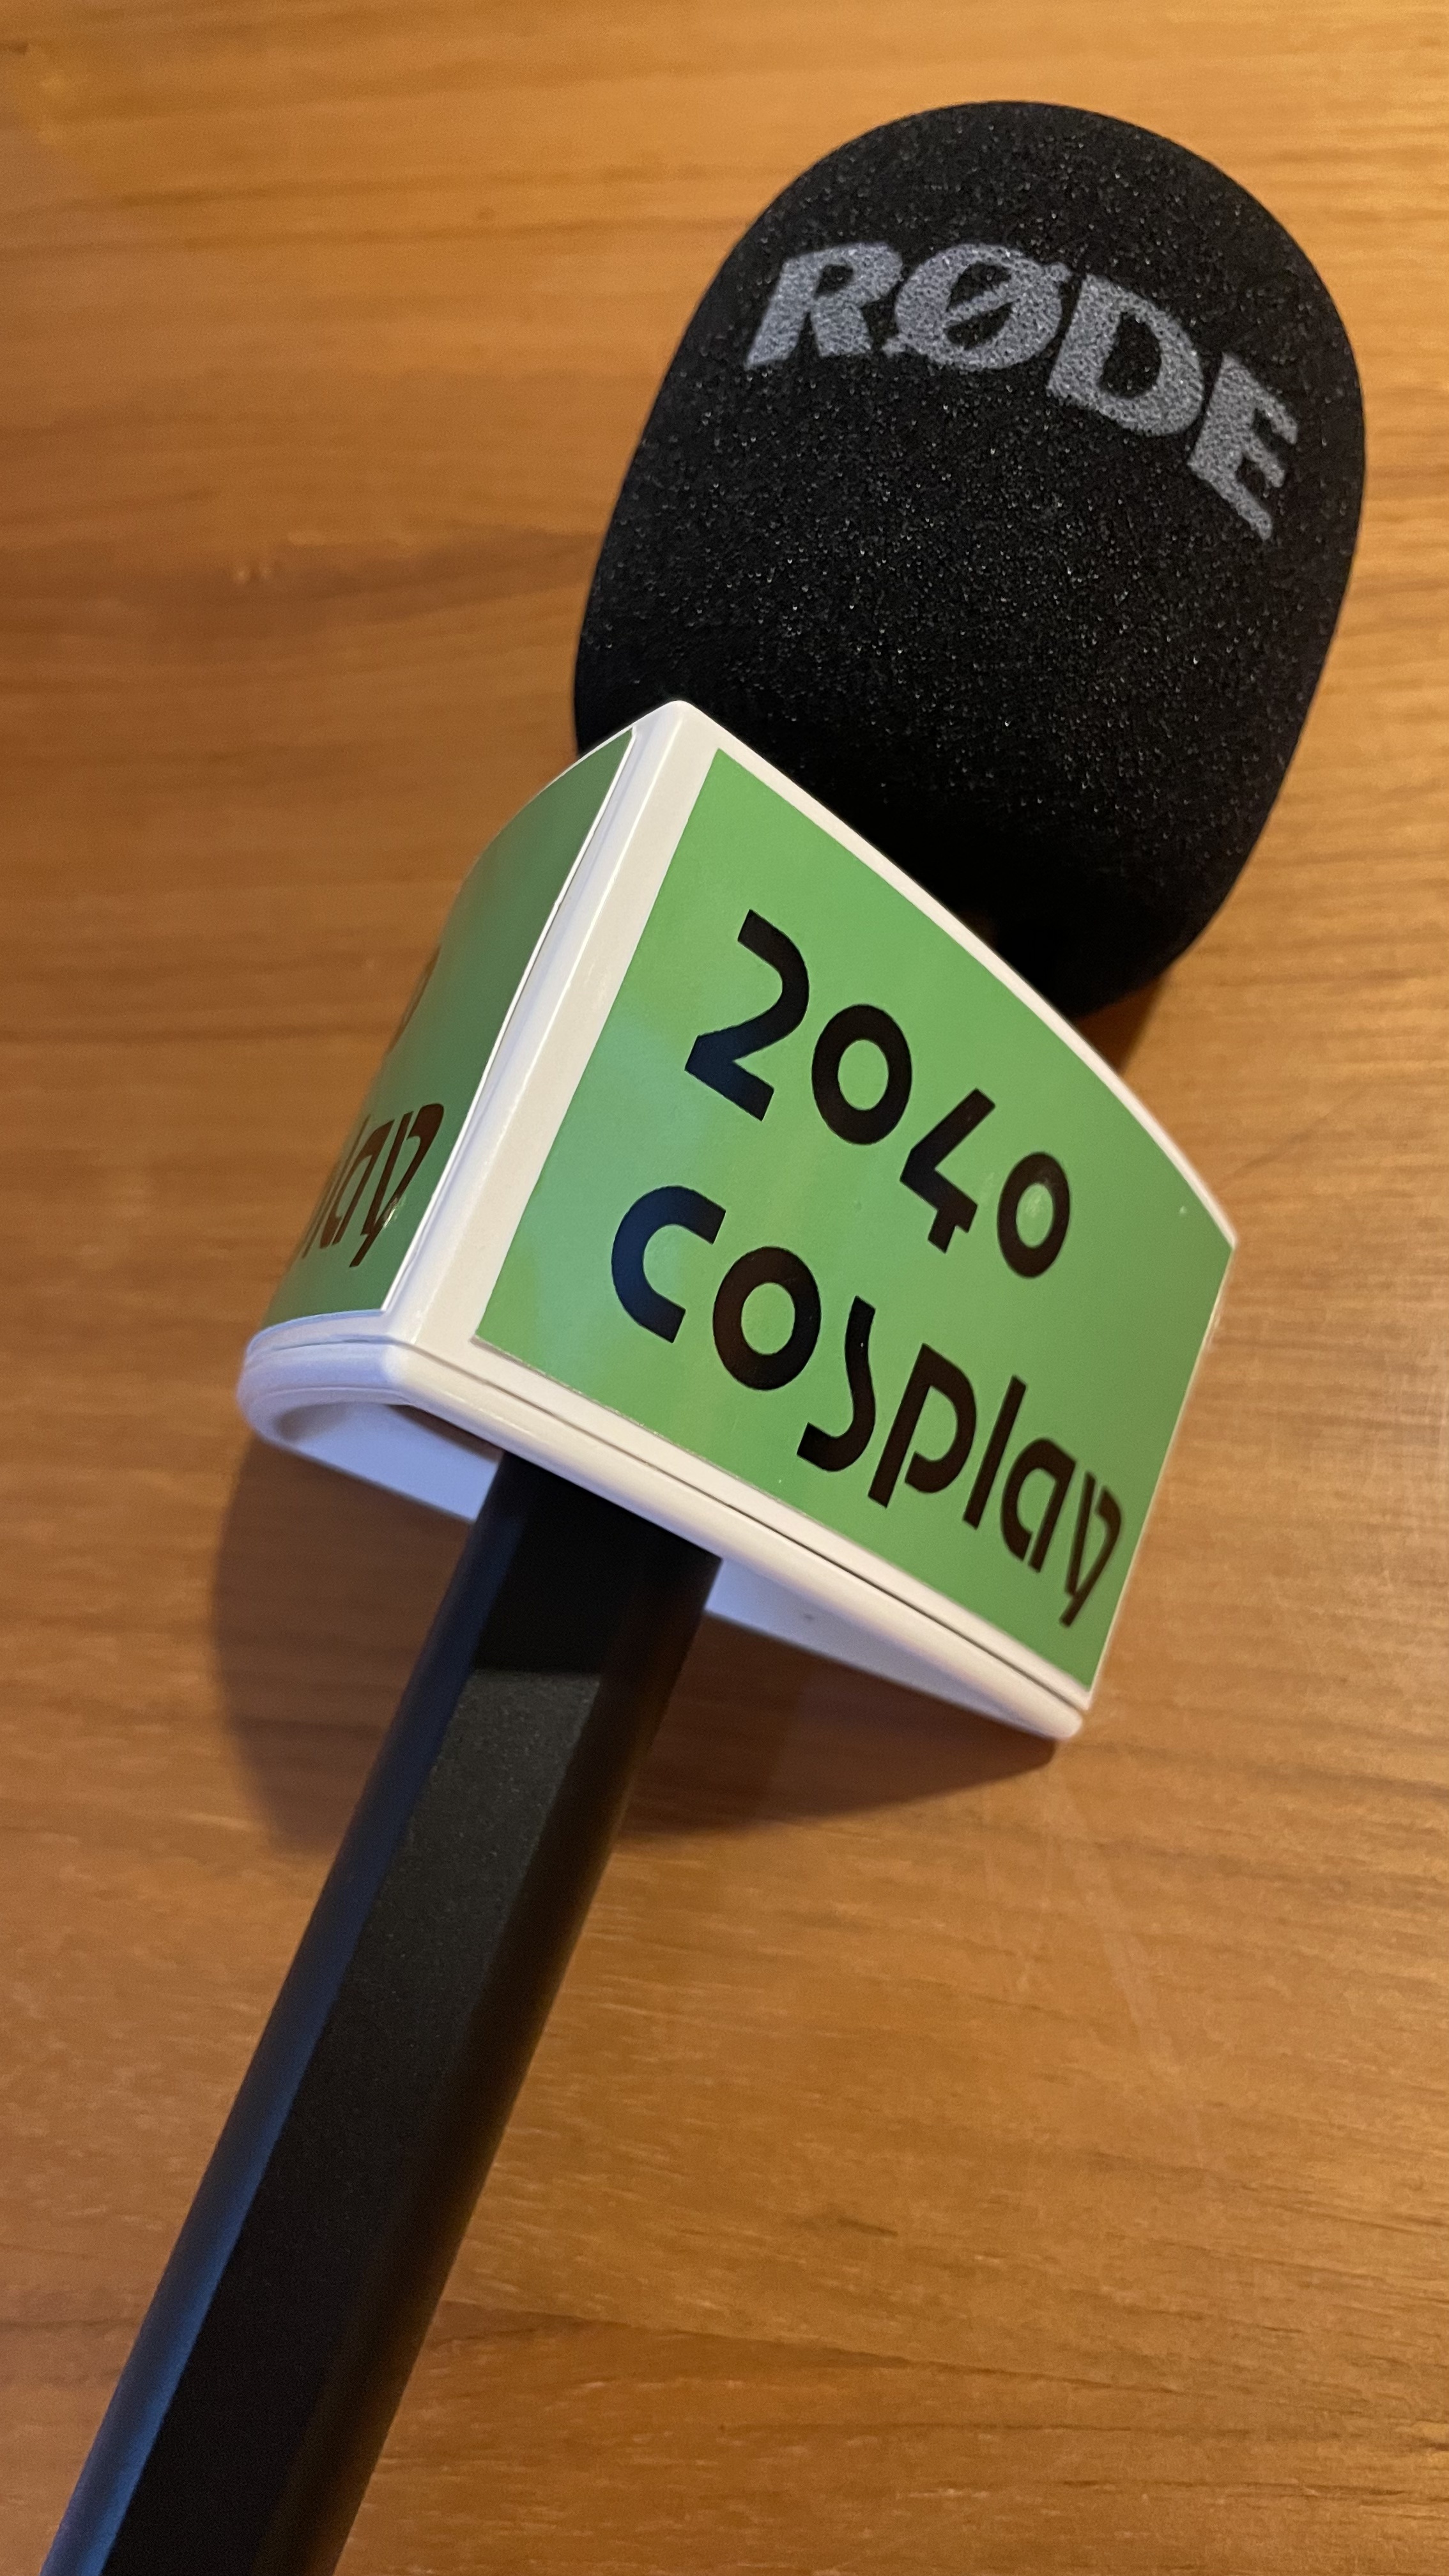
Should be fun, find me with the 2040cosplay mic flag.


You must be logged in to post a comment.