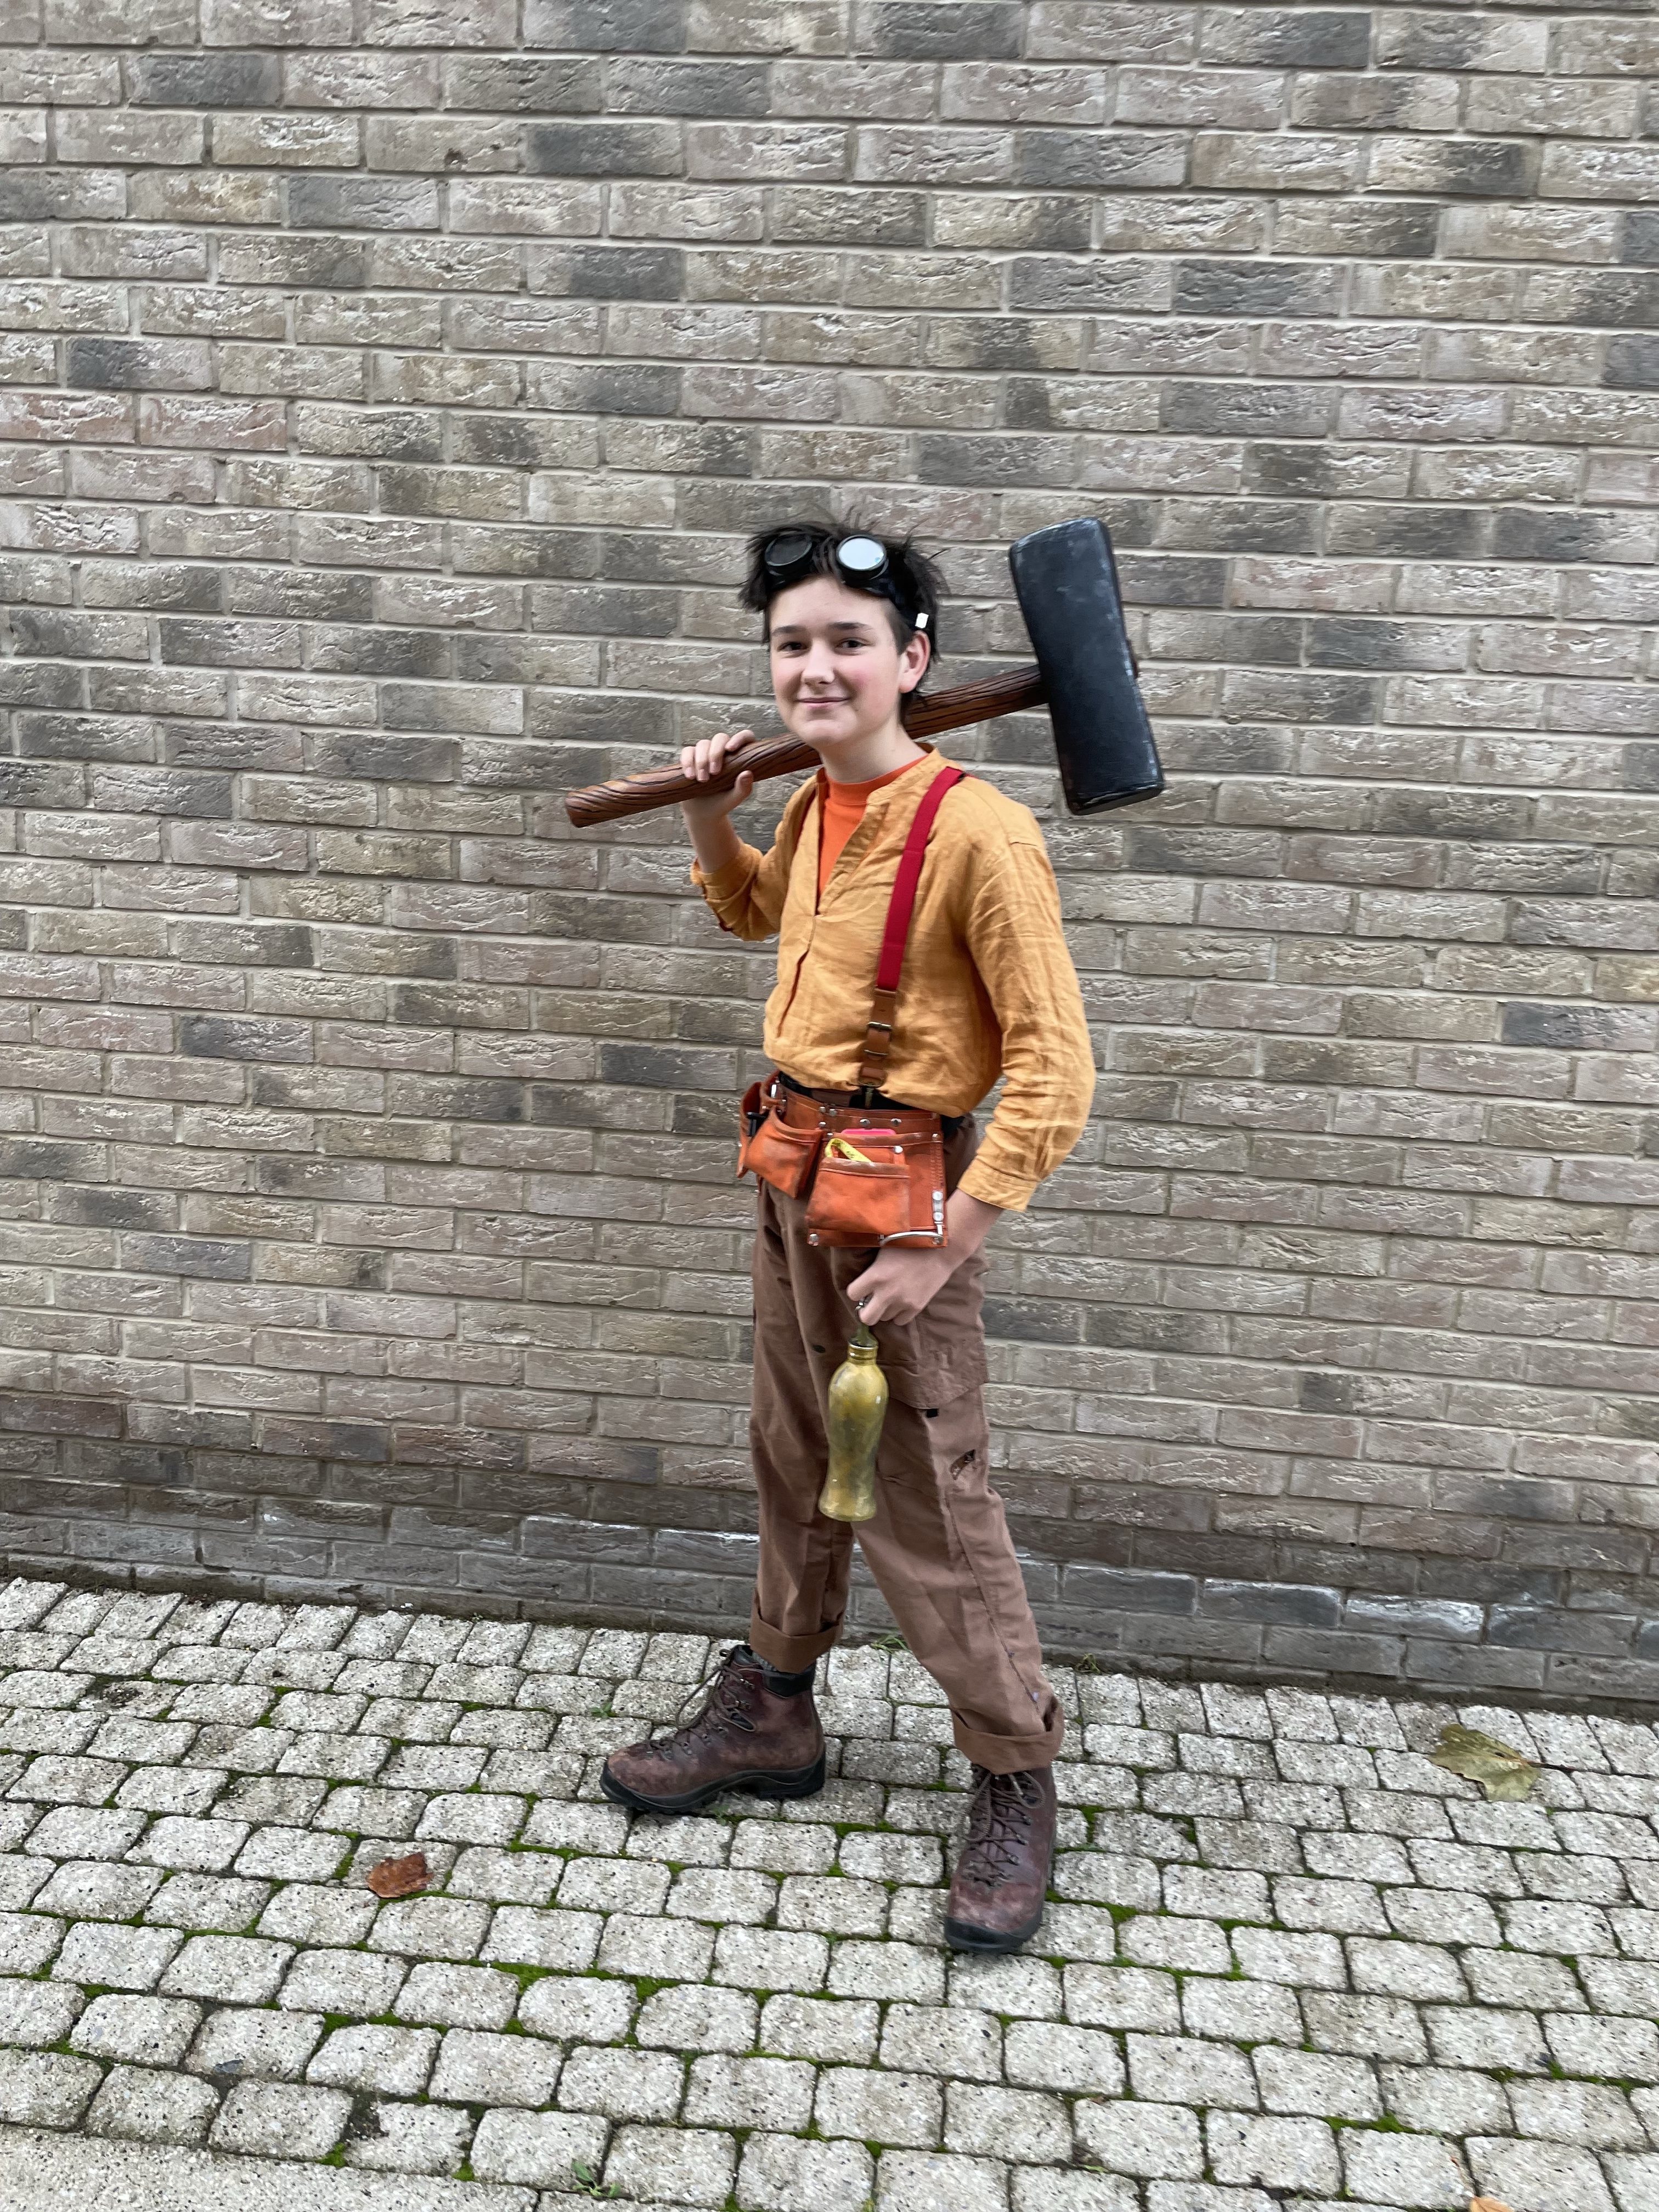
I’ve just written about max’s hammer and wanted to introduce a technique from my day job to assess how that prop build went. These are called retros, short for retrospective. We regularly do a team retrospective in my work to assess how we are working and change or improve things which are not going well, as well as celebrate things which are working. A retro is a good way of improving your own ways of working or evolving your cosplay practice.
Applying this approach to cosplay means doing this after the con / photoshoot and taking some time to reflect on how the overall build experience felt. The basic approach is to assess what you did and what the outcome of that activity was. Did it work well, was there anything you would do differently next time? Then assess each element of the prop or costume to see could it be improved or did you start in completely the wrong place and still succeed!
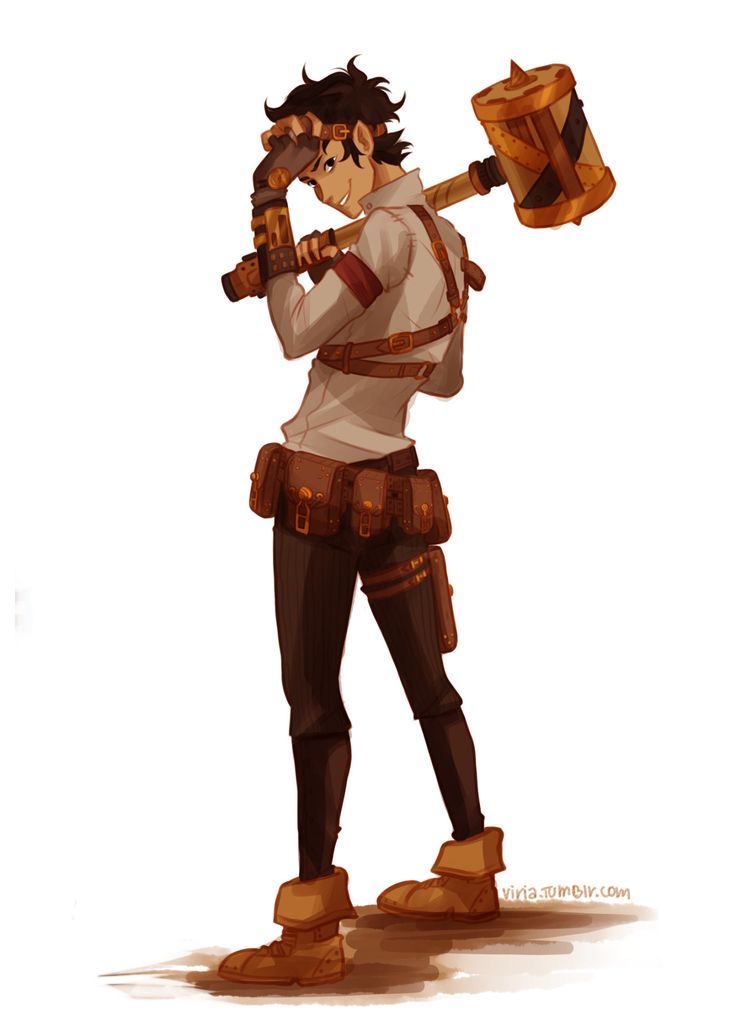
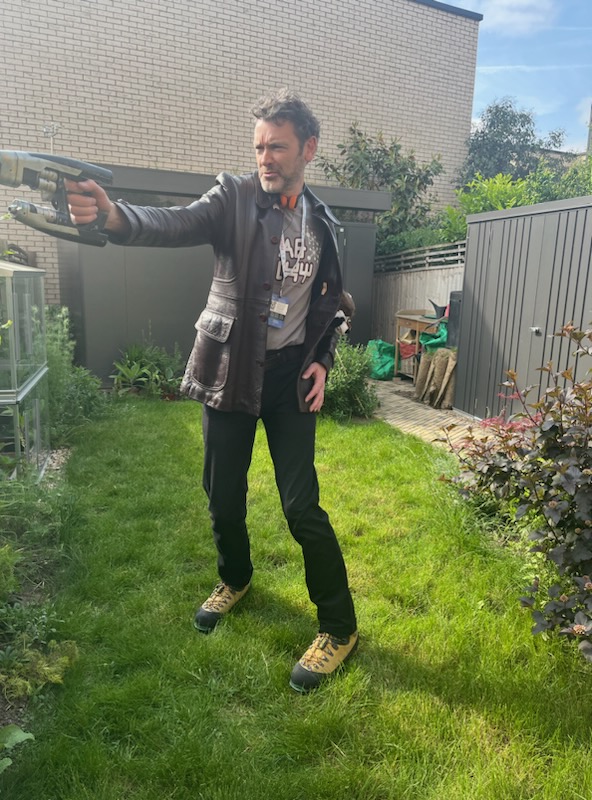
We did this between us once the dust had settled after the Leo Valdez cosplay and before we started on the sword build for Razor.
I want to apply the same retro ideas to cosplay. There are many formats for an agile team retrospective from “Sad, mad and glad” to “stop, start and continue” and lots of others. Cosplay builds are often done on your own or maybe with one other person, so I’ll use Liked, Learned, Lacked, Longed For (4Ls) as an approach here, as it is more process focused and softer in nature compared to “Stop, start and continue”.
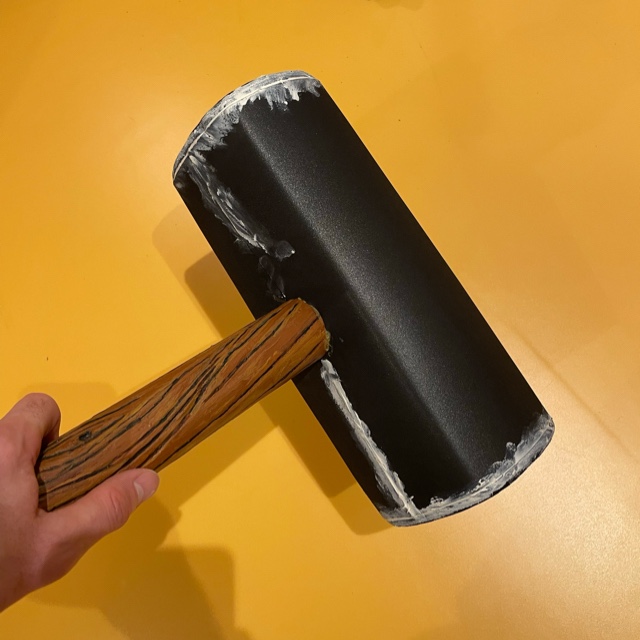
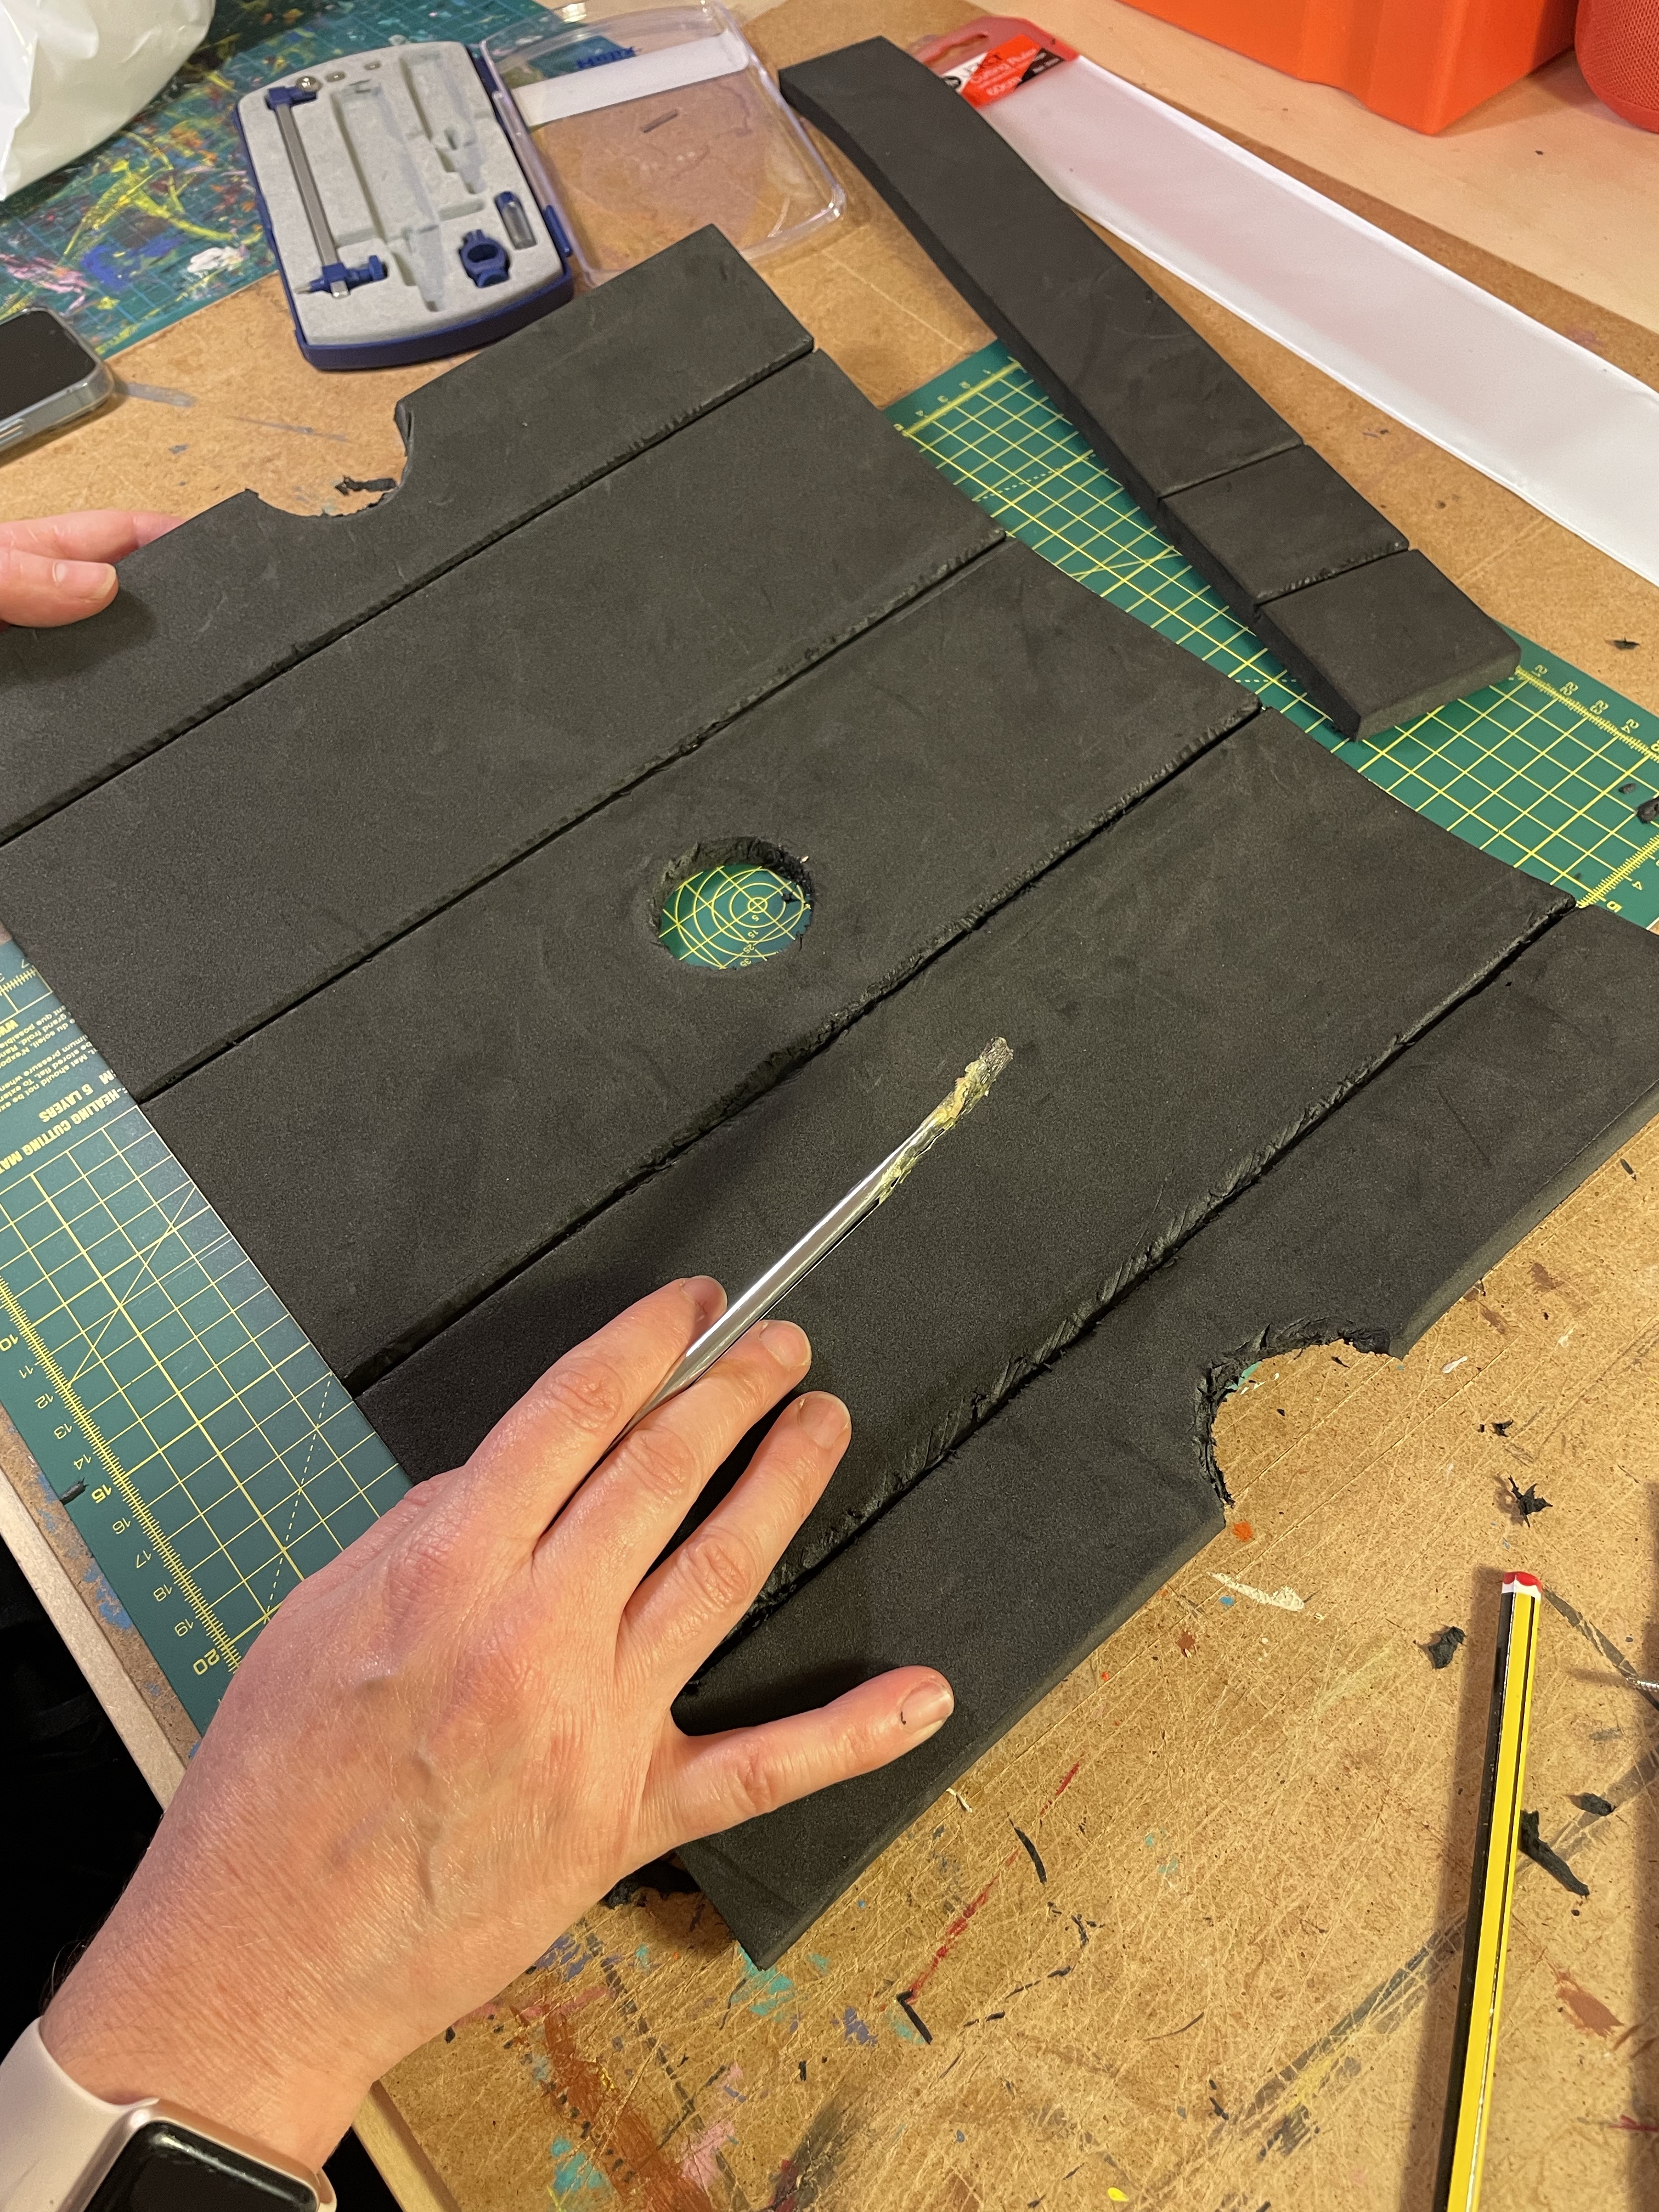
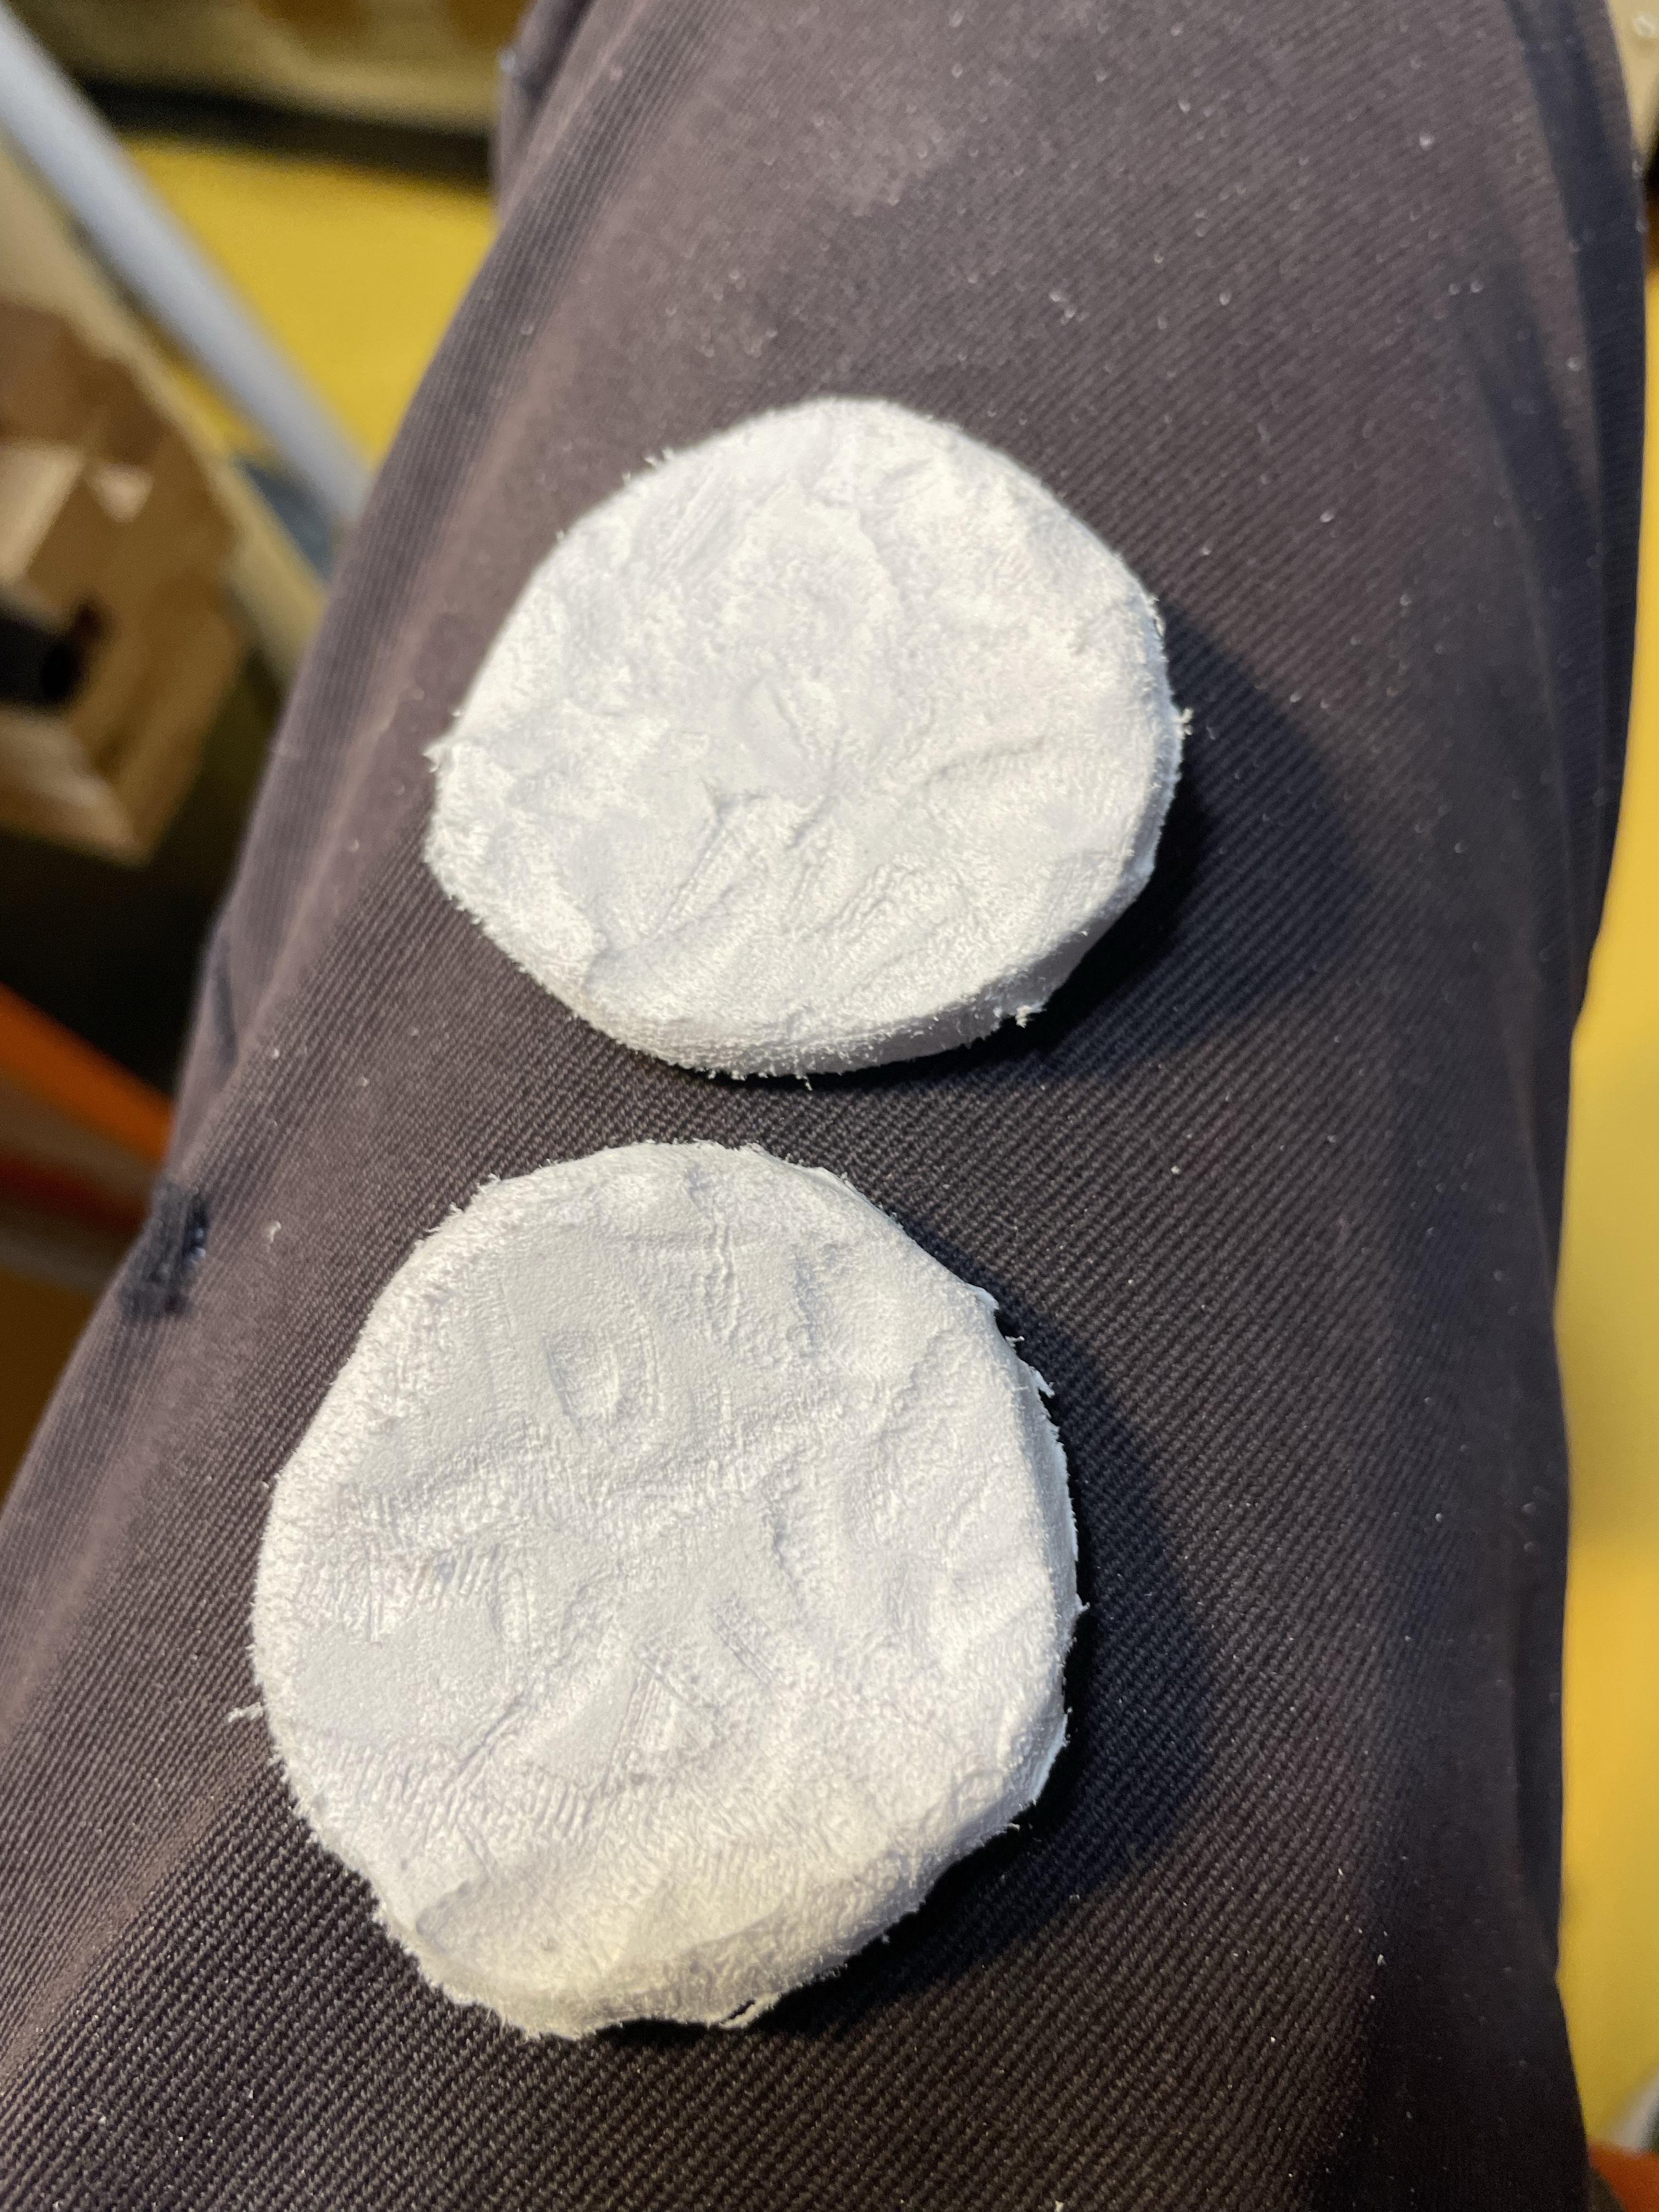
Liked – foam is good to work with; acrylic paints are very usable; Mod Podge is effective as a primer; cosplay is fun, we’d do it again!
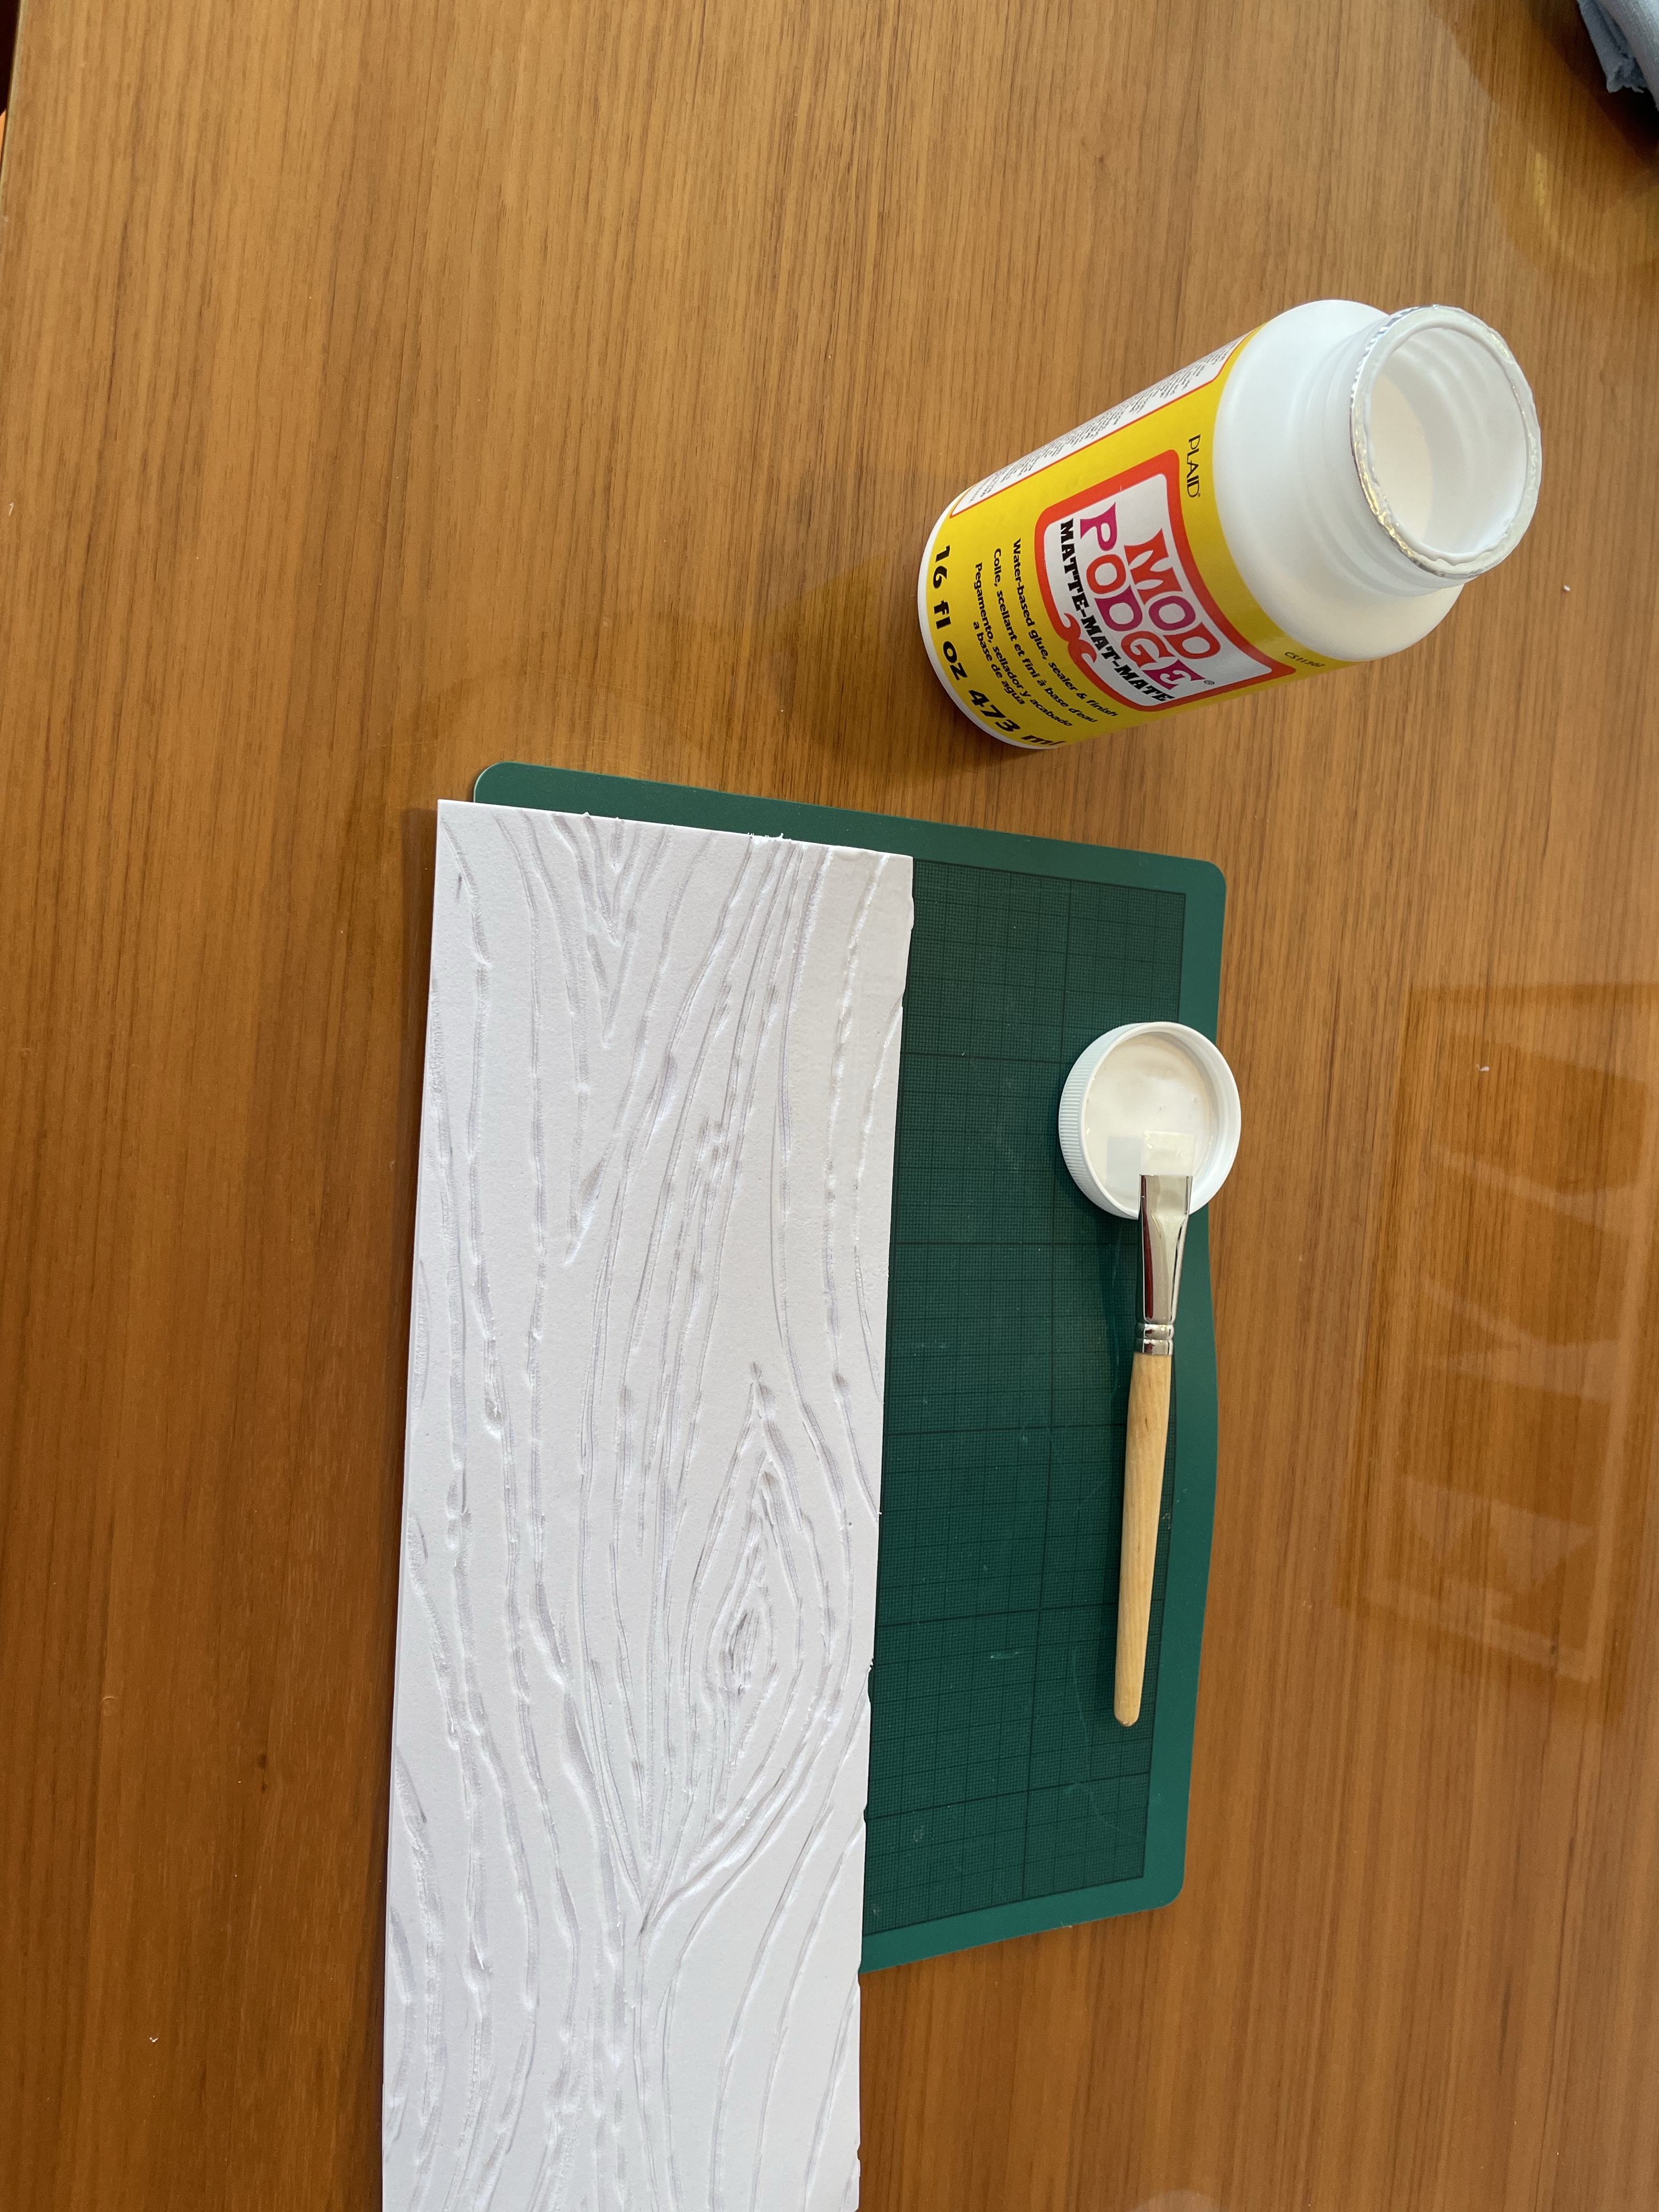
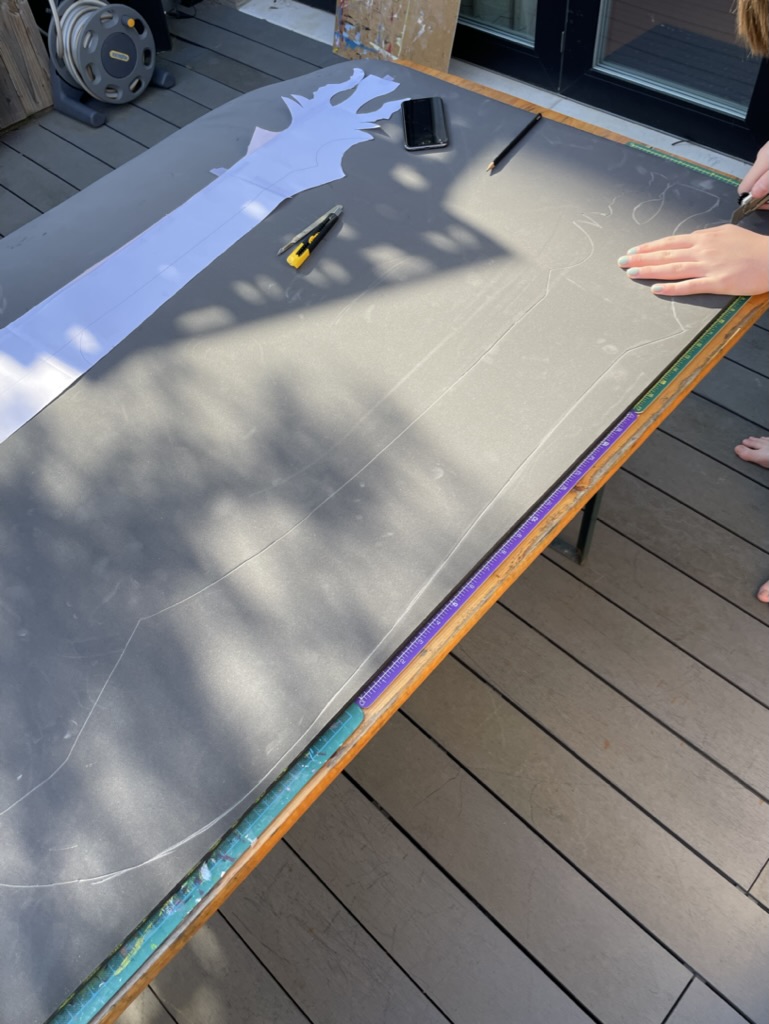
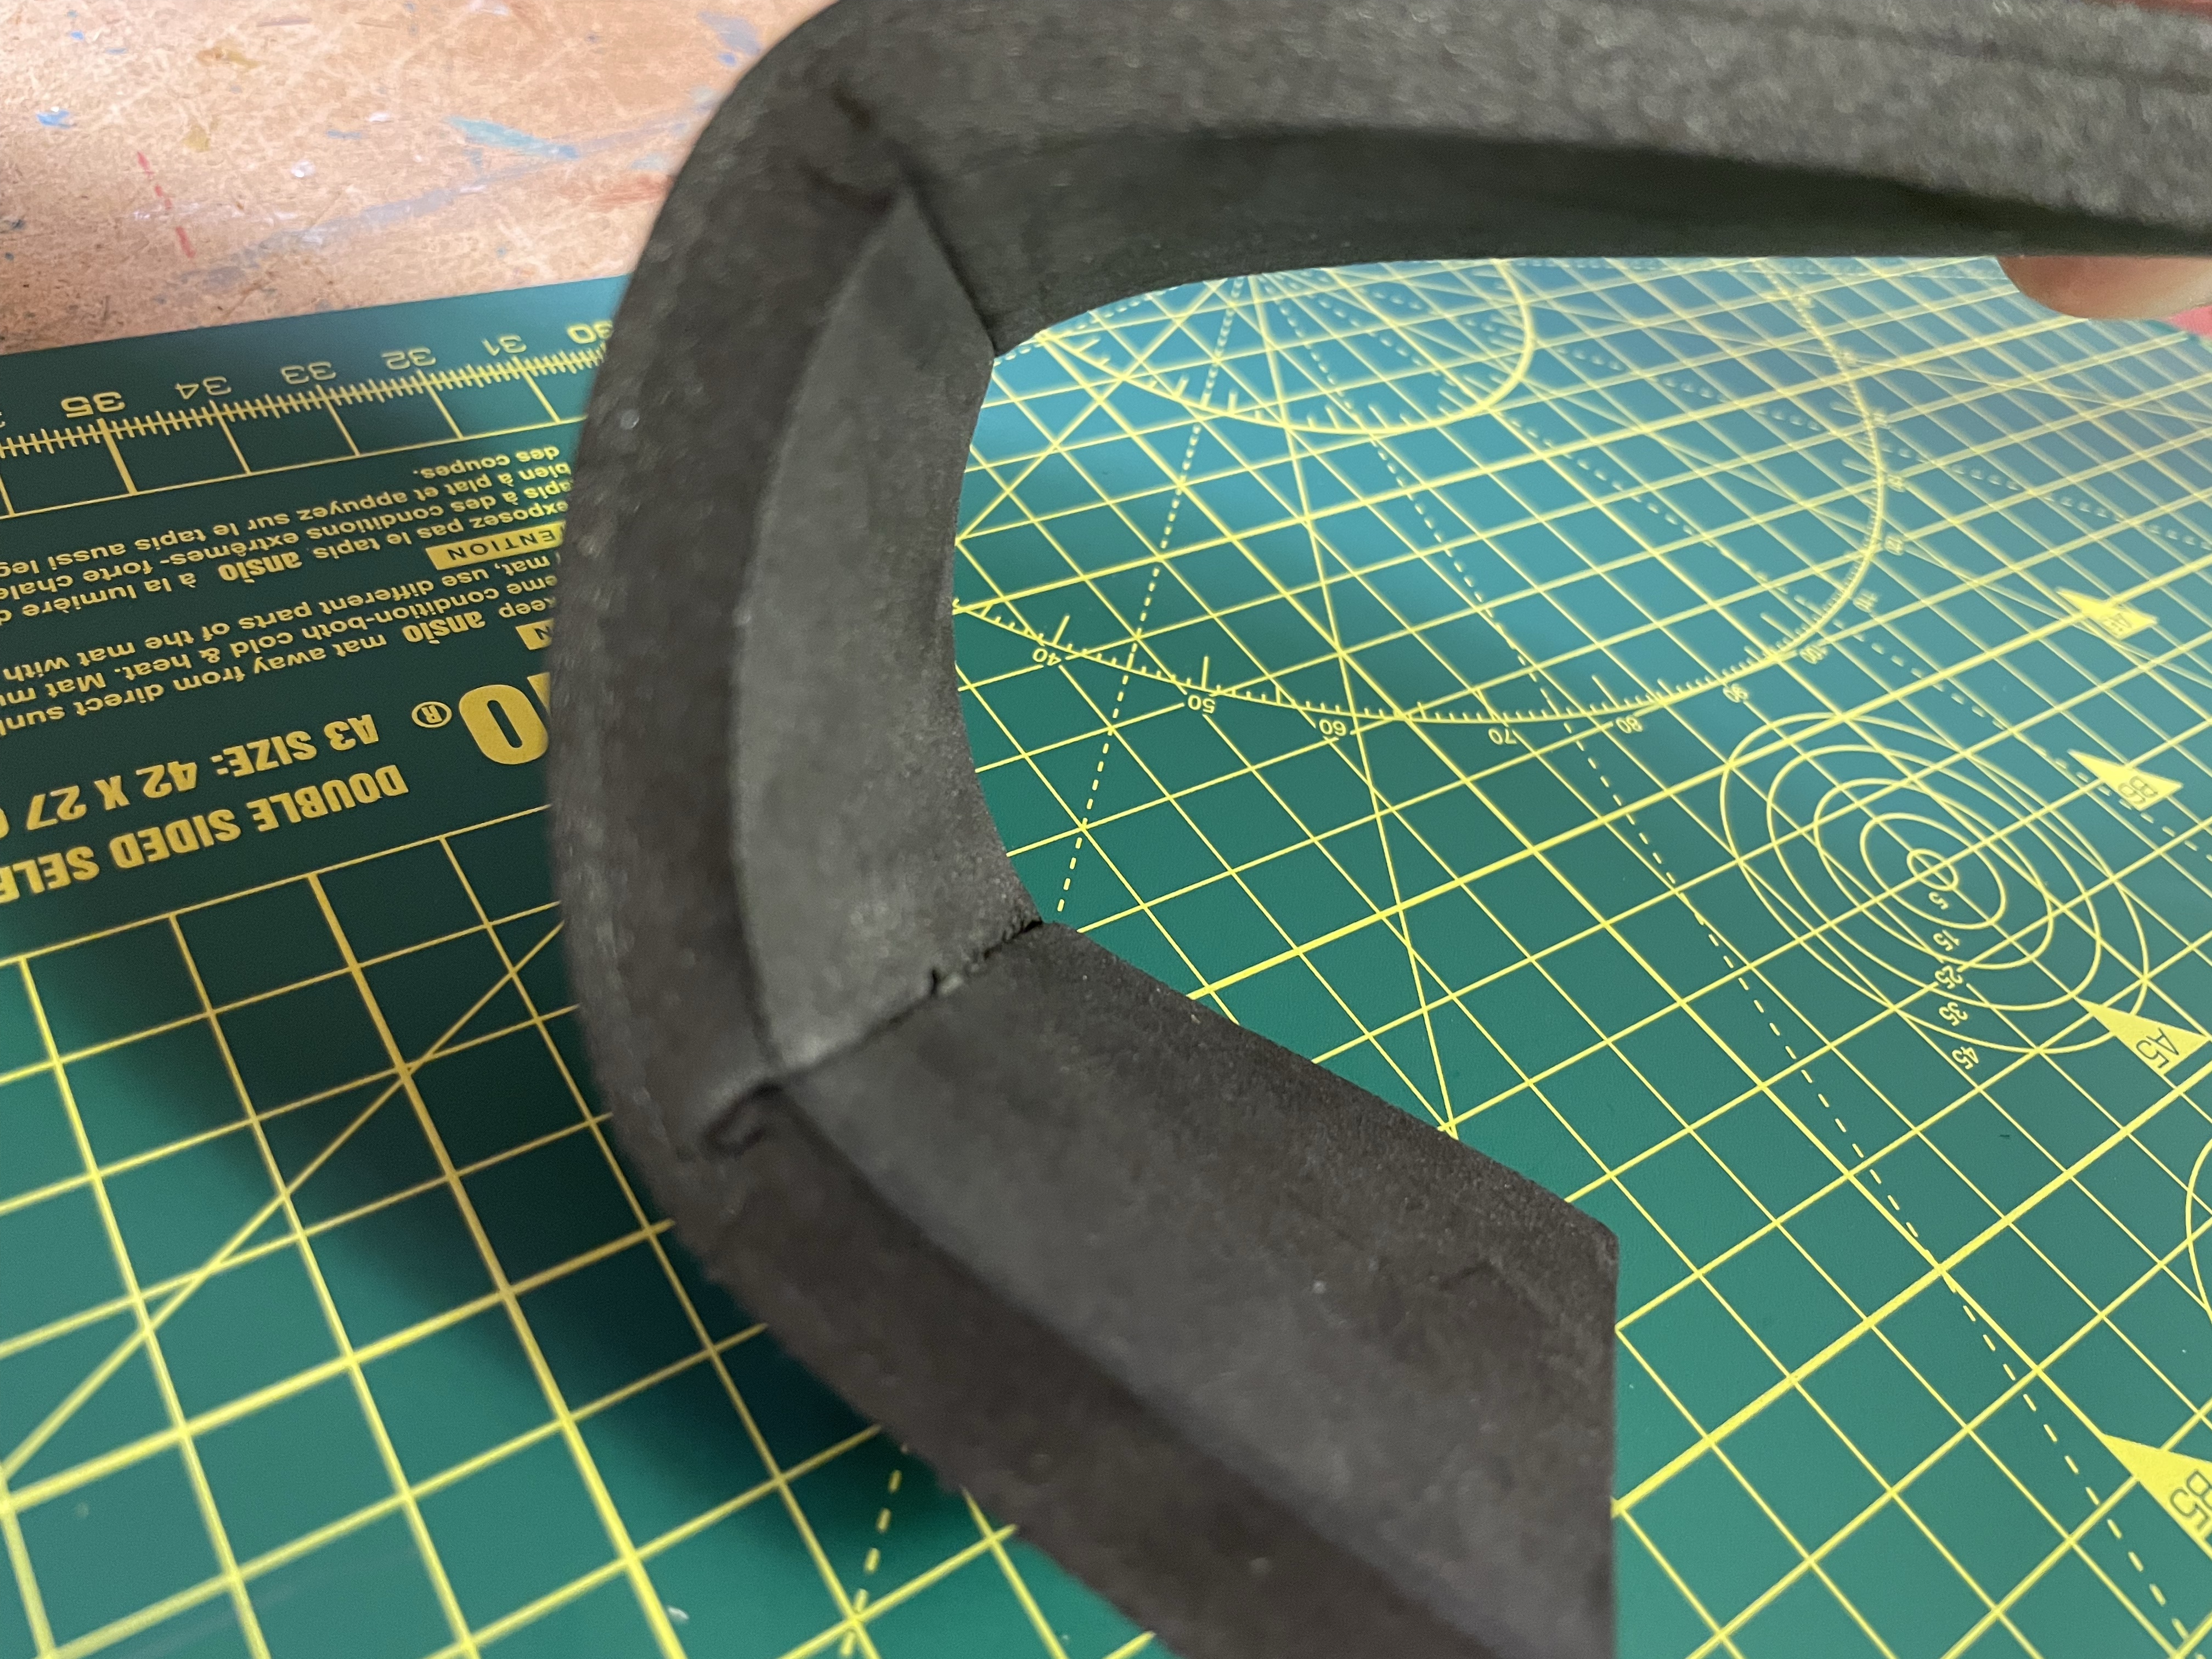
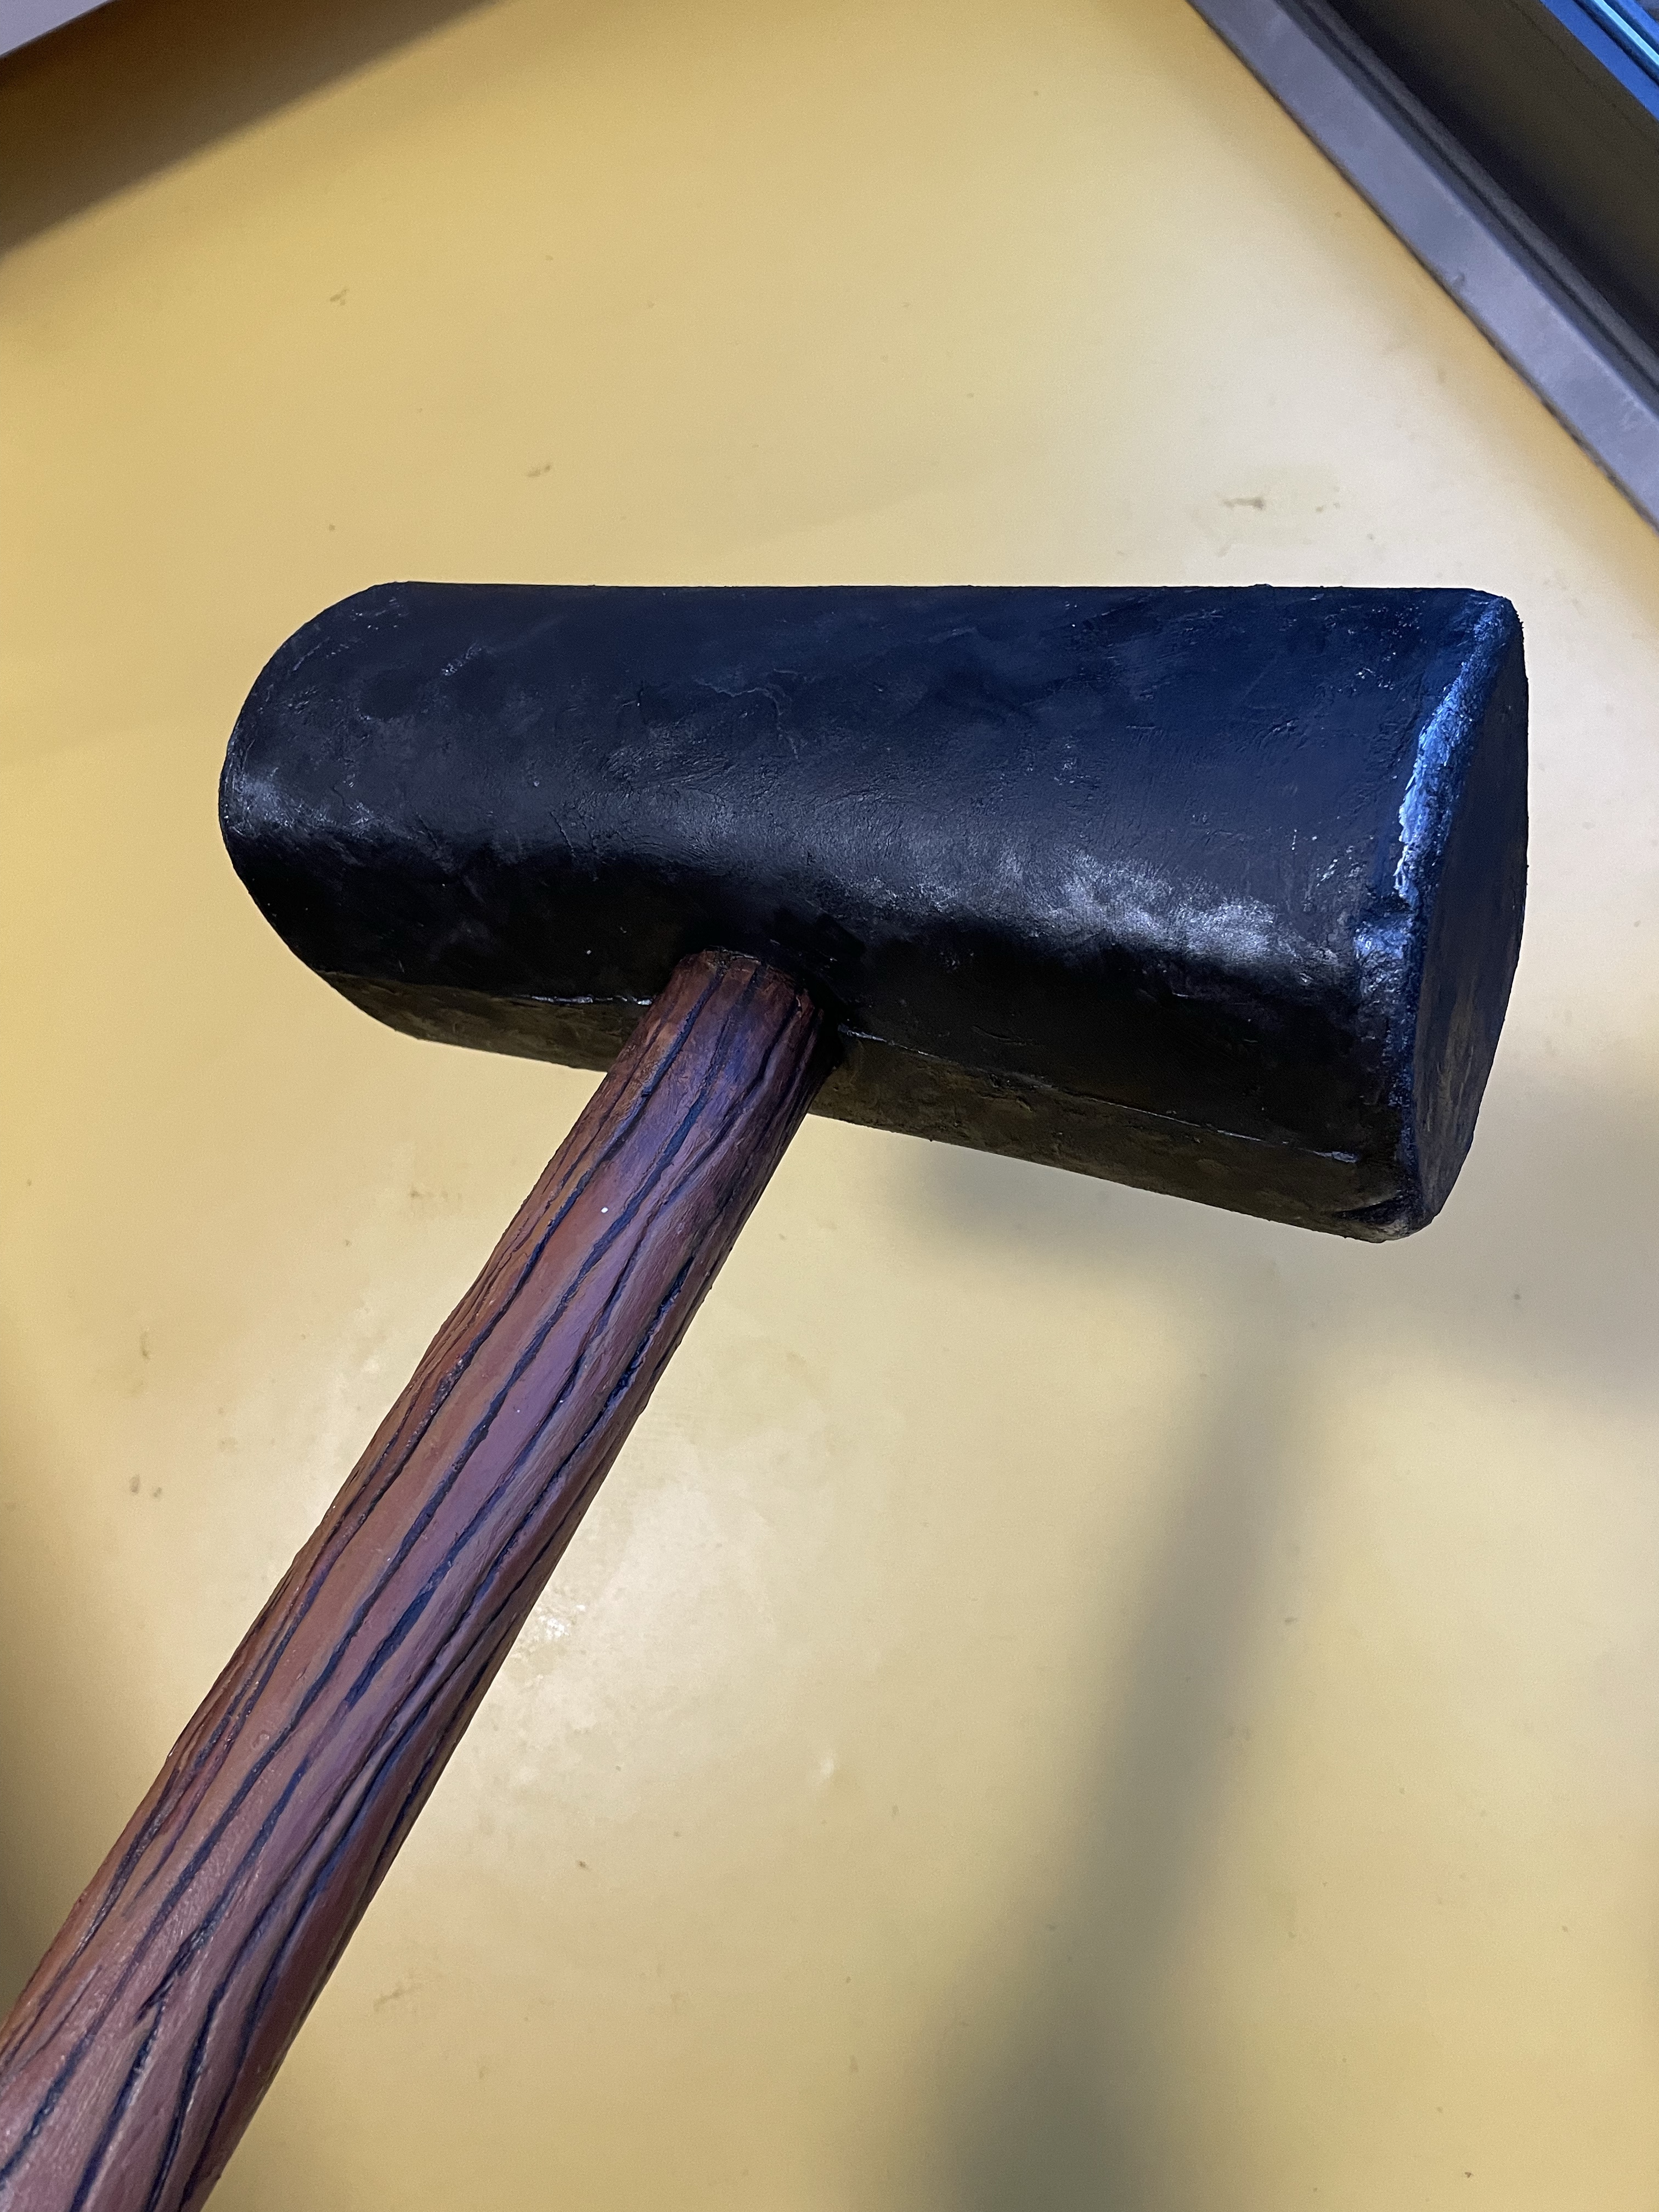
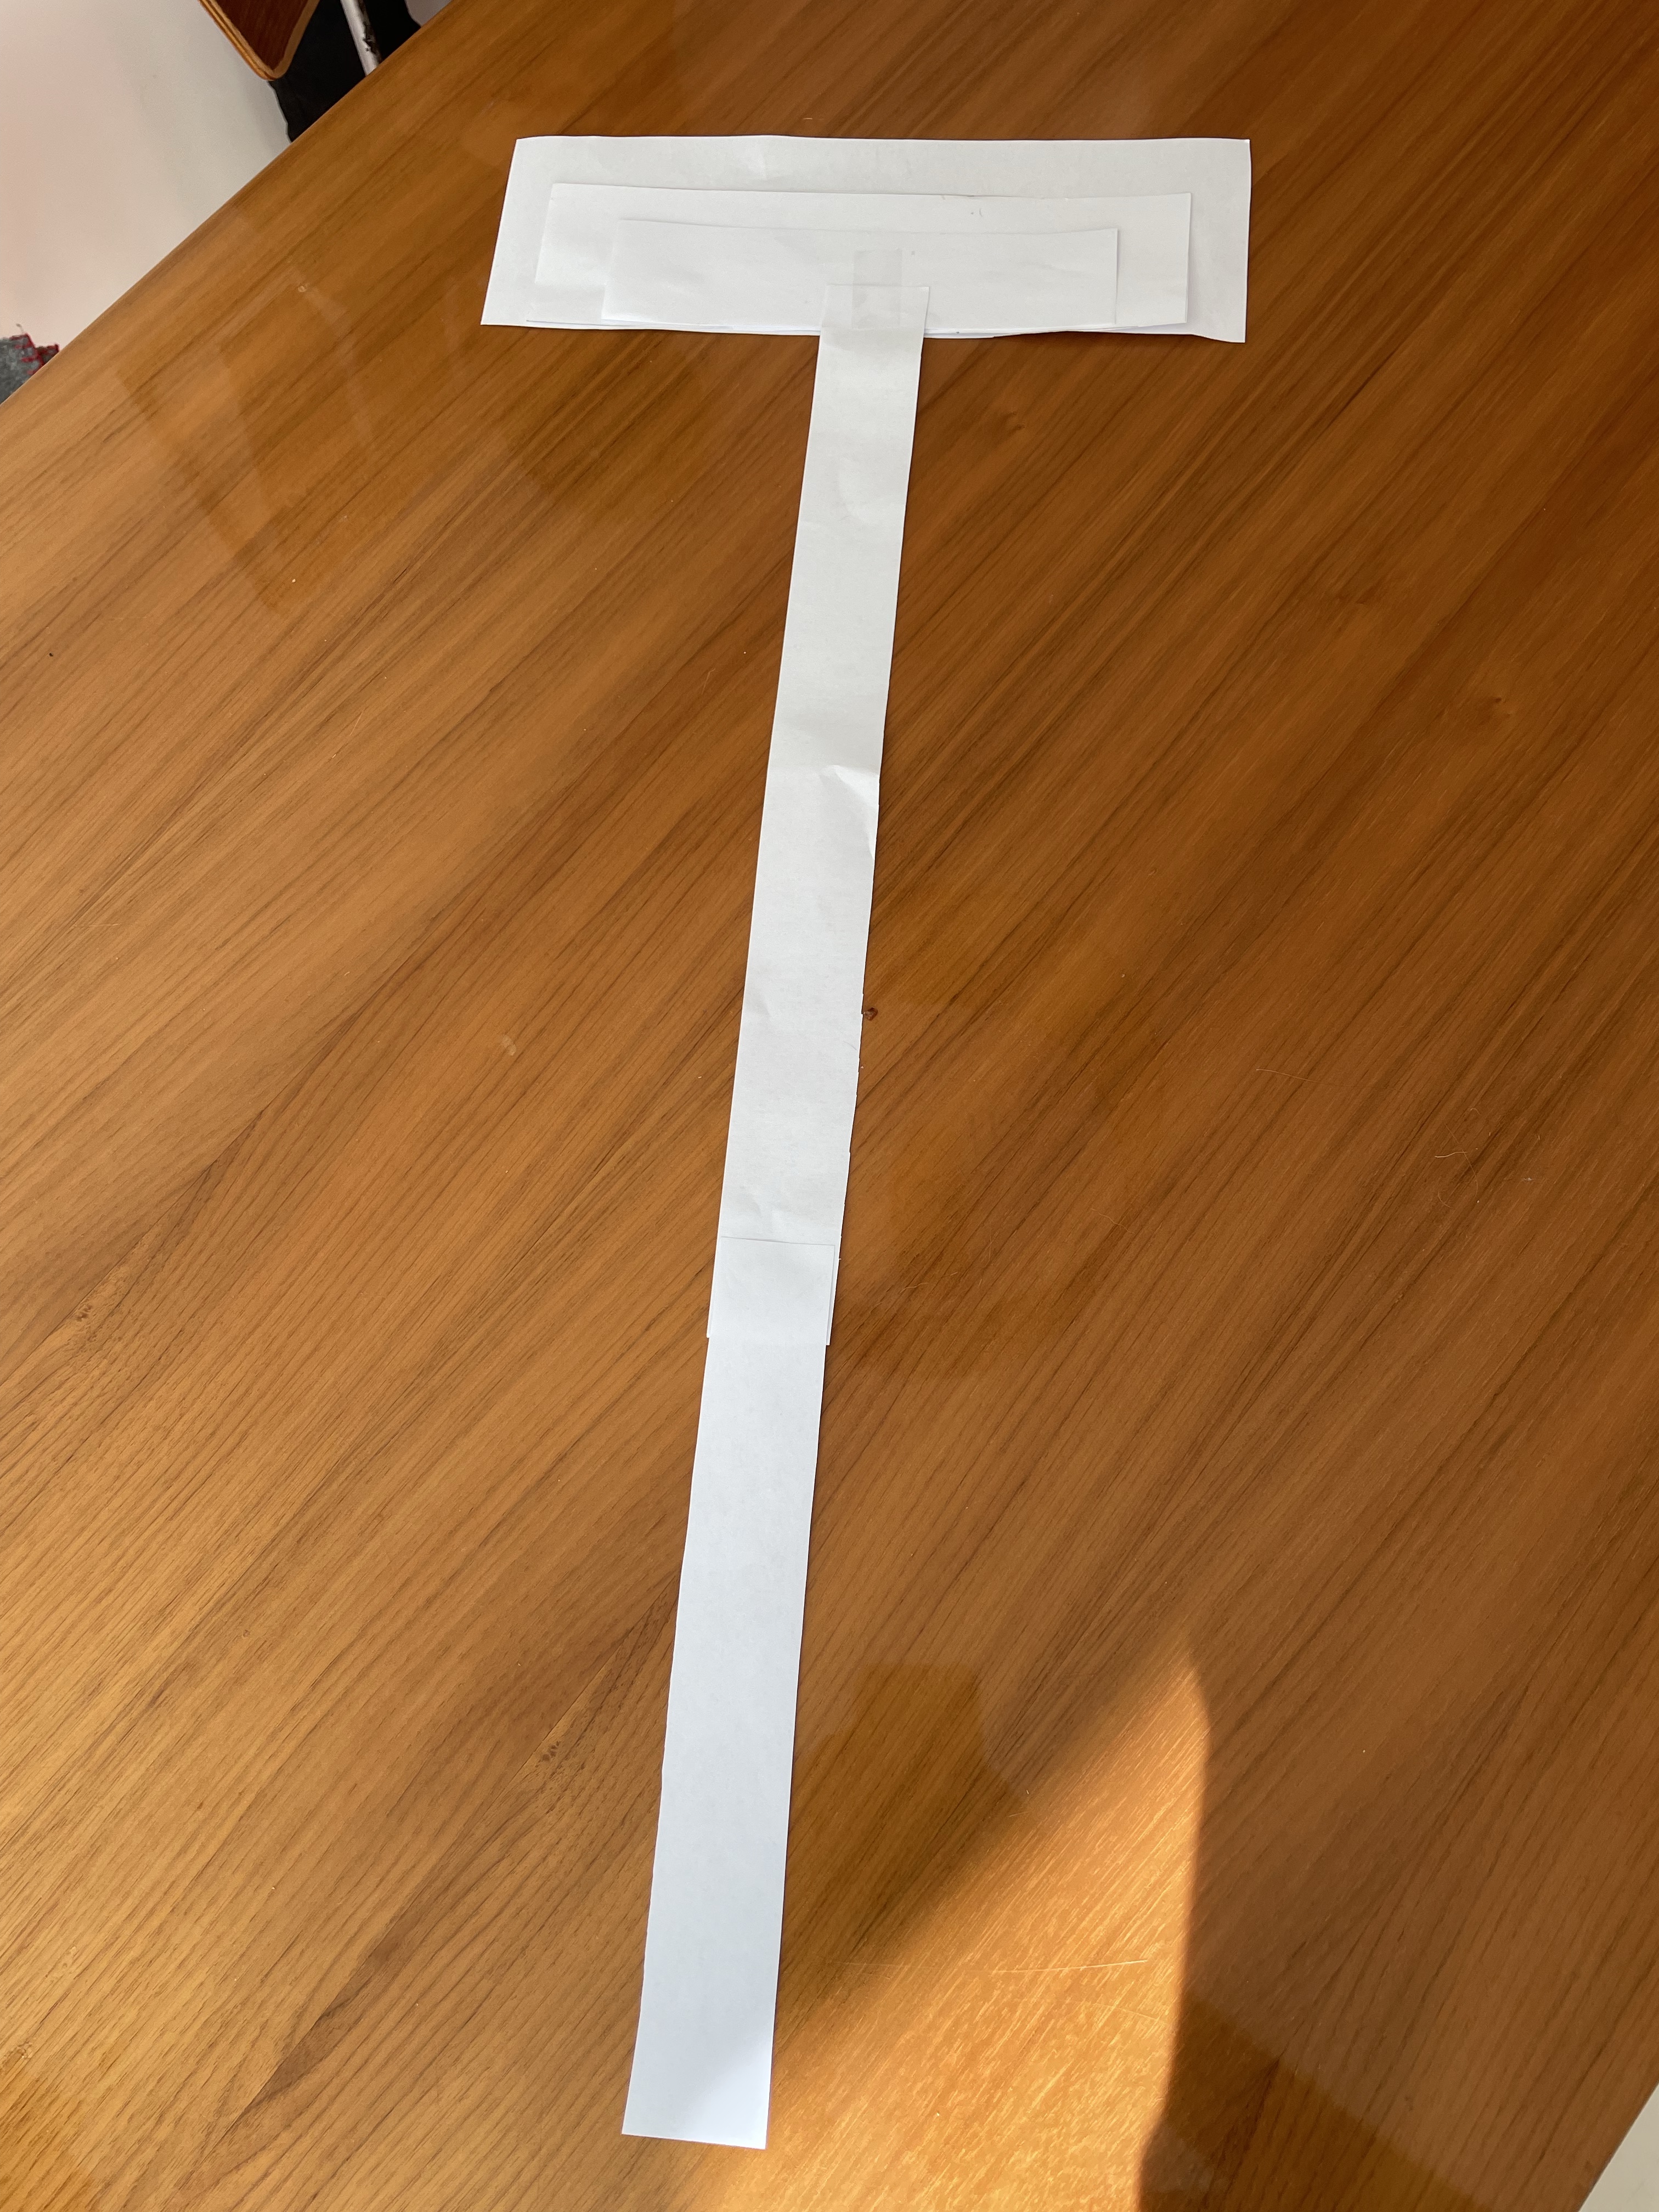
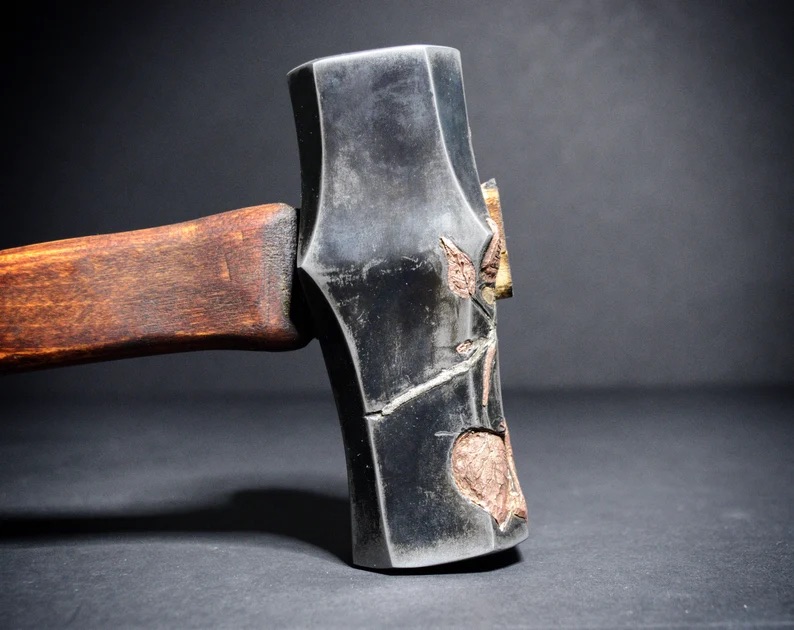
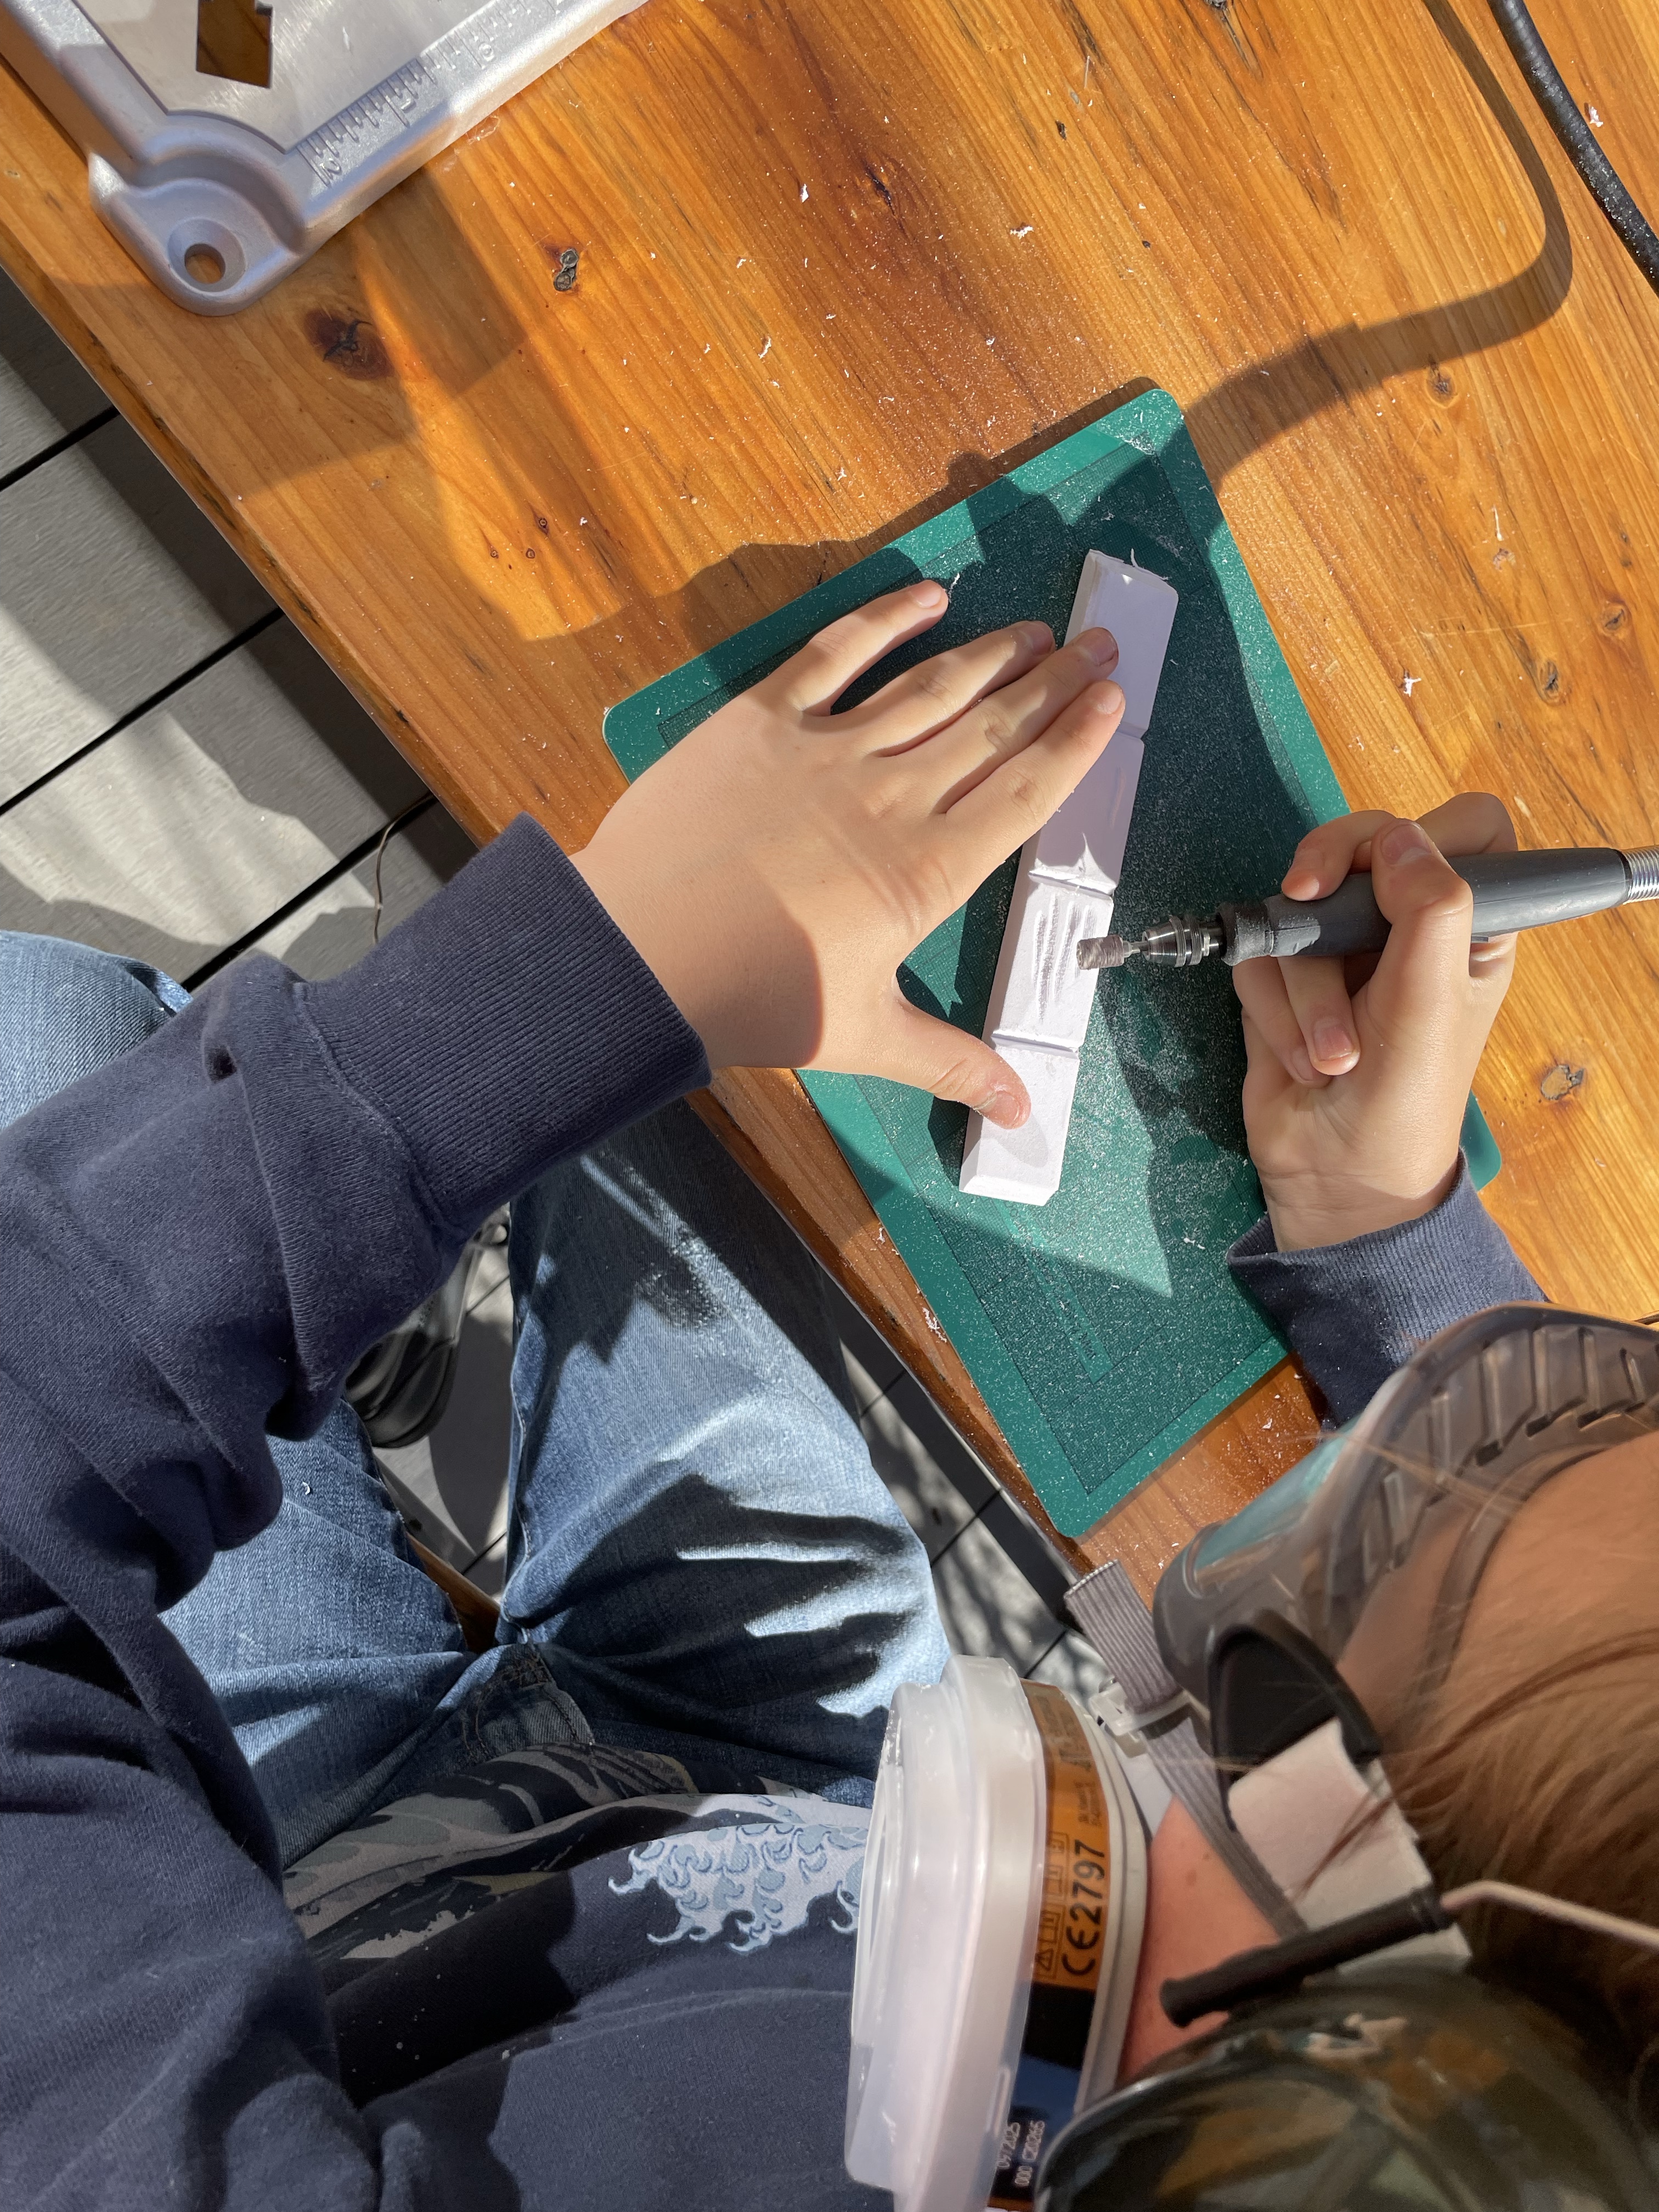
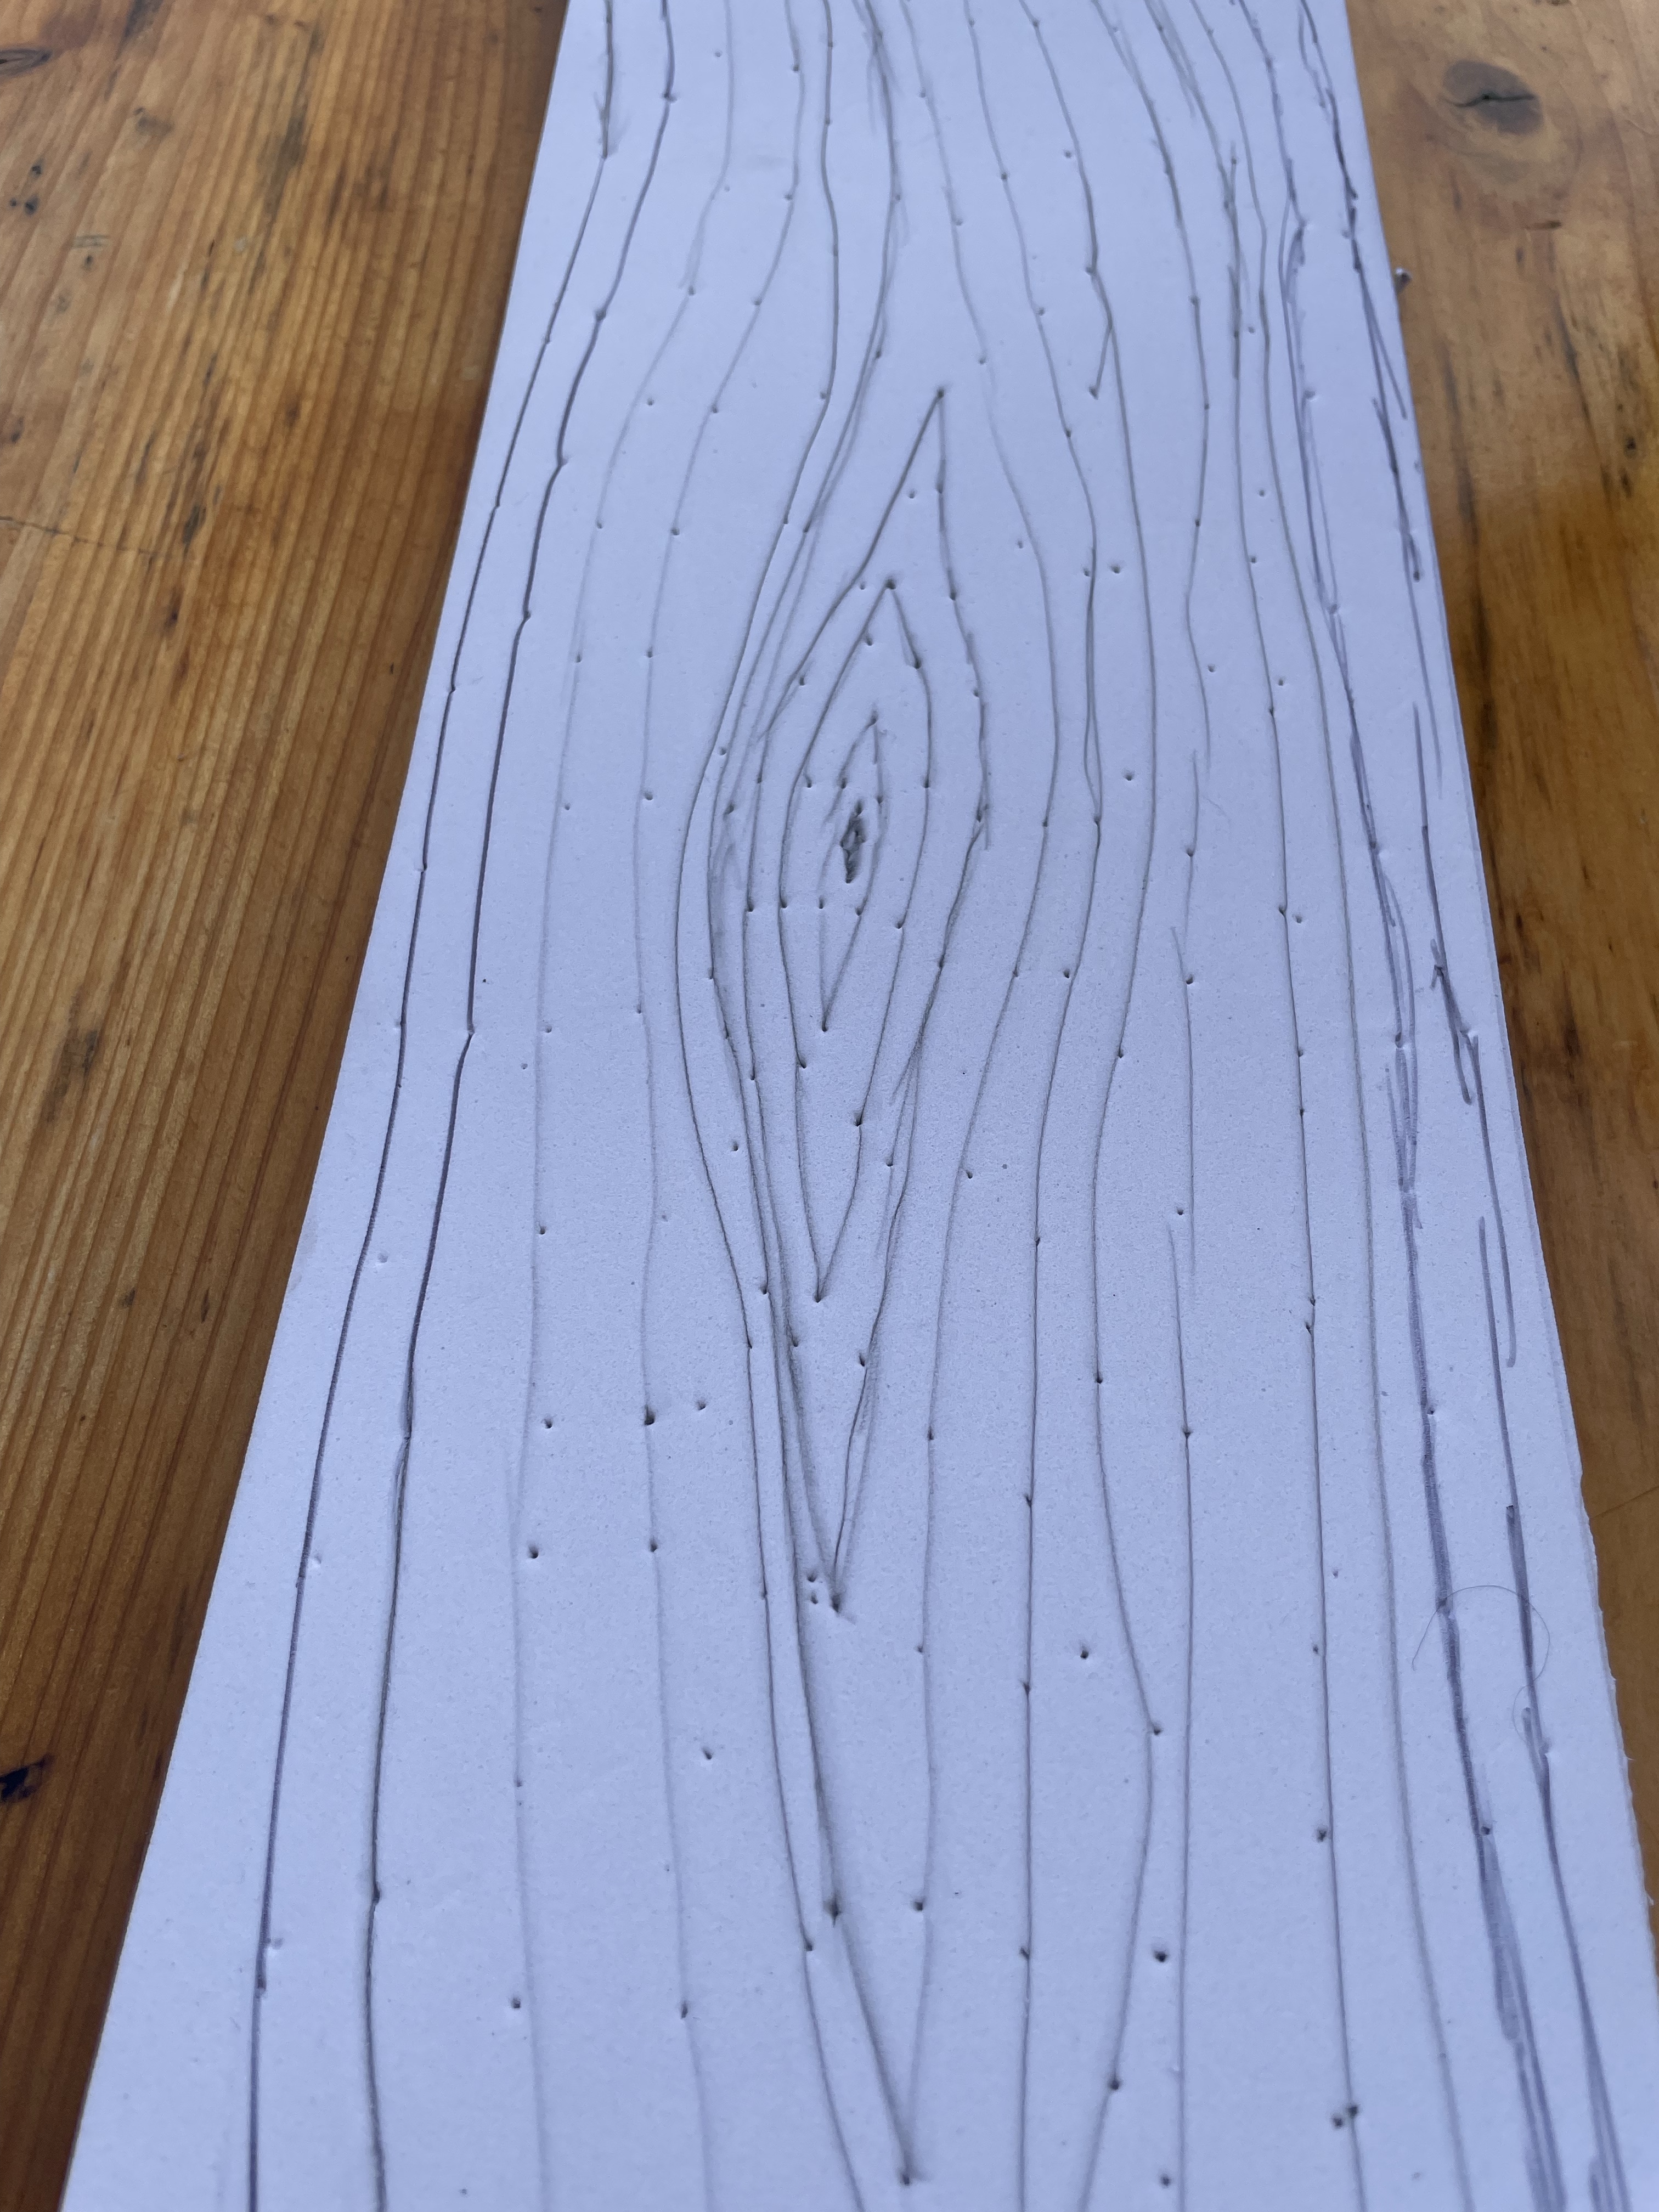
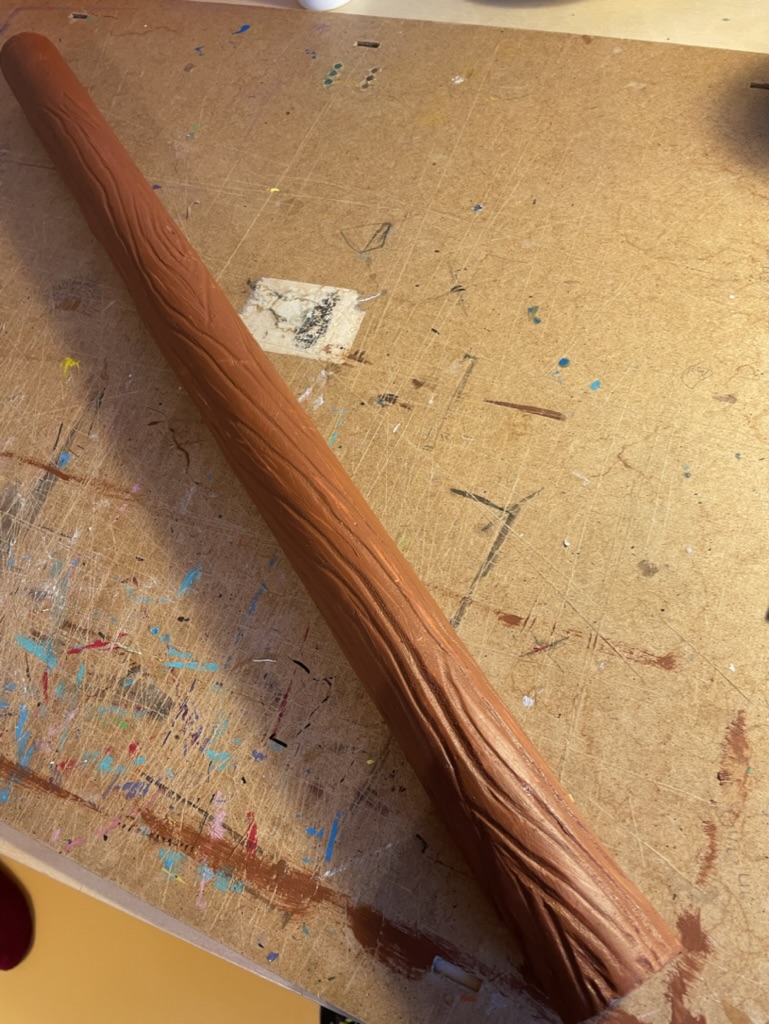
Learned – making wood handles which look realistic. prototyping with the paper templates for scale and using foam to mock up the squaricle design
Lacked – time, but I think this will always be true; making decisions on which character to cosplay early will give more time
Longed for – a painting and varnishing spray booth would be helpful; incorporating some lights and sounds into the props would be fun.
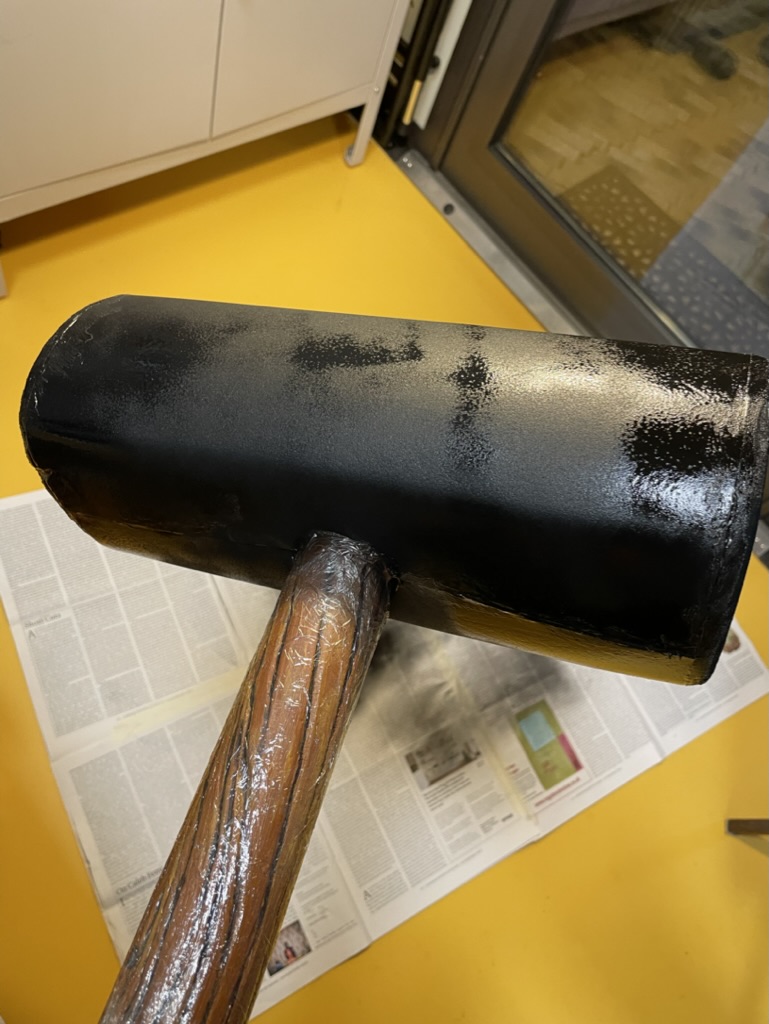
Retro outcomes – Having run the retro we kept the prototyping approach and decided on characters by January for the following May Comic-con. We largely stuck with foam and acrylic paints as build materials. I’d use the pin based approach to transfer wood patterning again.
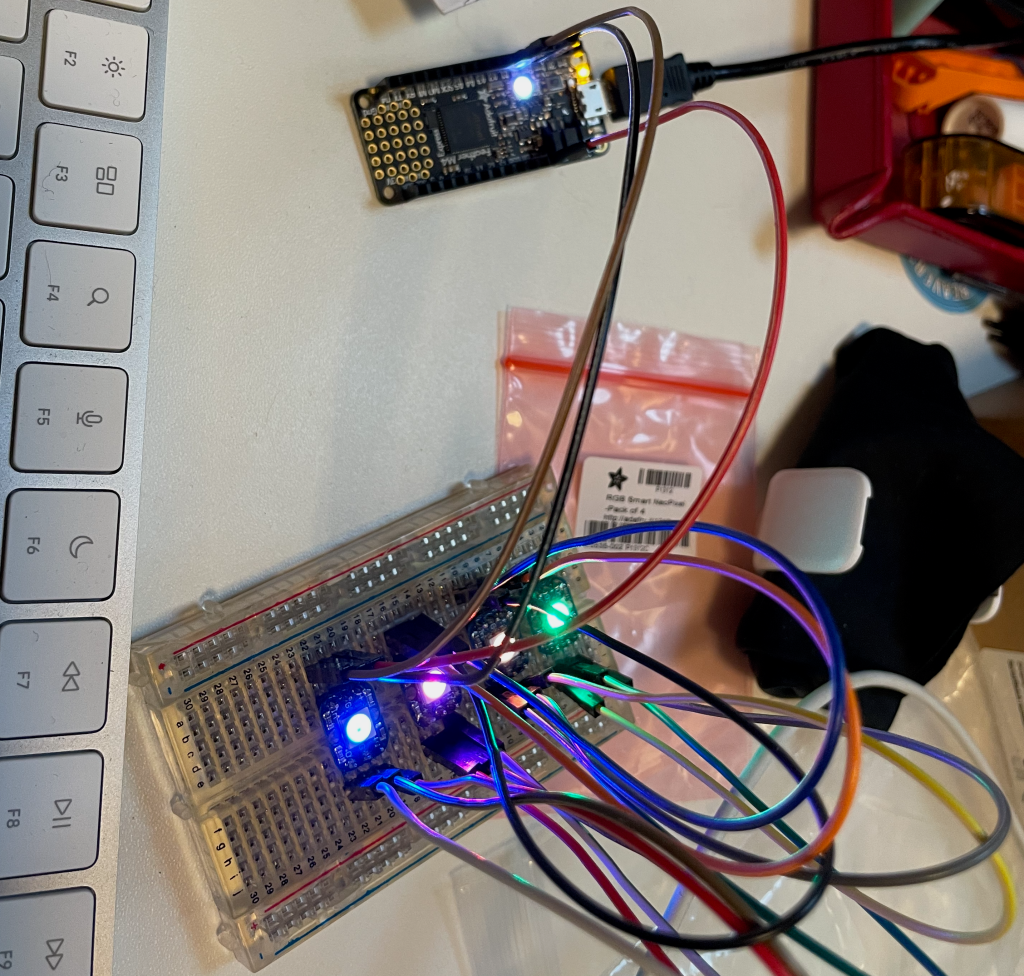
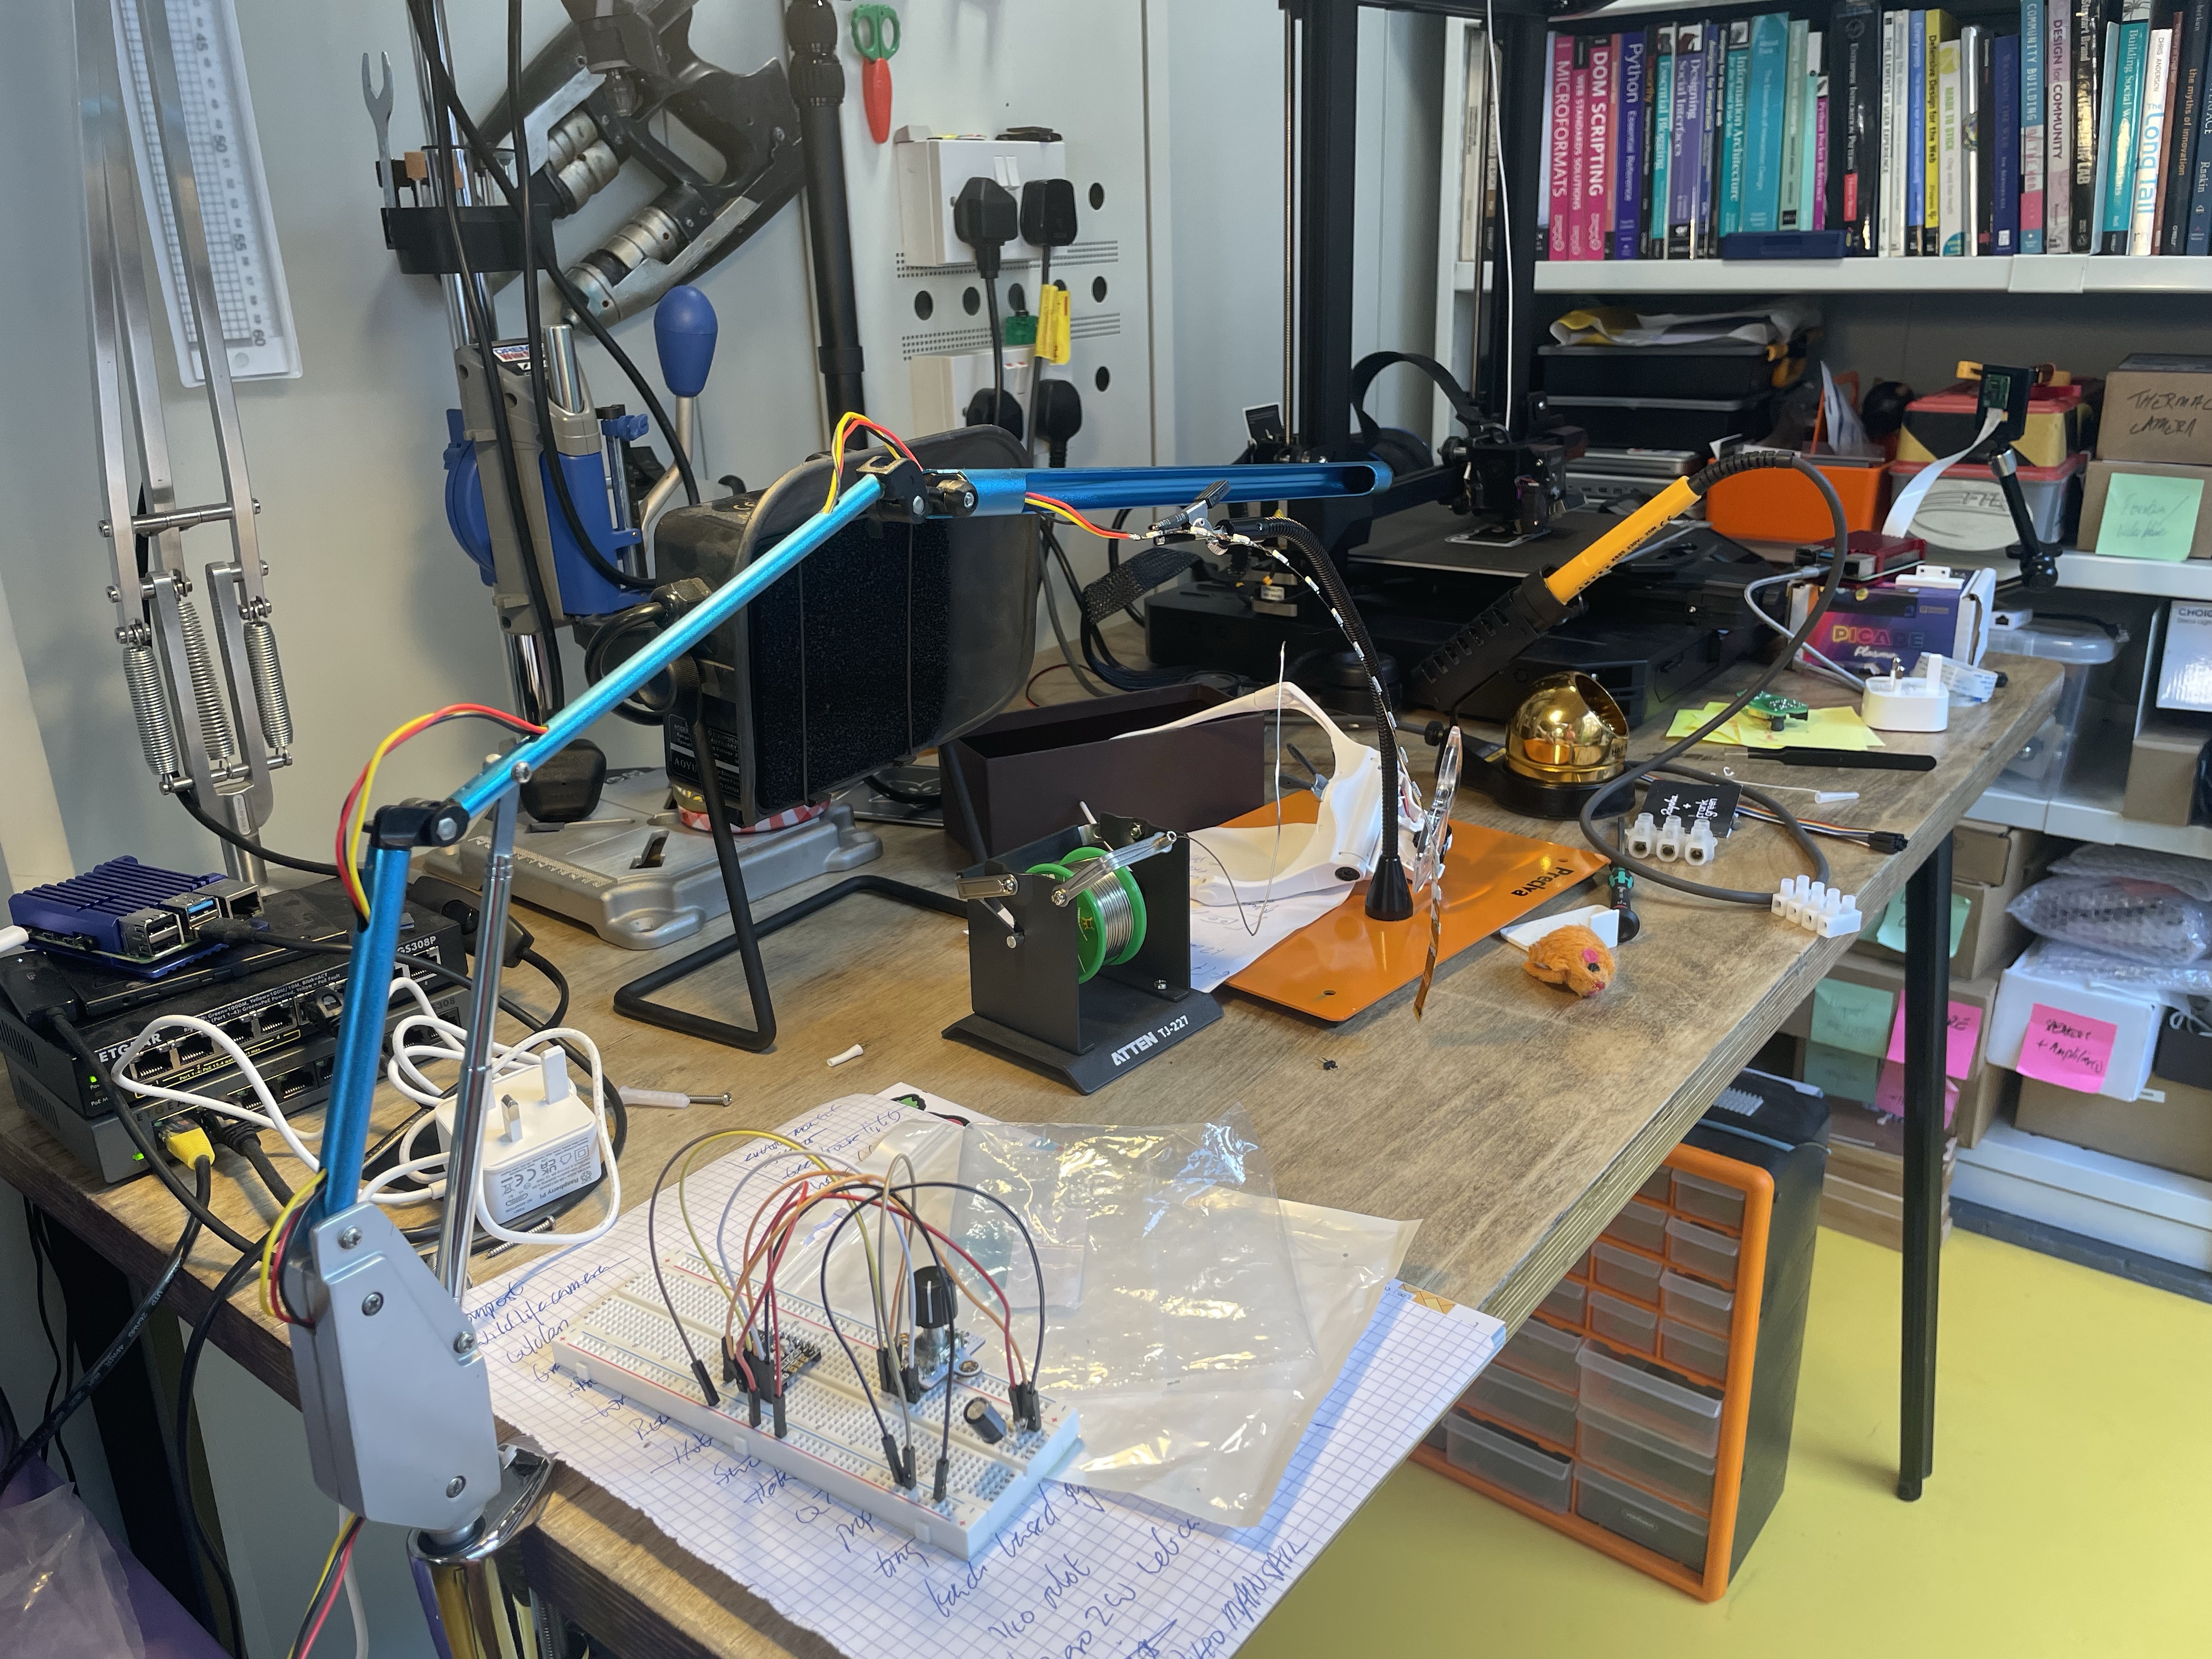
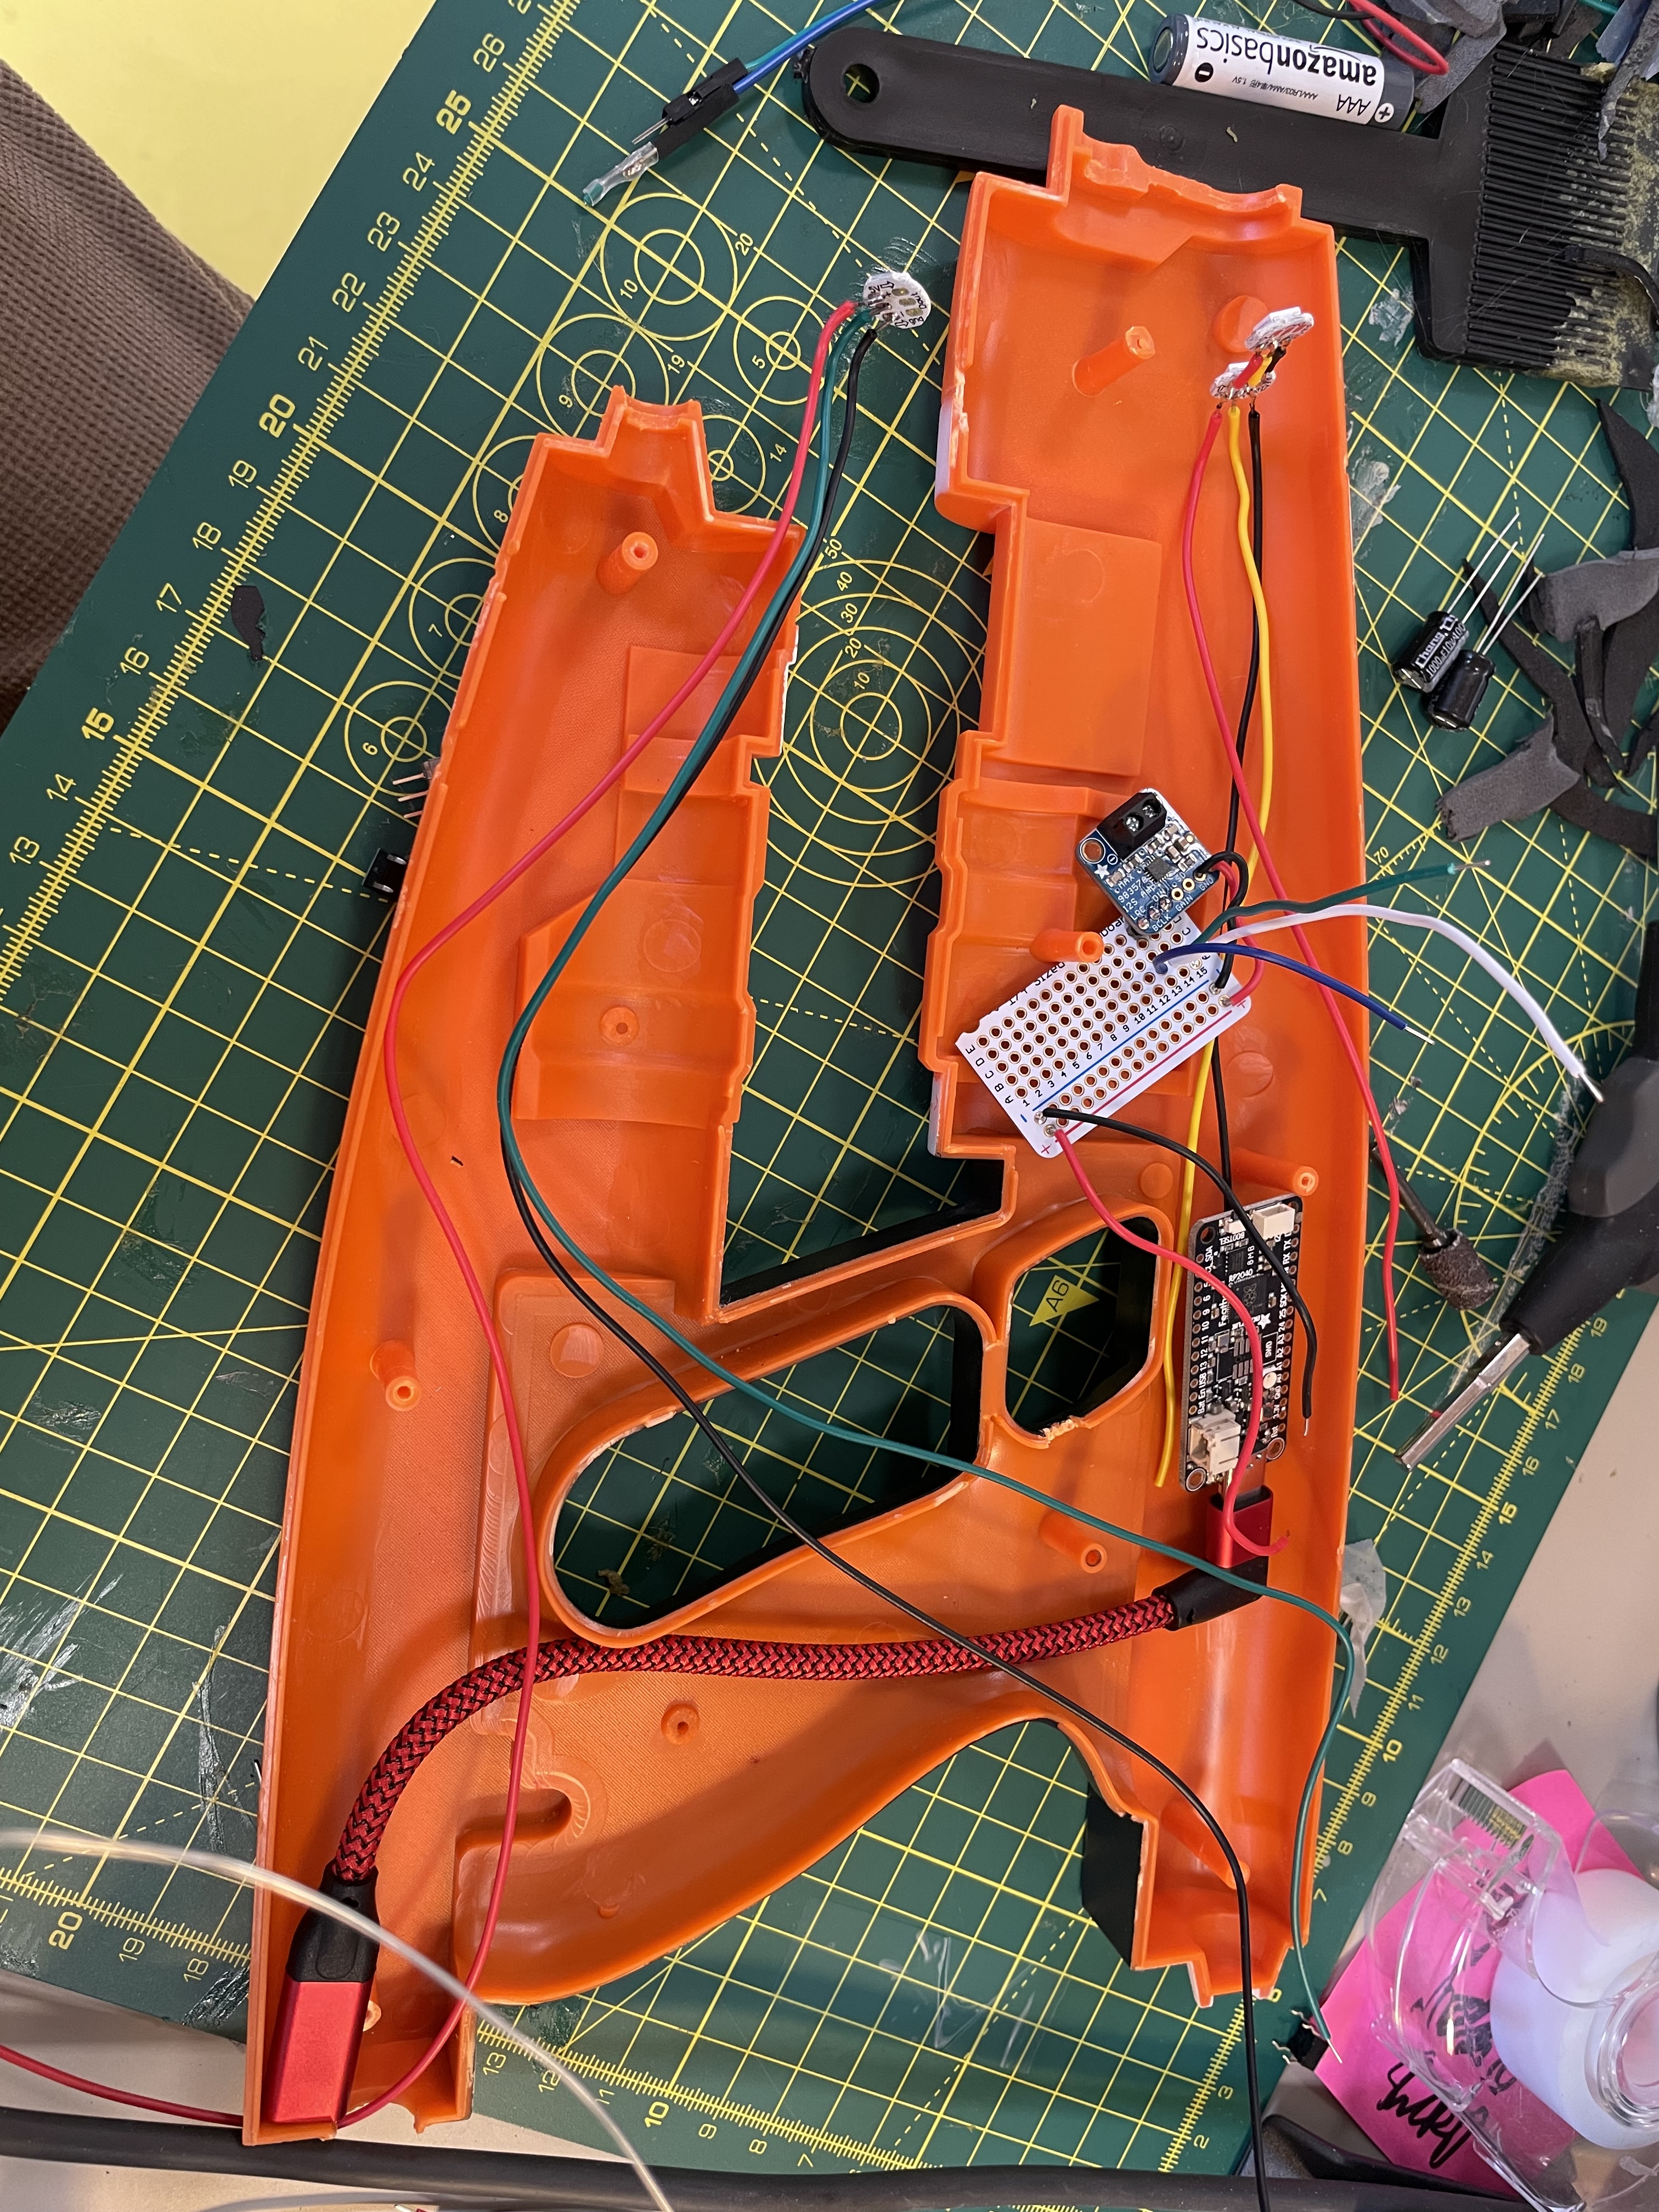
Electronics prototype for the blackcliffe slasher sword.


You must be logged in to post a comment.