gavin makes

Costumes, props and electronics

Tag: prop

  • Catching up post-con on Dagur and Heather cosplays

    Catching up post-con on Dagur and Heather cosplays

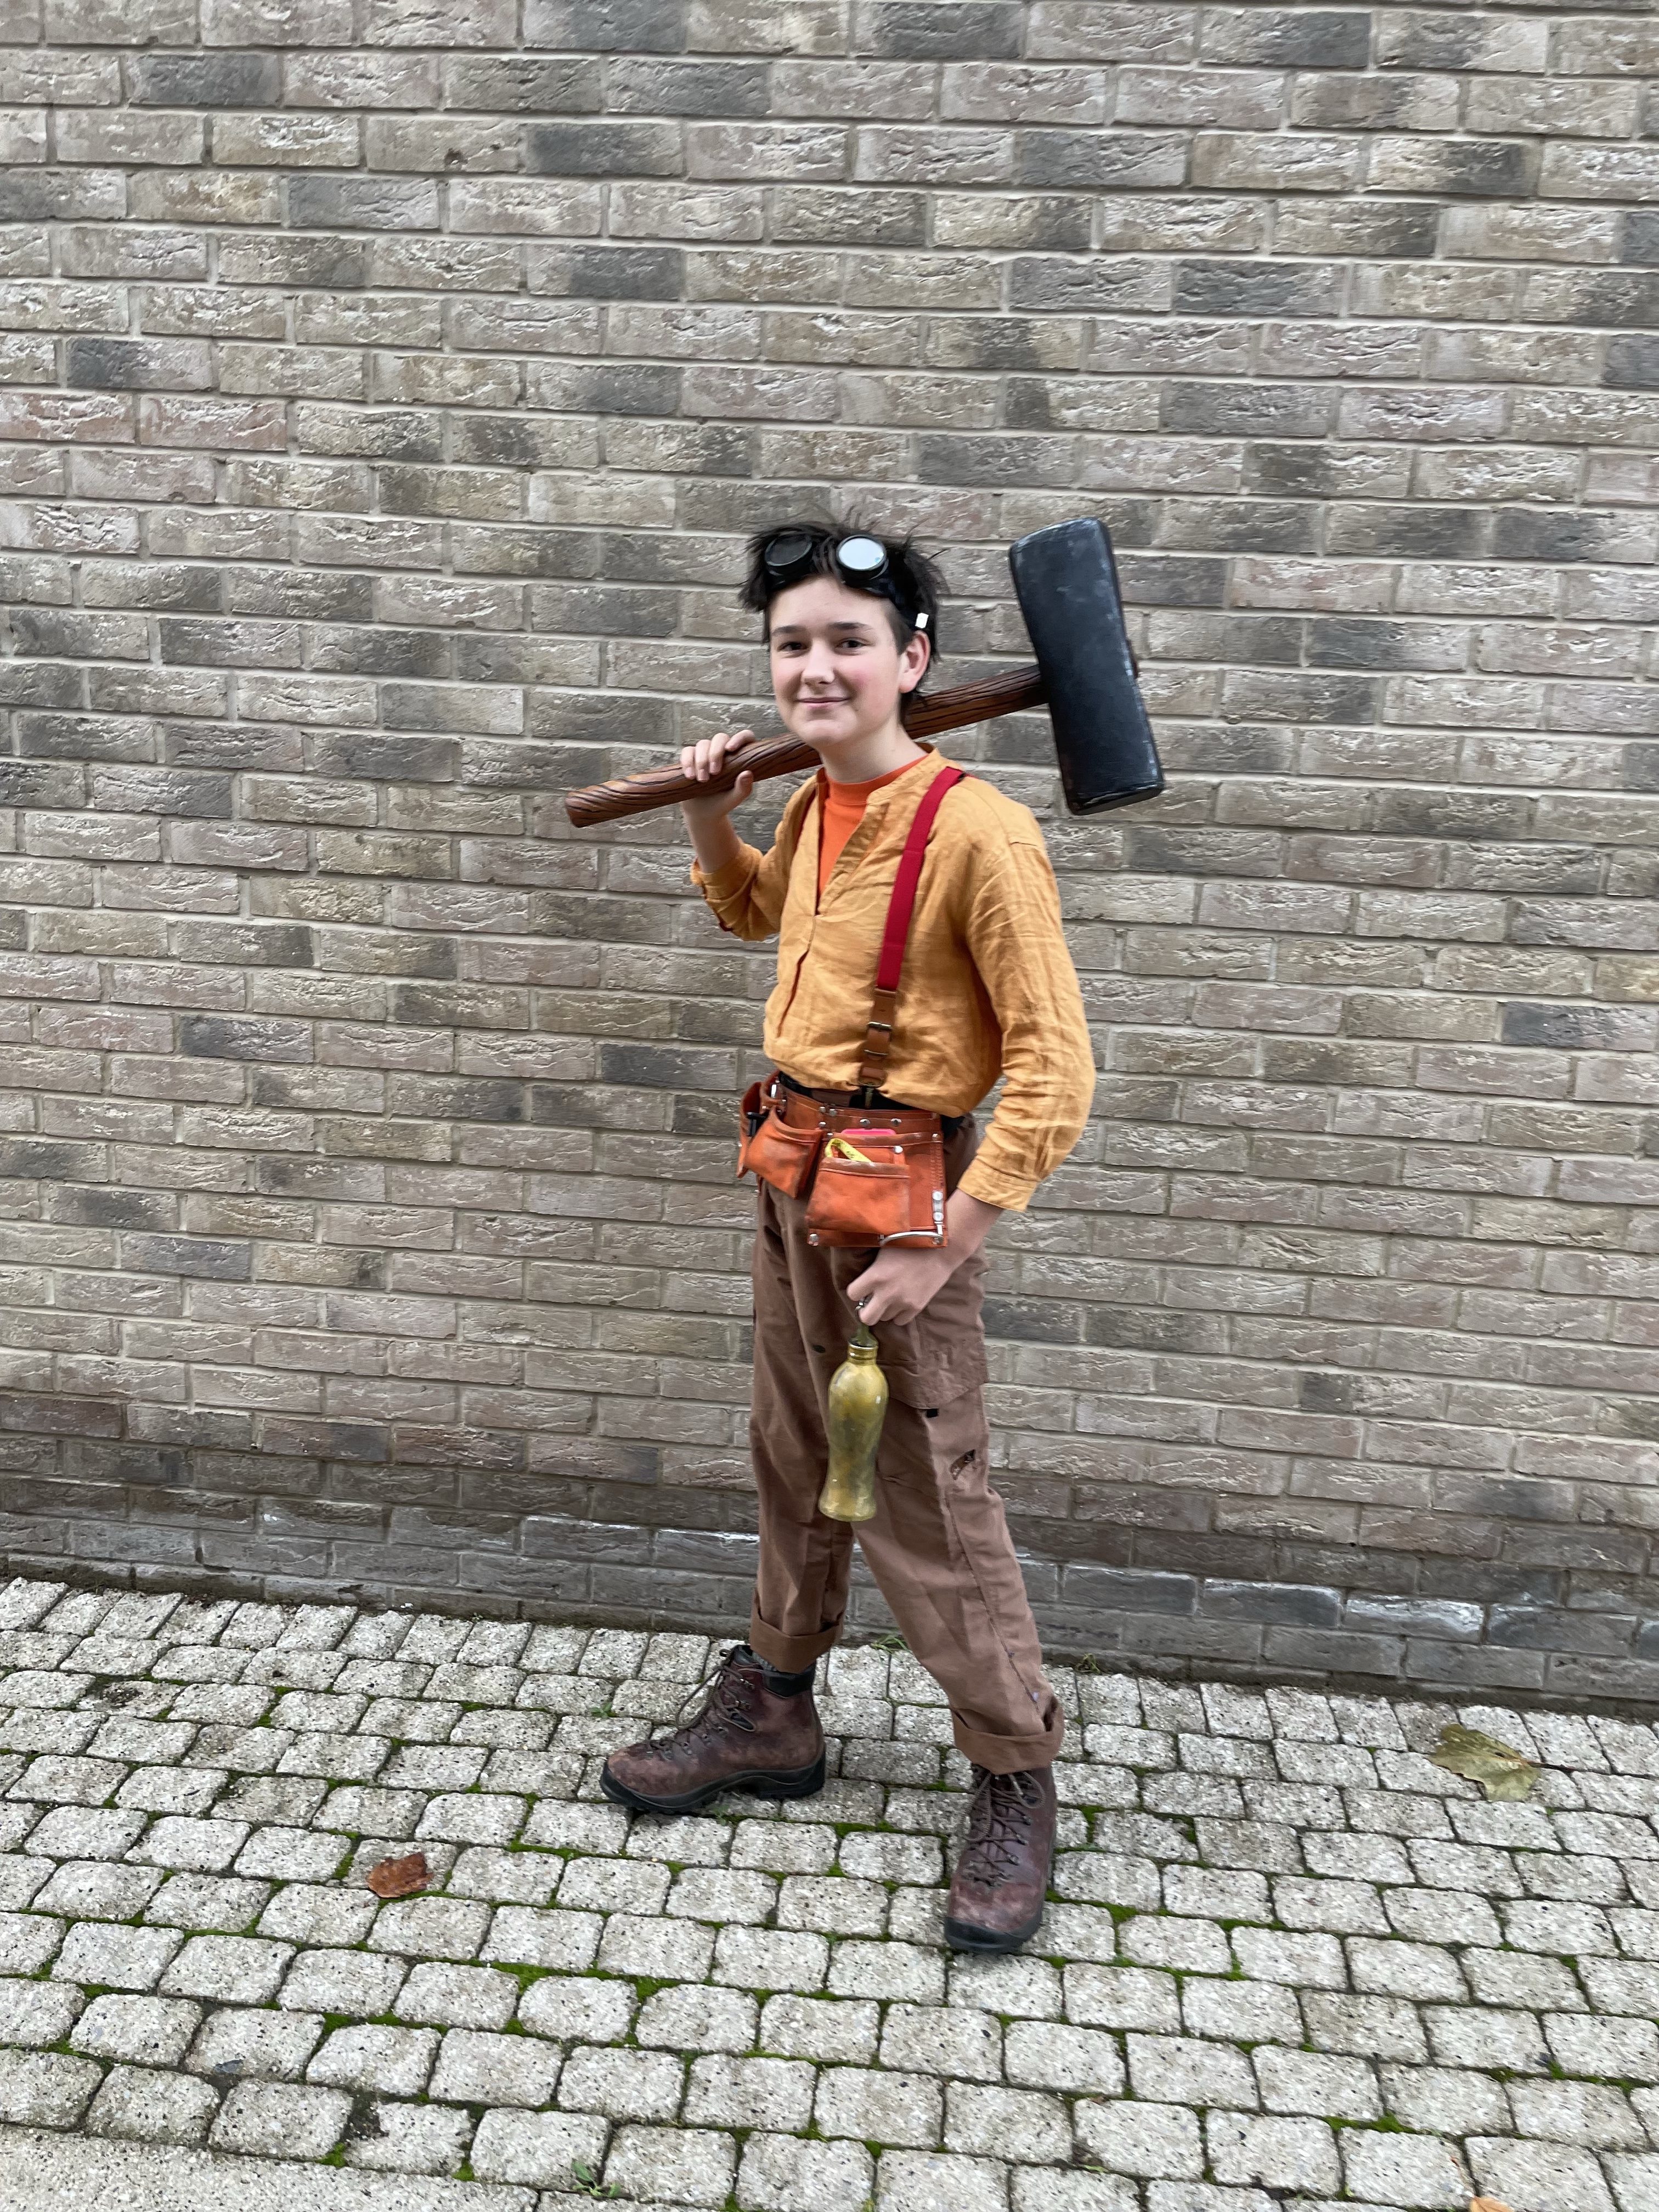
    We made Max’s Heather costume which was a success, photos coming. My own Dagur costume got parked, as Max needed my help. This has given me time to reflect and approach building Dagur as an open learning process, aiming for May next year. Doing two at the same time was too much pressure on time and space.

    There are a huge number of skills that you need to make a cosplay from scratch. I’ve made a few props and some costumes already, but there is still a lot to learn, so I’m going to take advantage of this and document my process as I complete Dagur. I need to work in a sustainable manner, not try to do everything. Con-crunch only gets you so far and some processes, like sealing, priming and painting foam have built in delays for drying.

    Dagur’s Skrill emblem

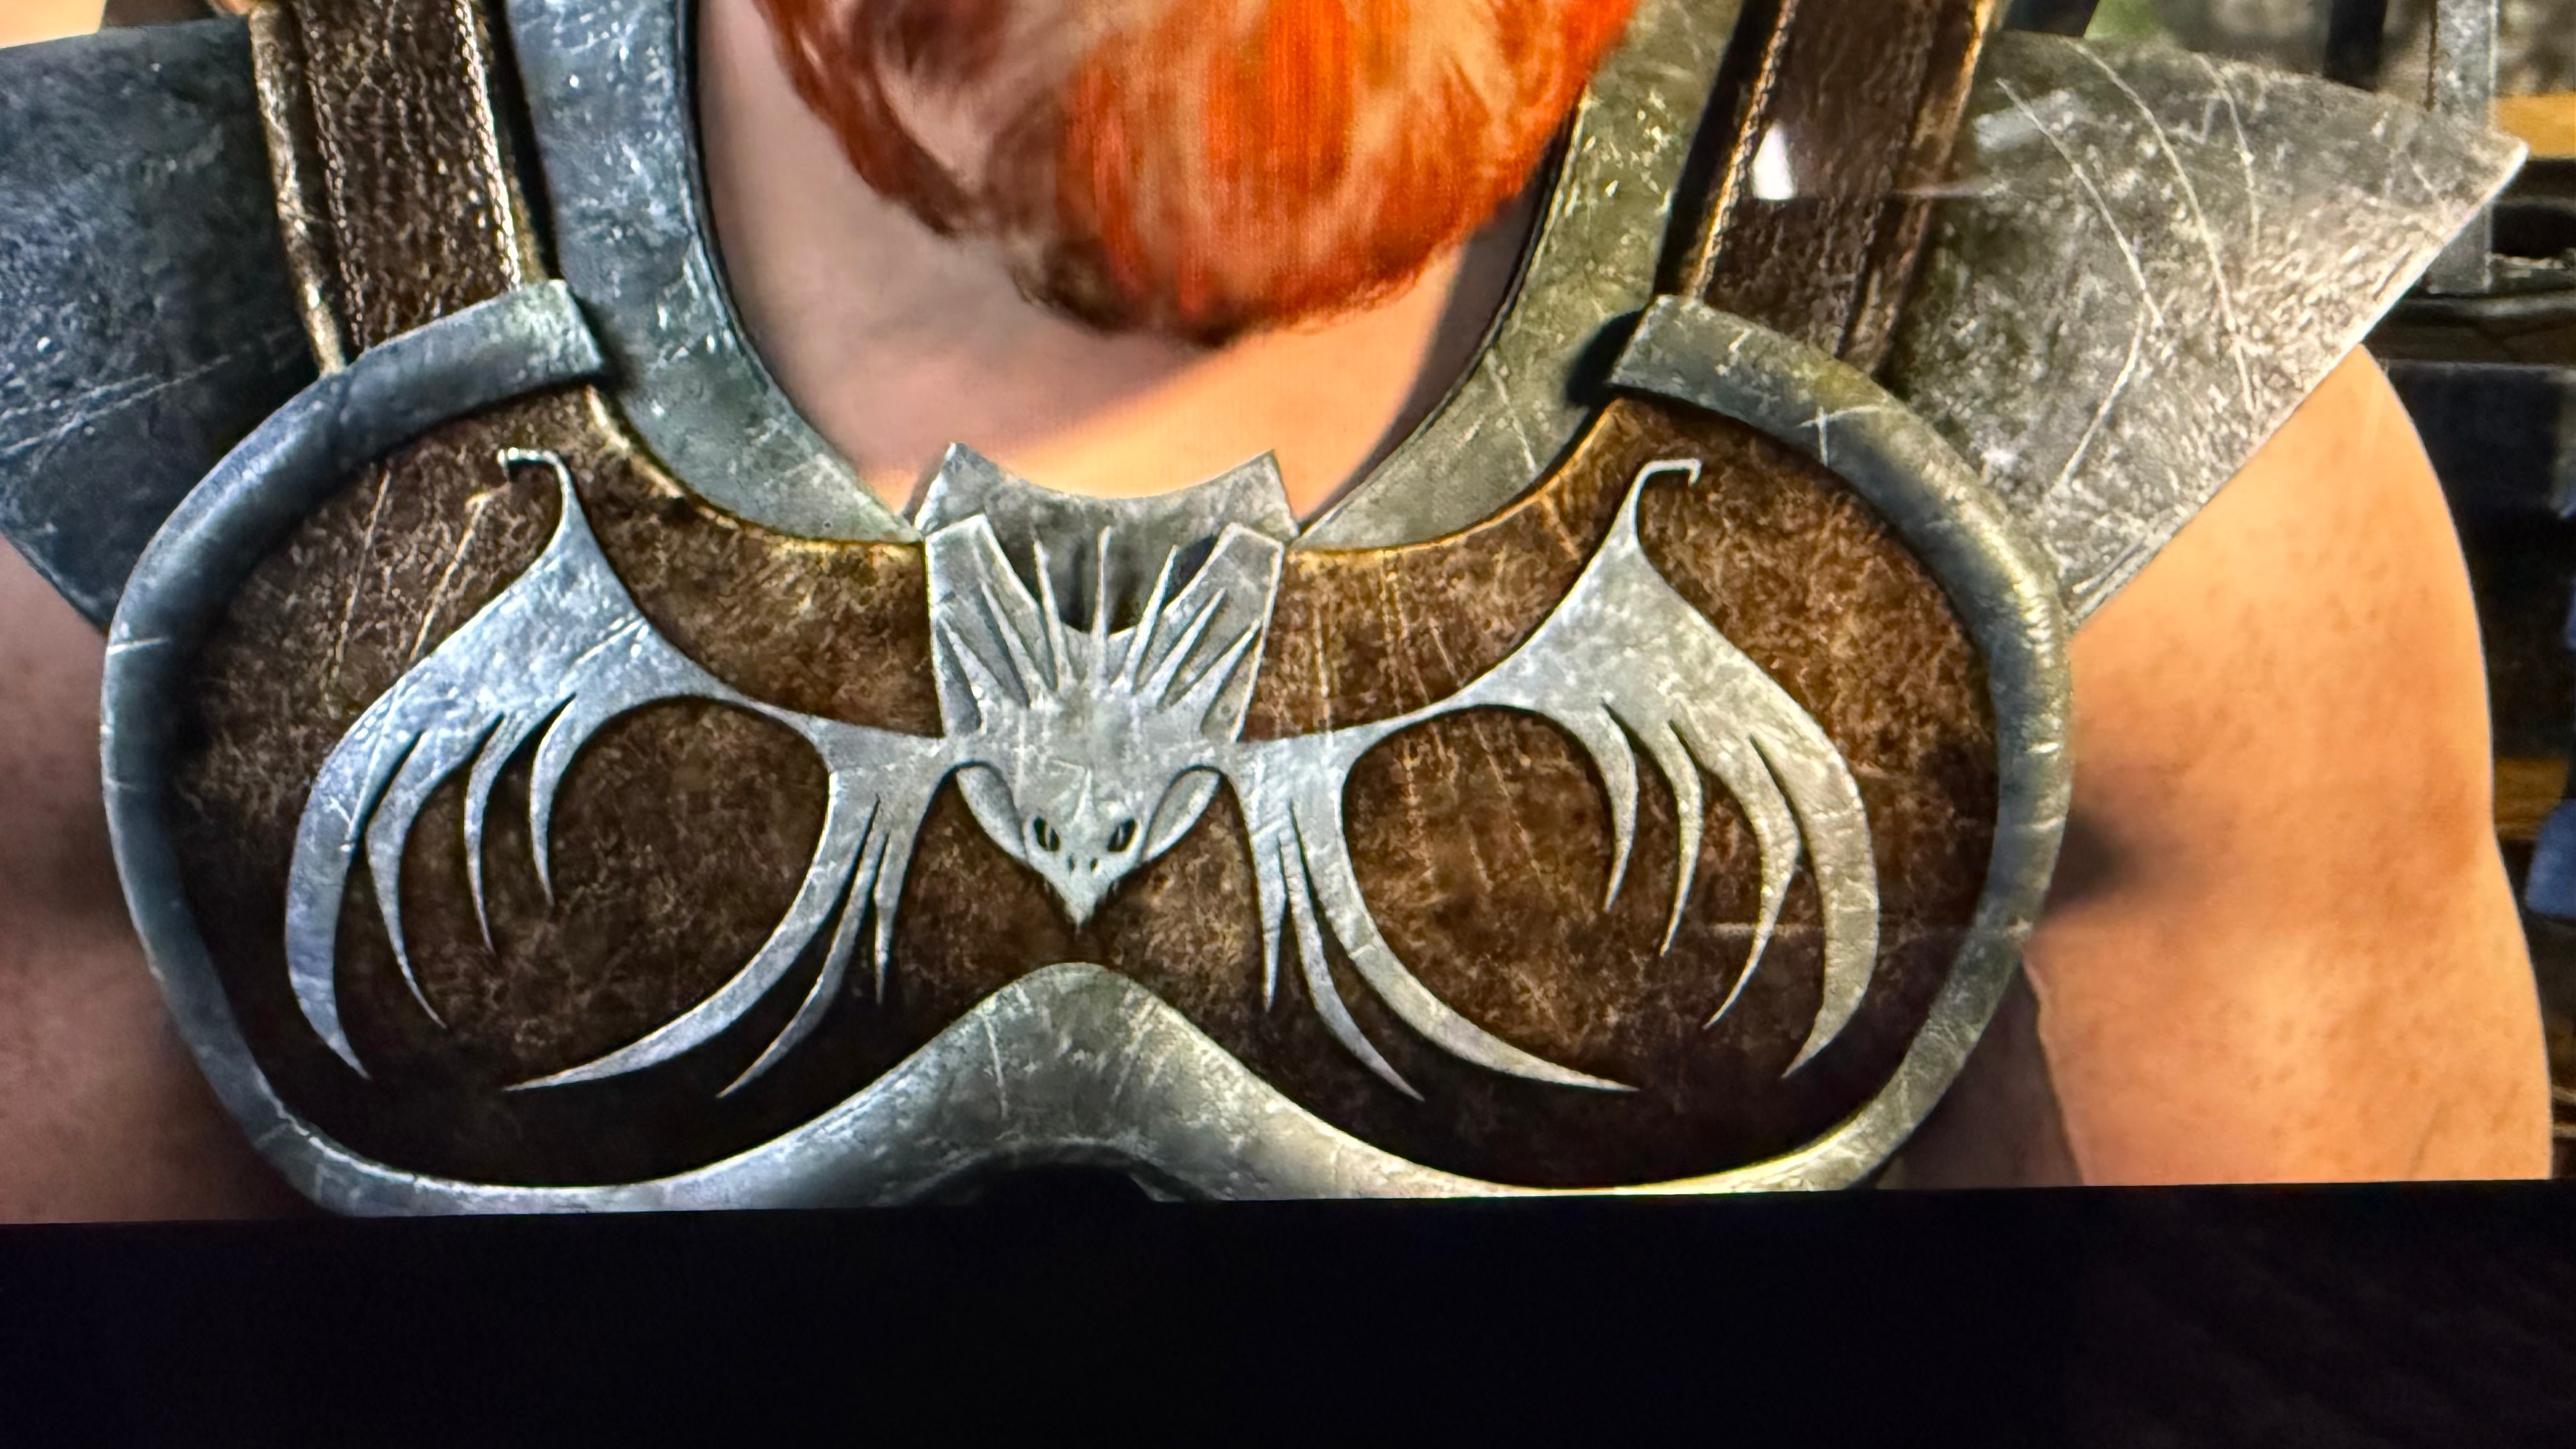
    So far, I’ve traced weapons shapes and armour designs from screenshots from RTTE. I’ve been using Adobe Illustrator and comparing it with Lunacy from Icons8. I’m going to make a video explaining how to trace a pattern from screen to generate a blueprint for an eva foam prop. I know there are some out there, but they seem to show everything quite quickly. So I’m going to slow it down and explain how pen tools work and about Bezier curves for people doing this for the first time.

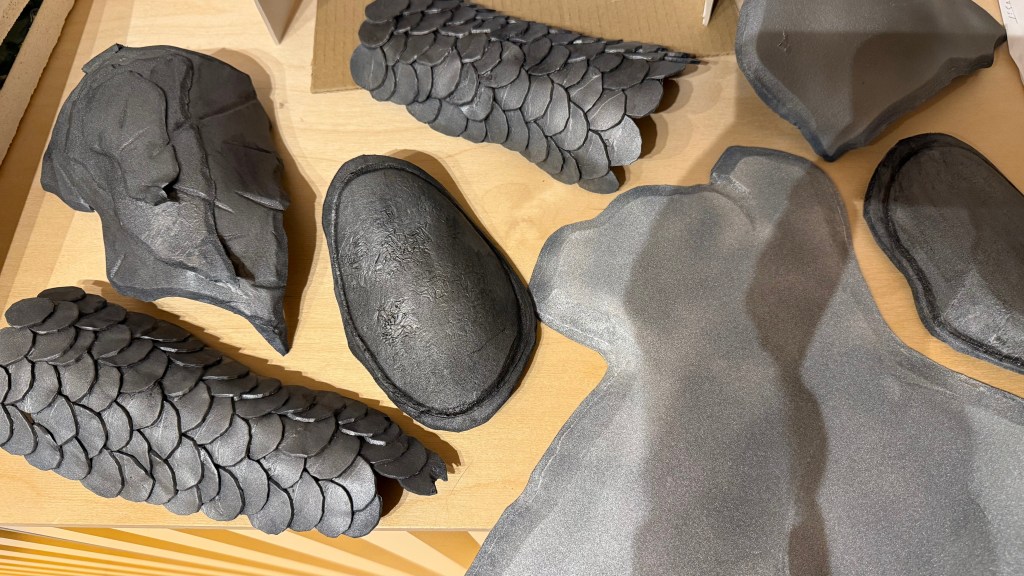
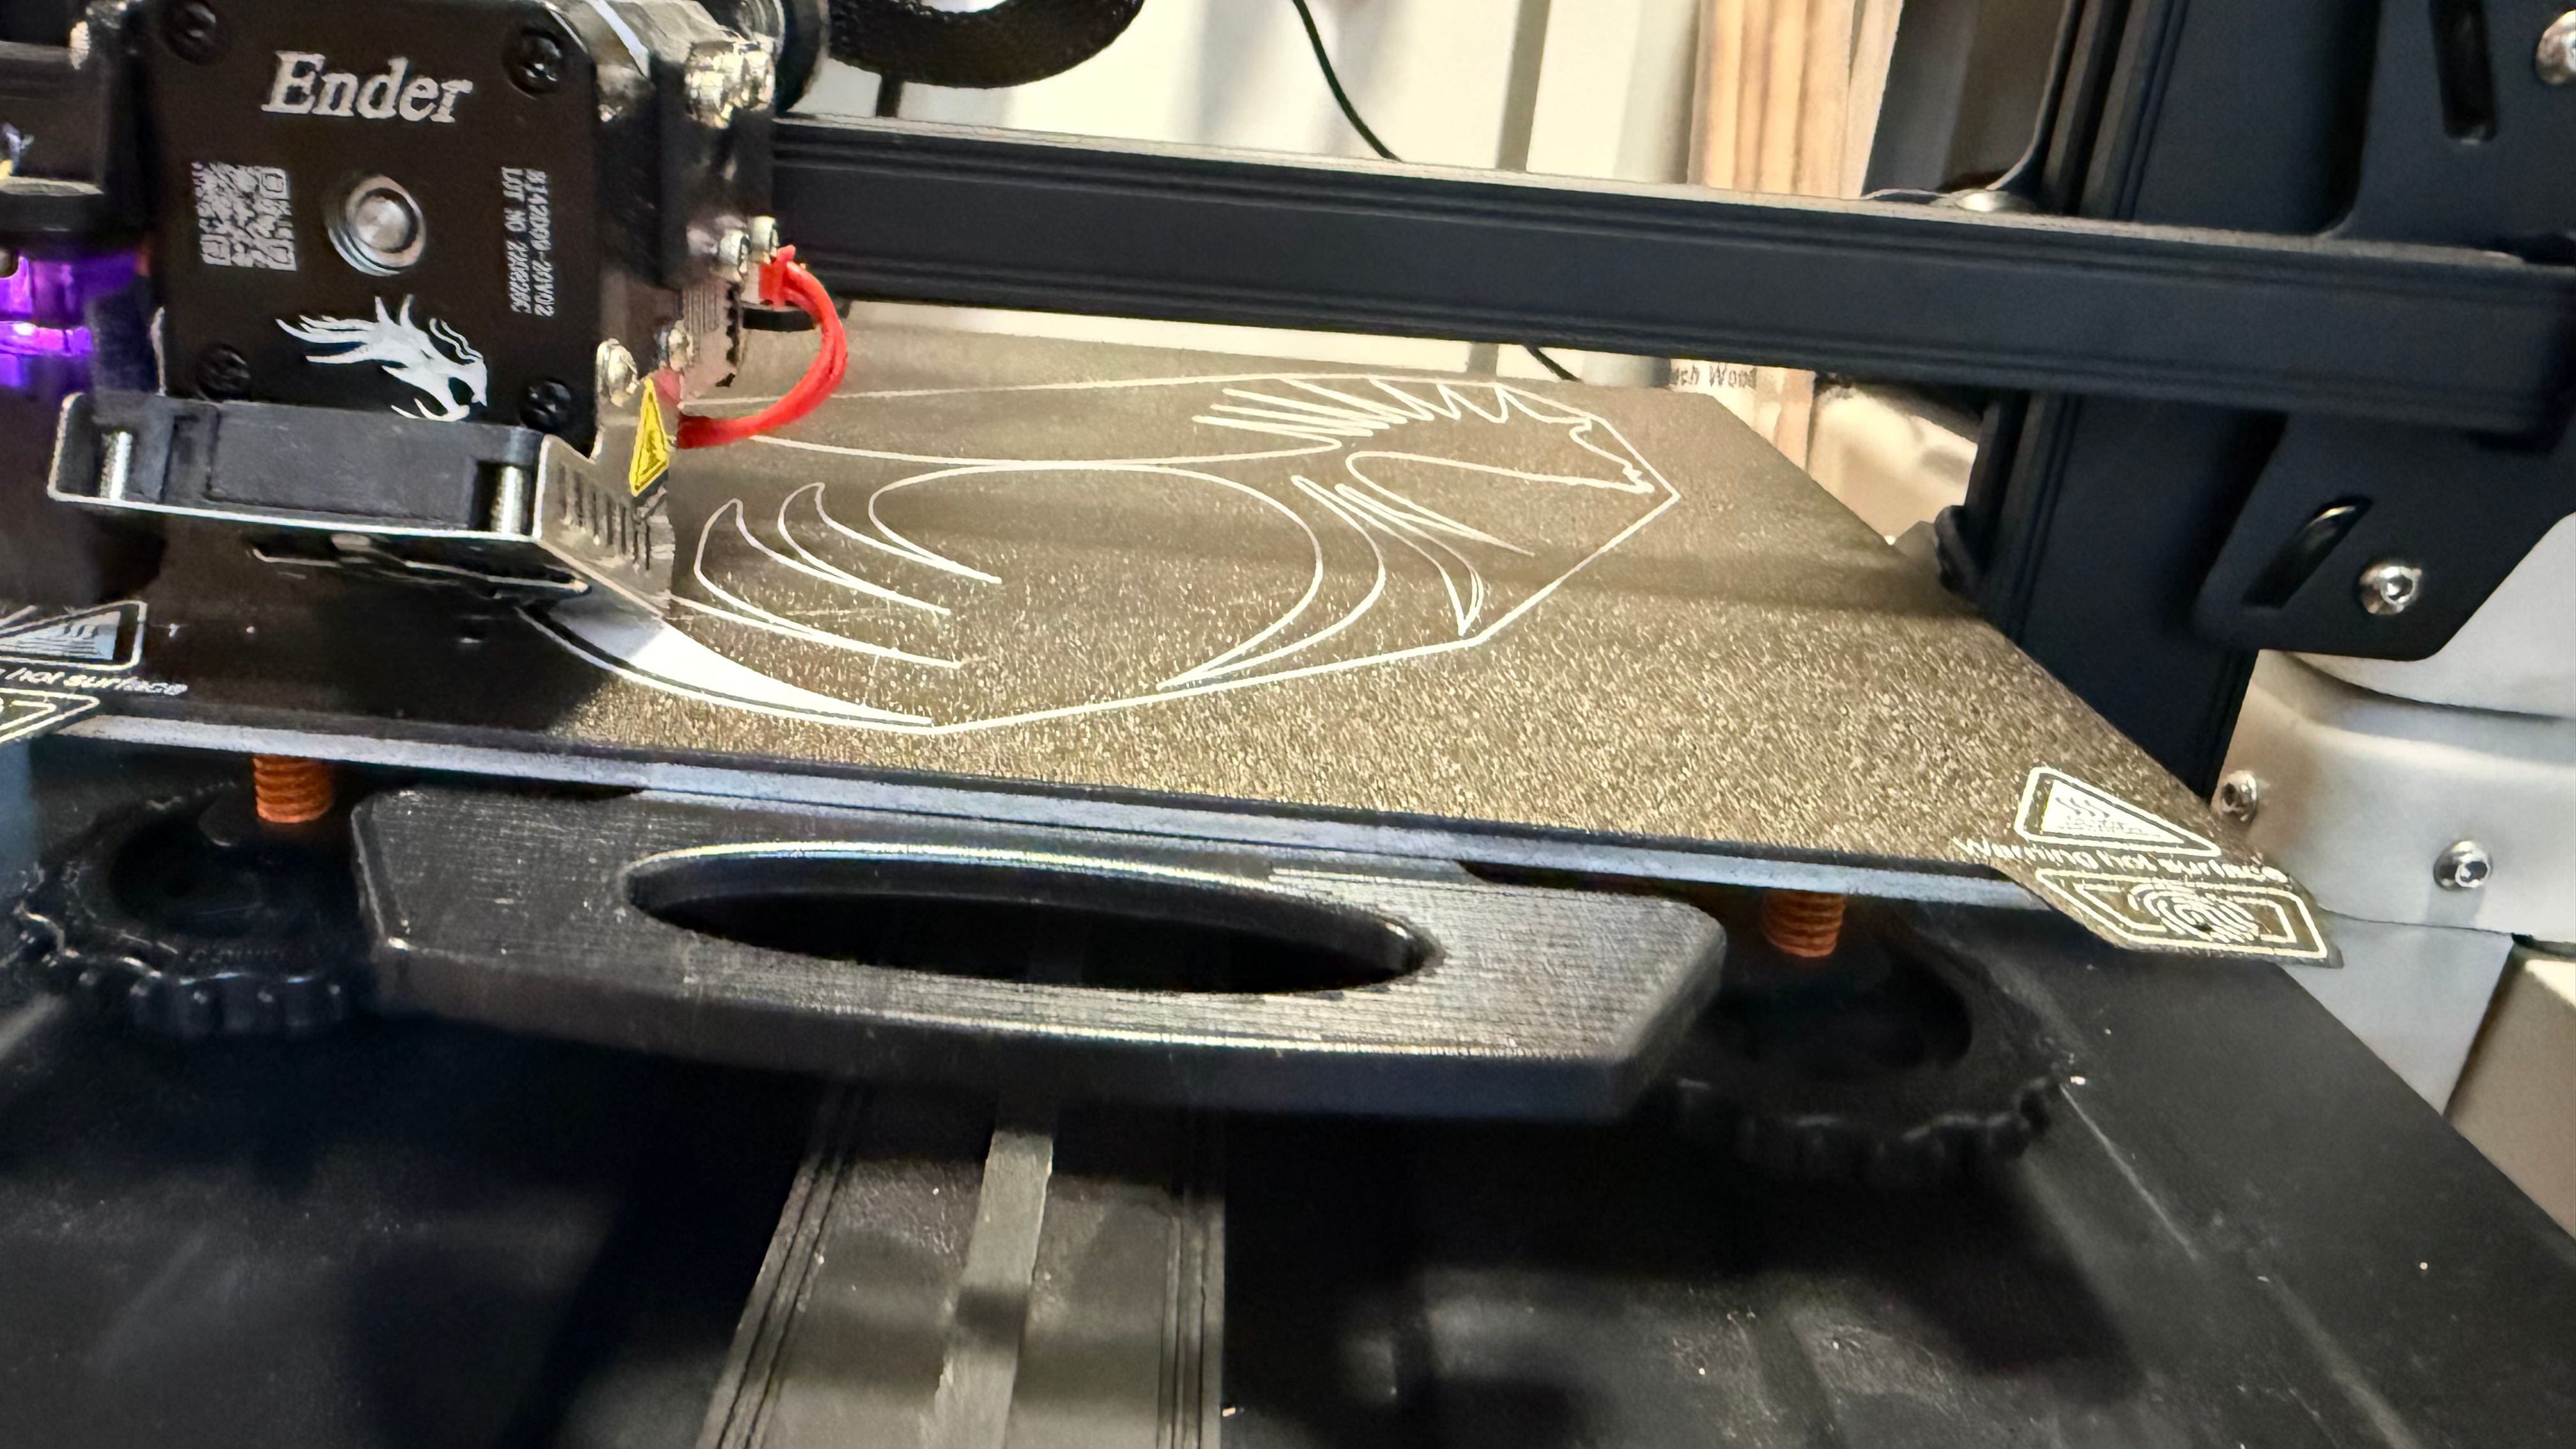
    Beyond that, I’ve taken those tracings and made 3d prints from them, in fact the Skrill about became a 3d print, as it is too fine to cut from 2 mm foam.

    Then I’ll pull out over the coming weeks tutorials and examples from

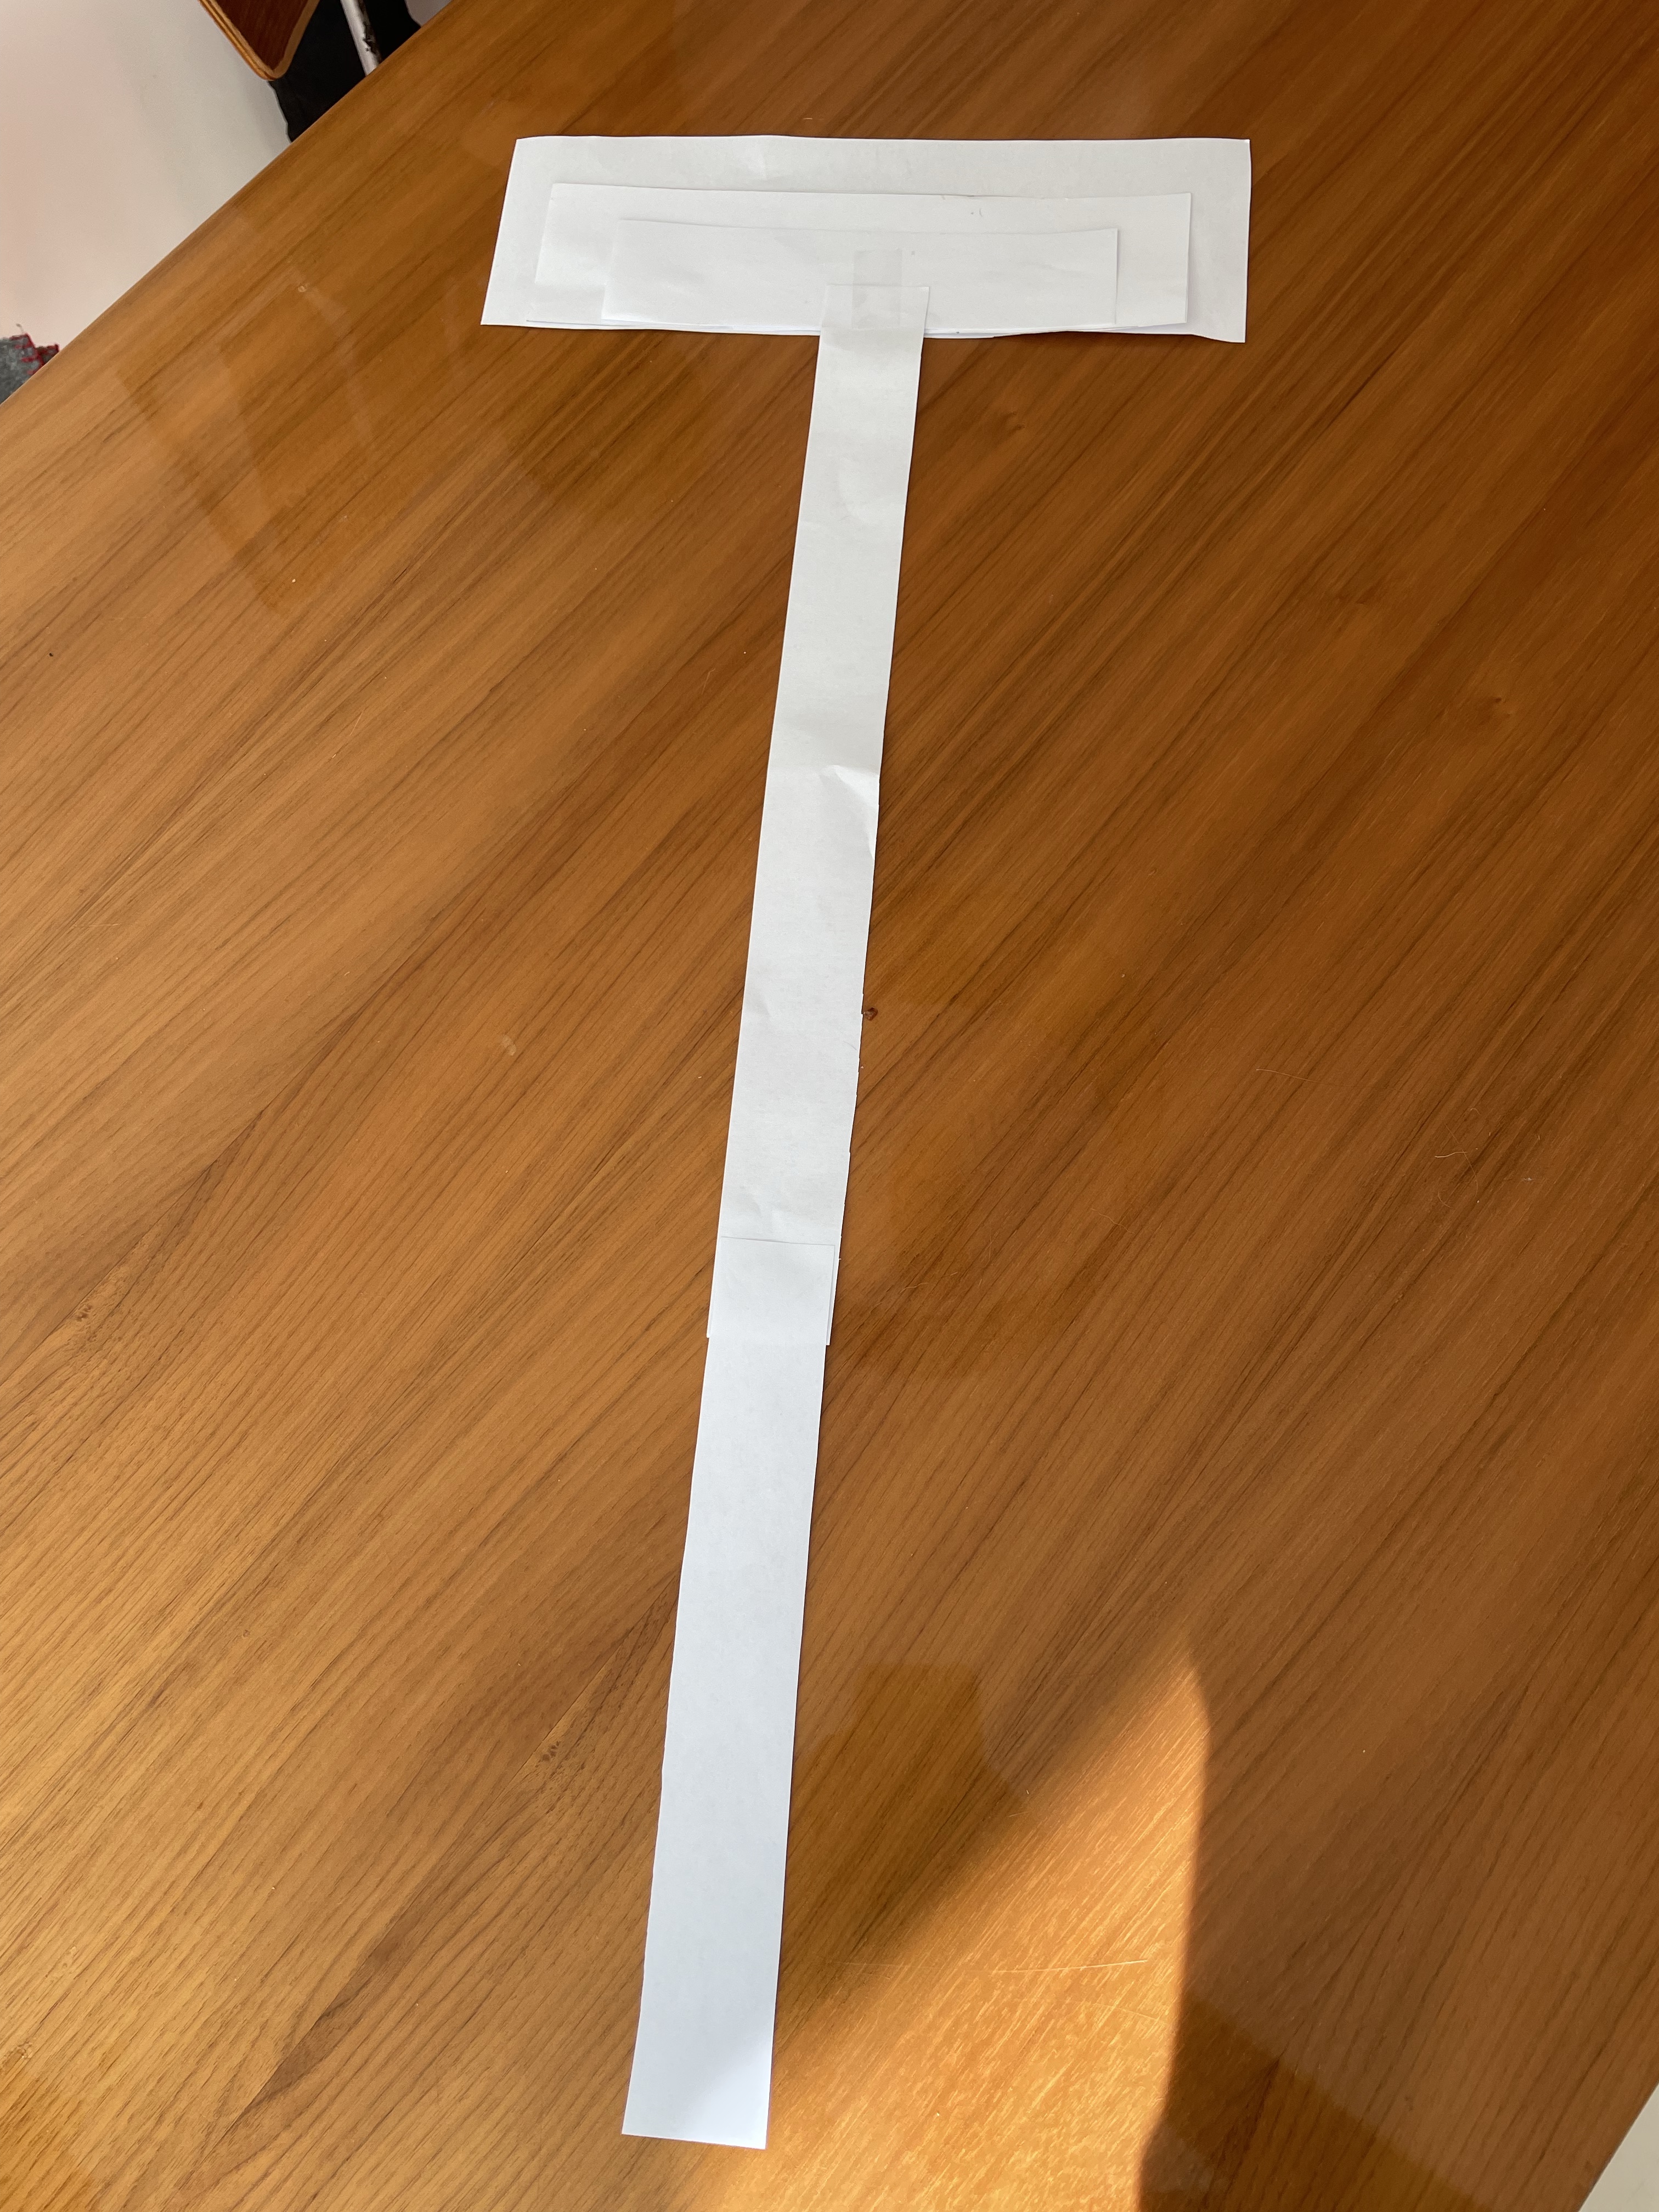
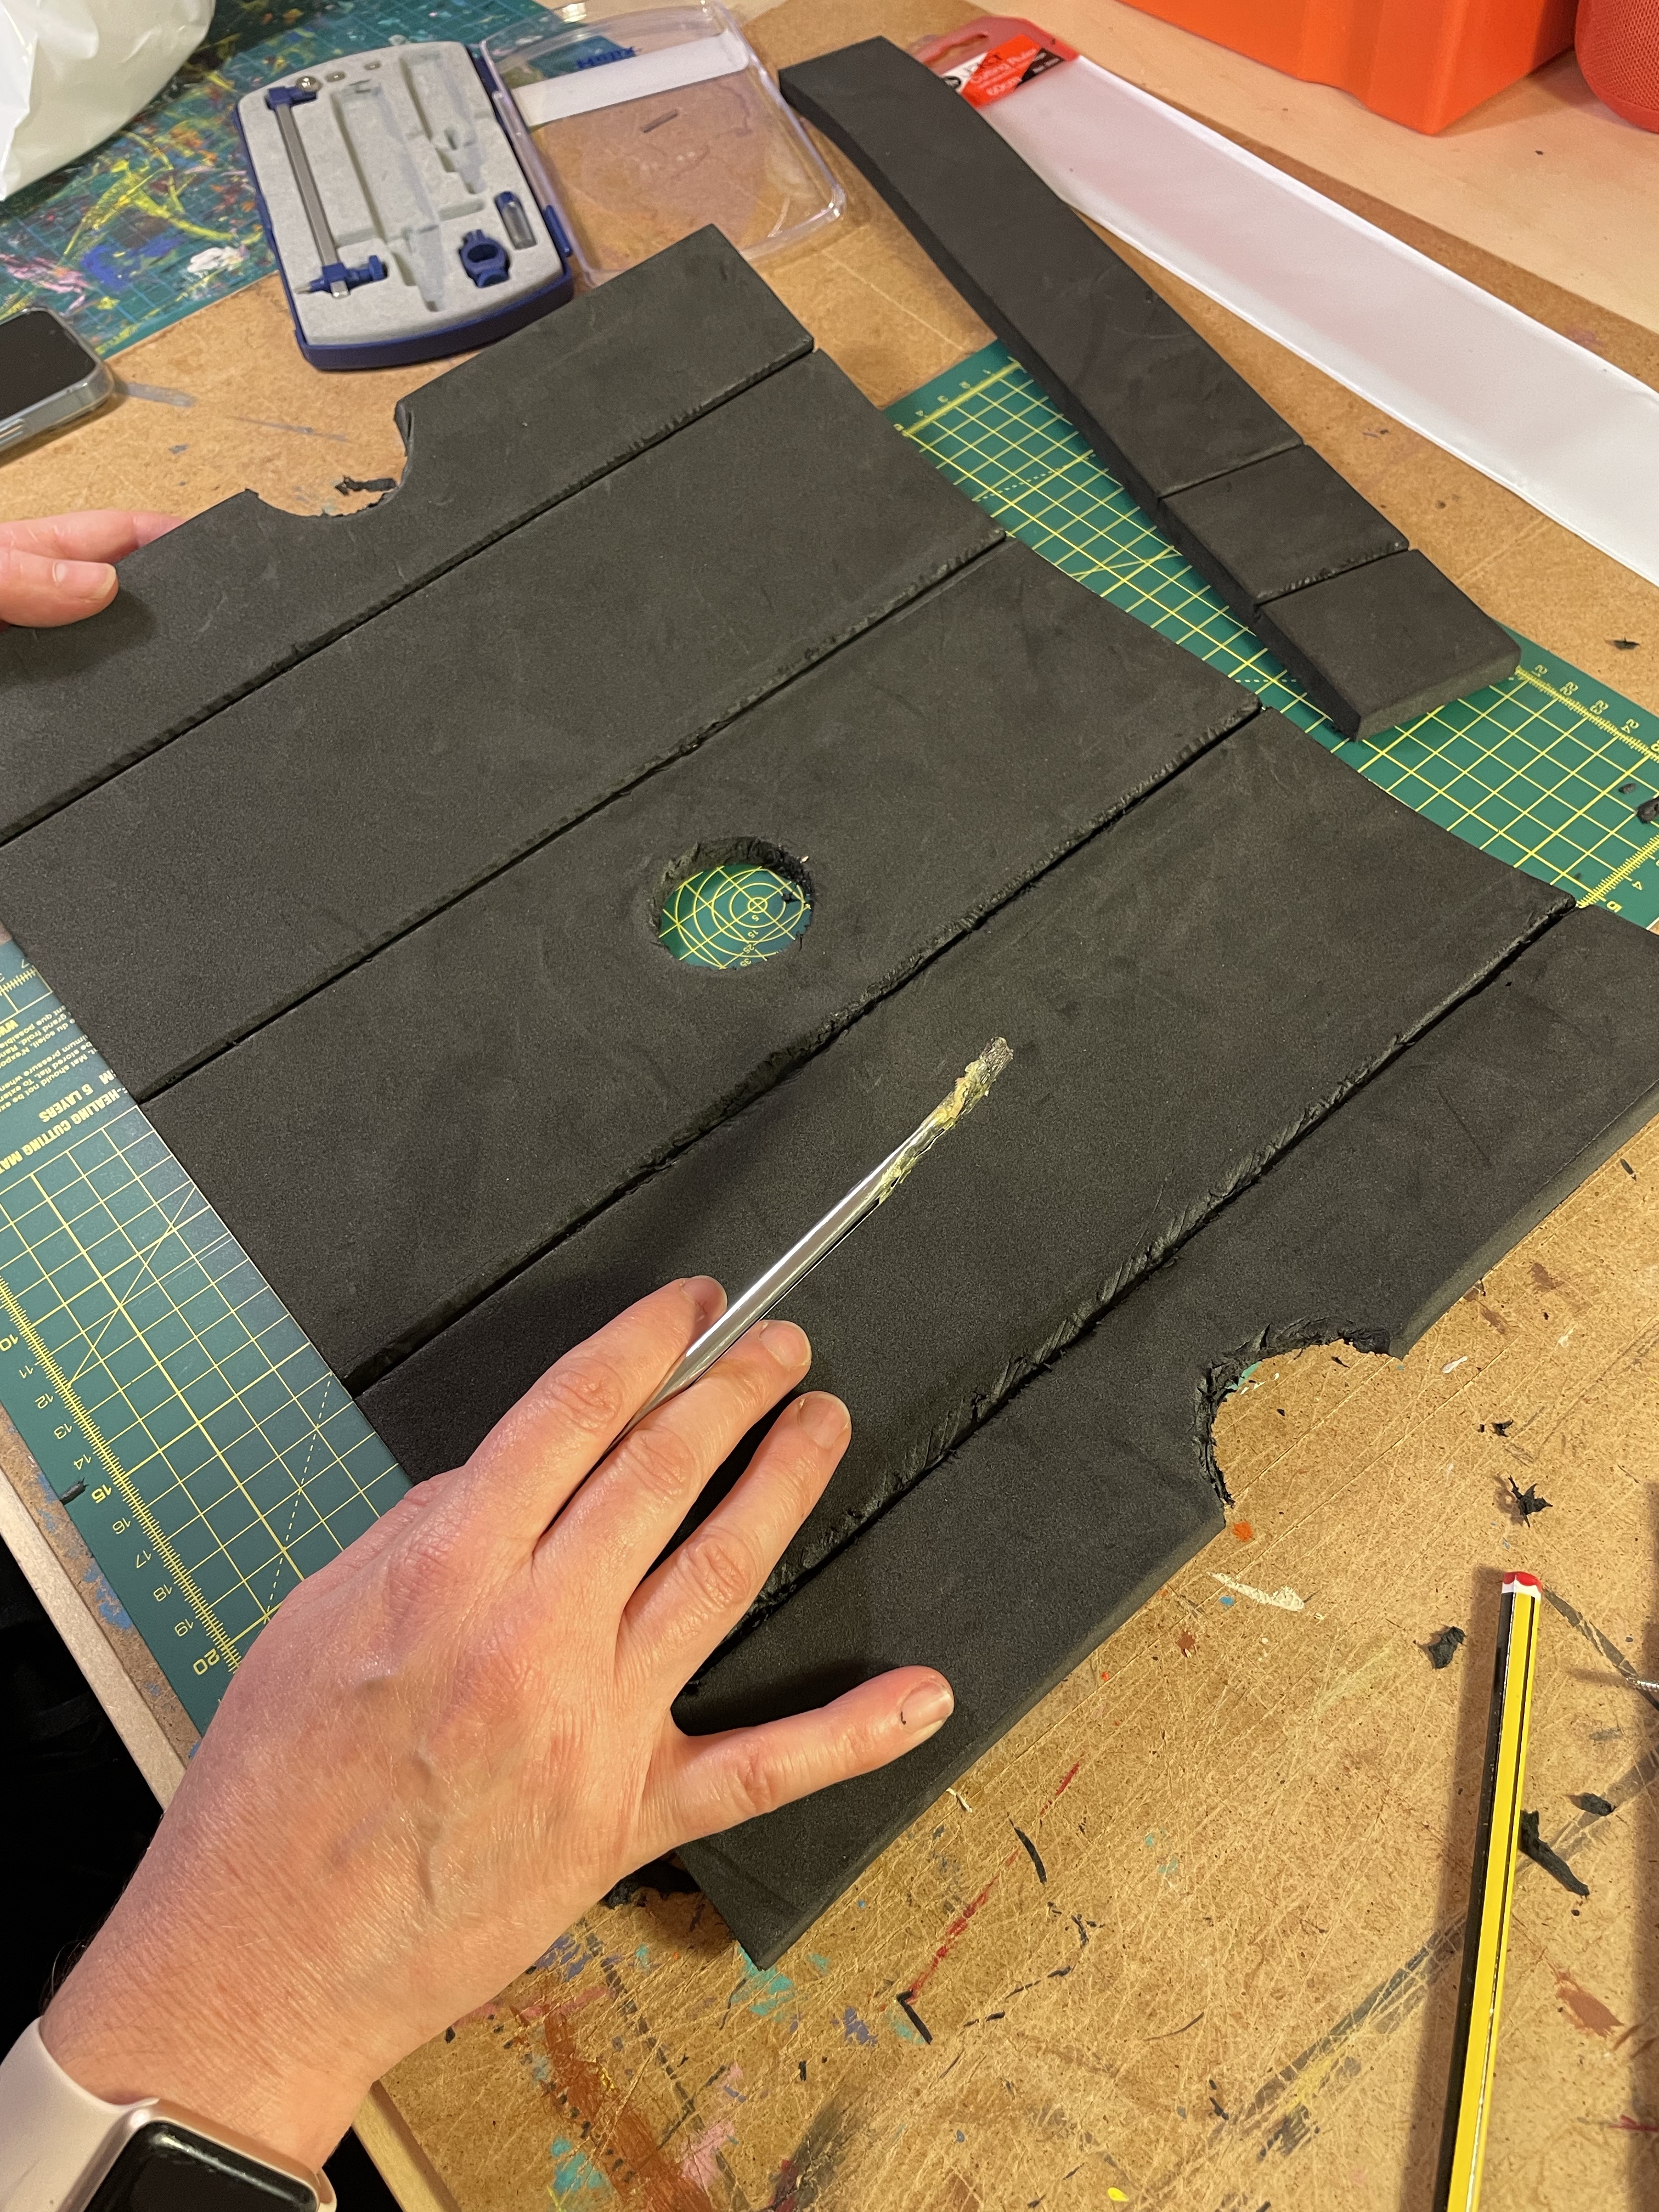
    • different approaches to prototyping and pattern design using paper and card
    • Foam clay and leather work for belts and straps
    • a simple free 3d design workflow to create basic objects and when to use that
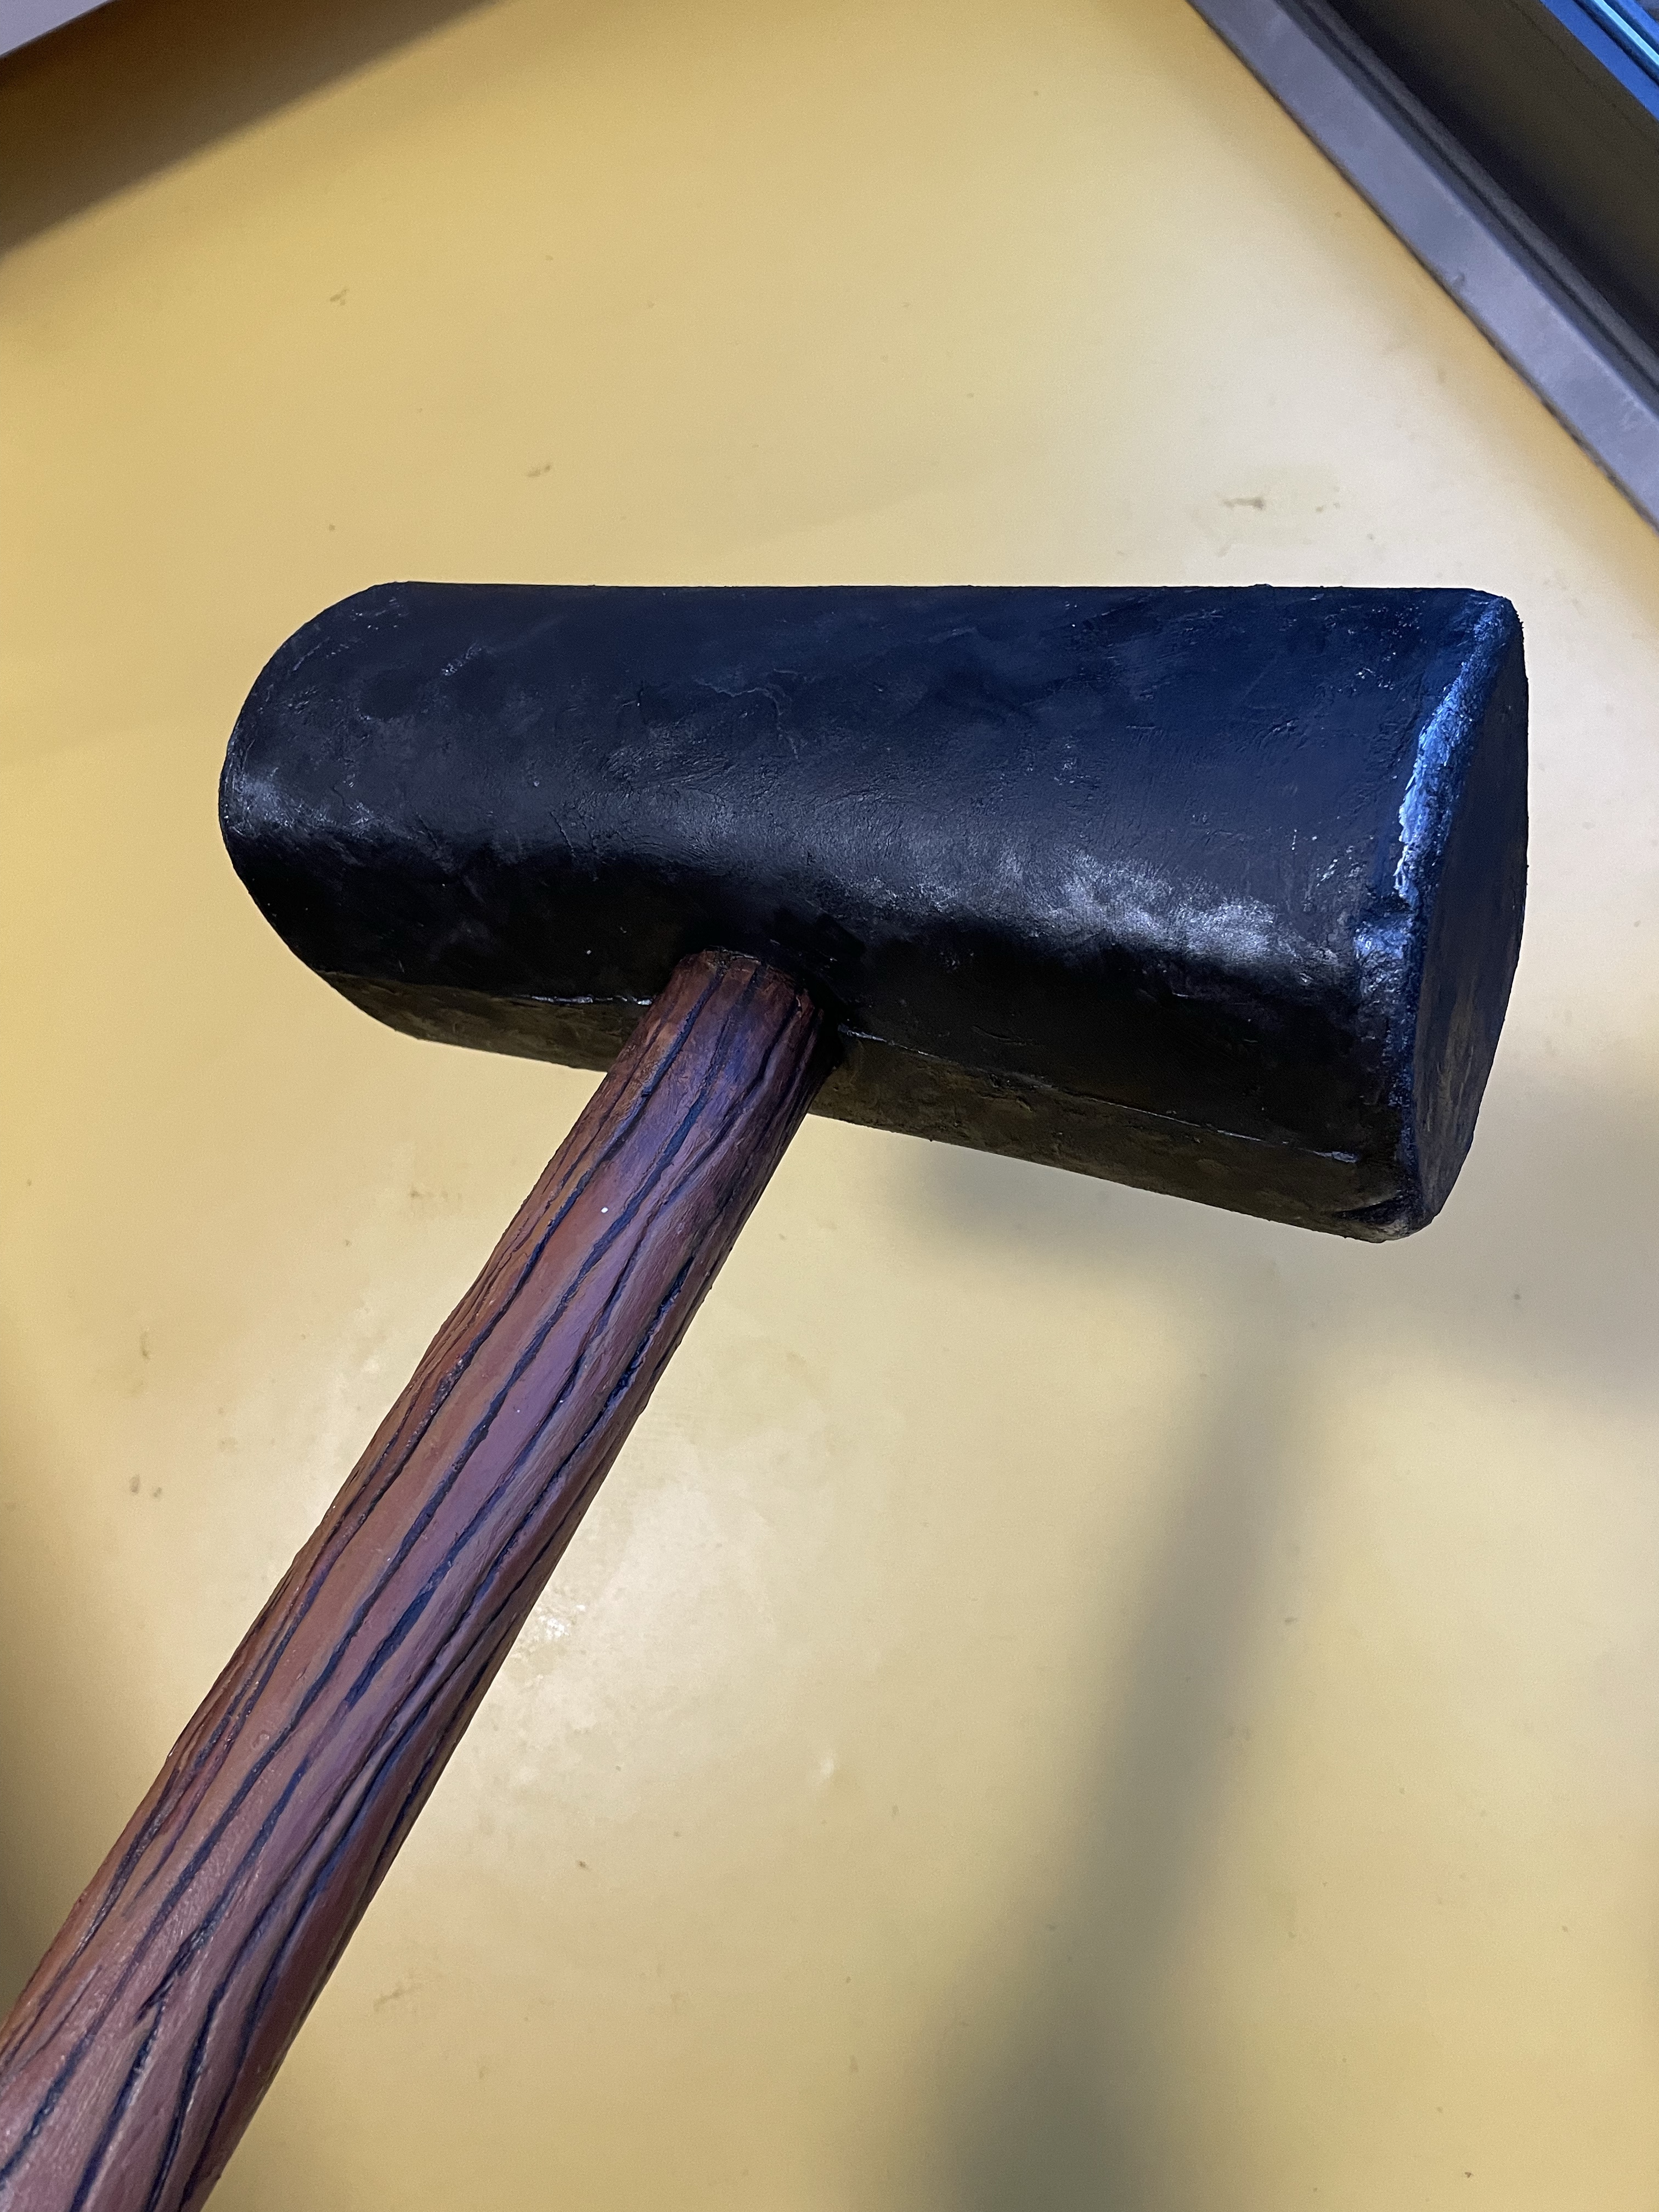
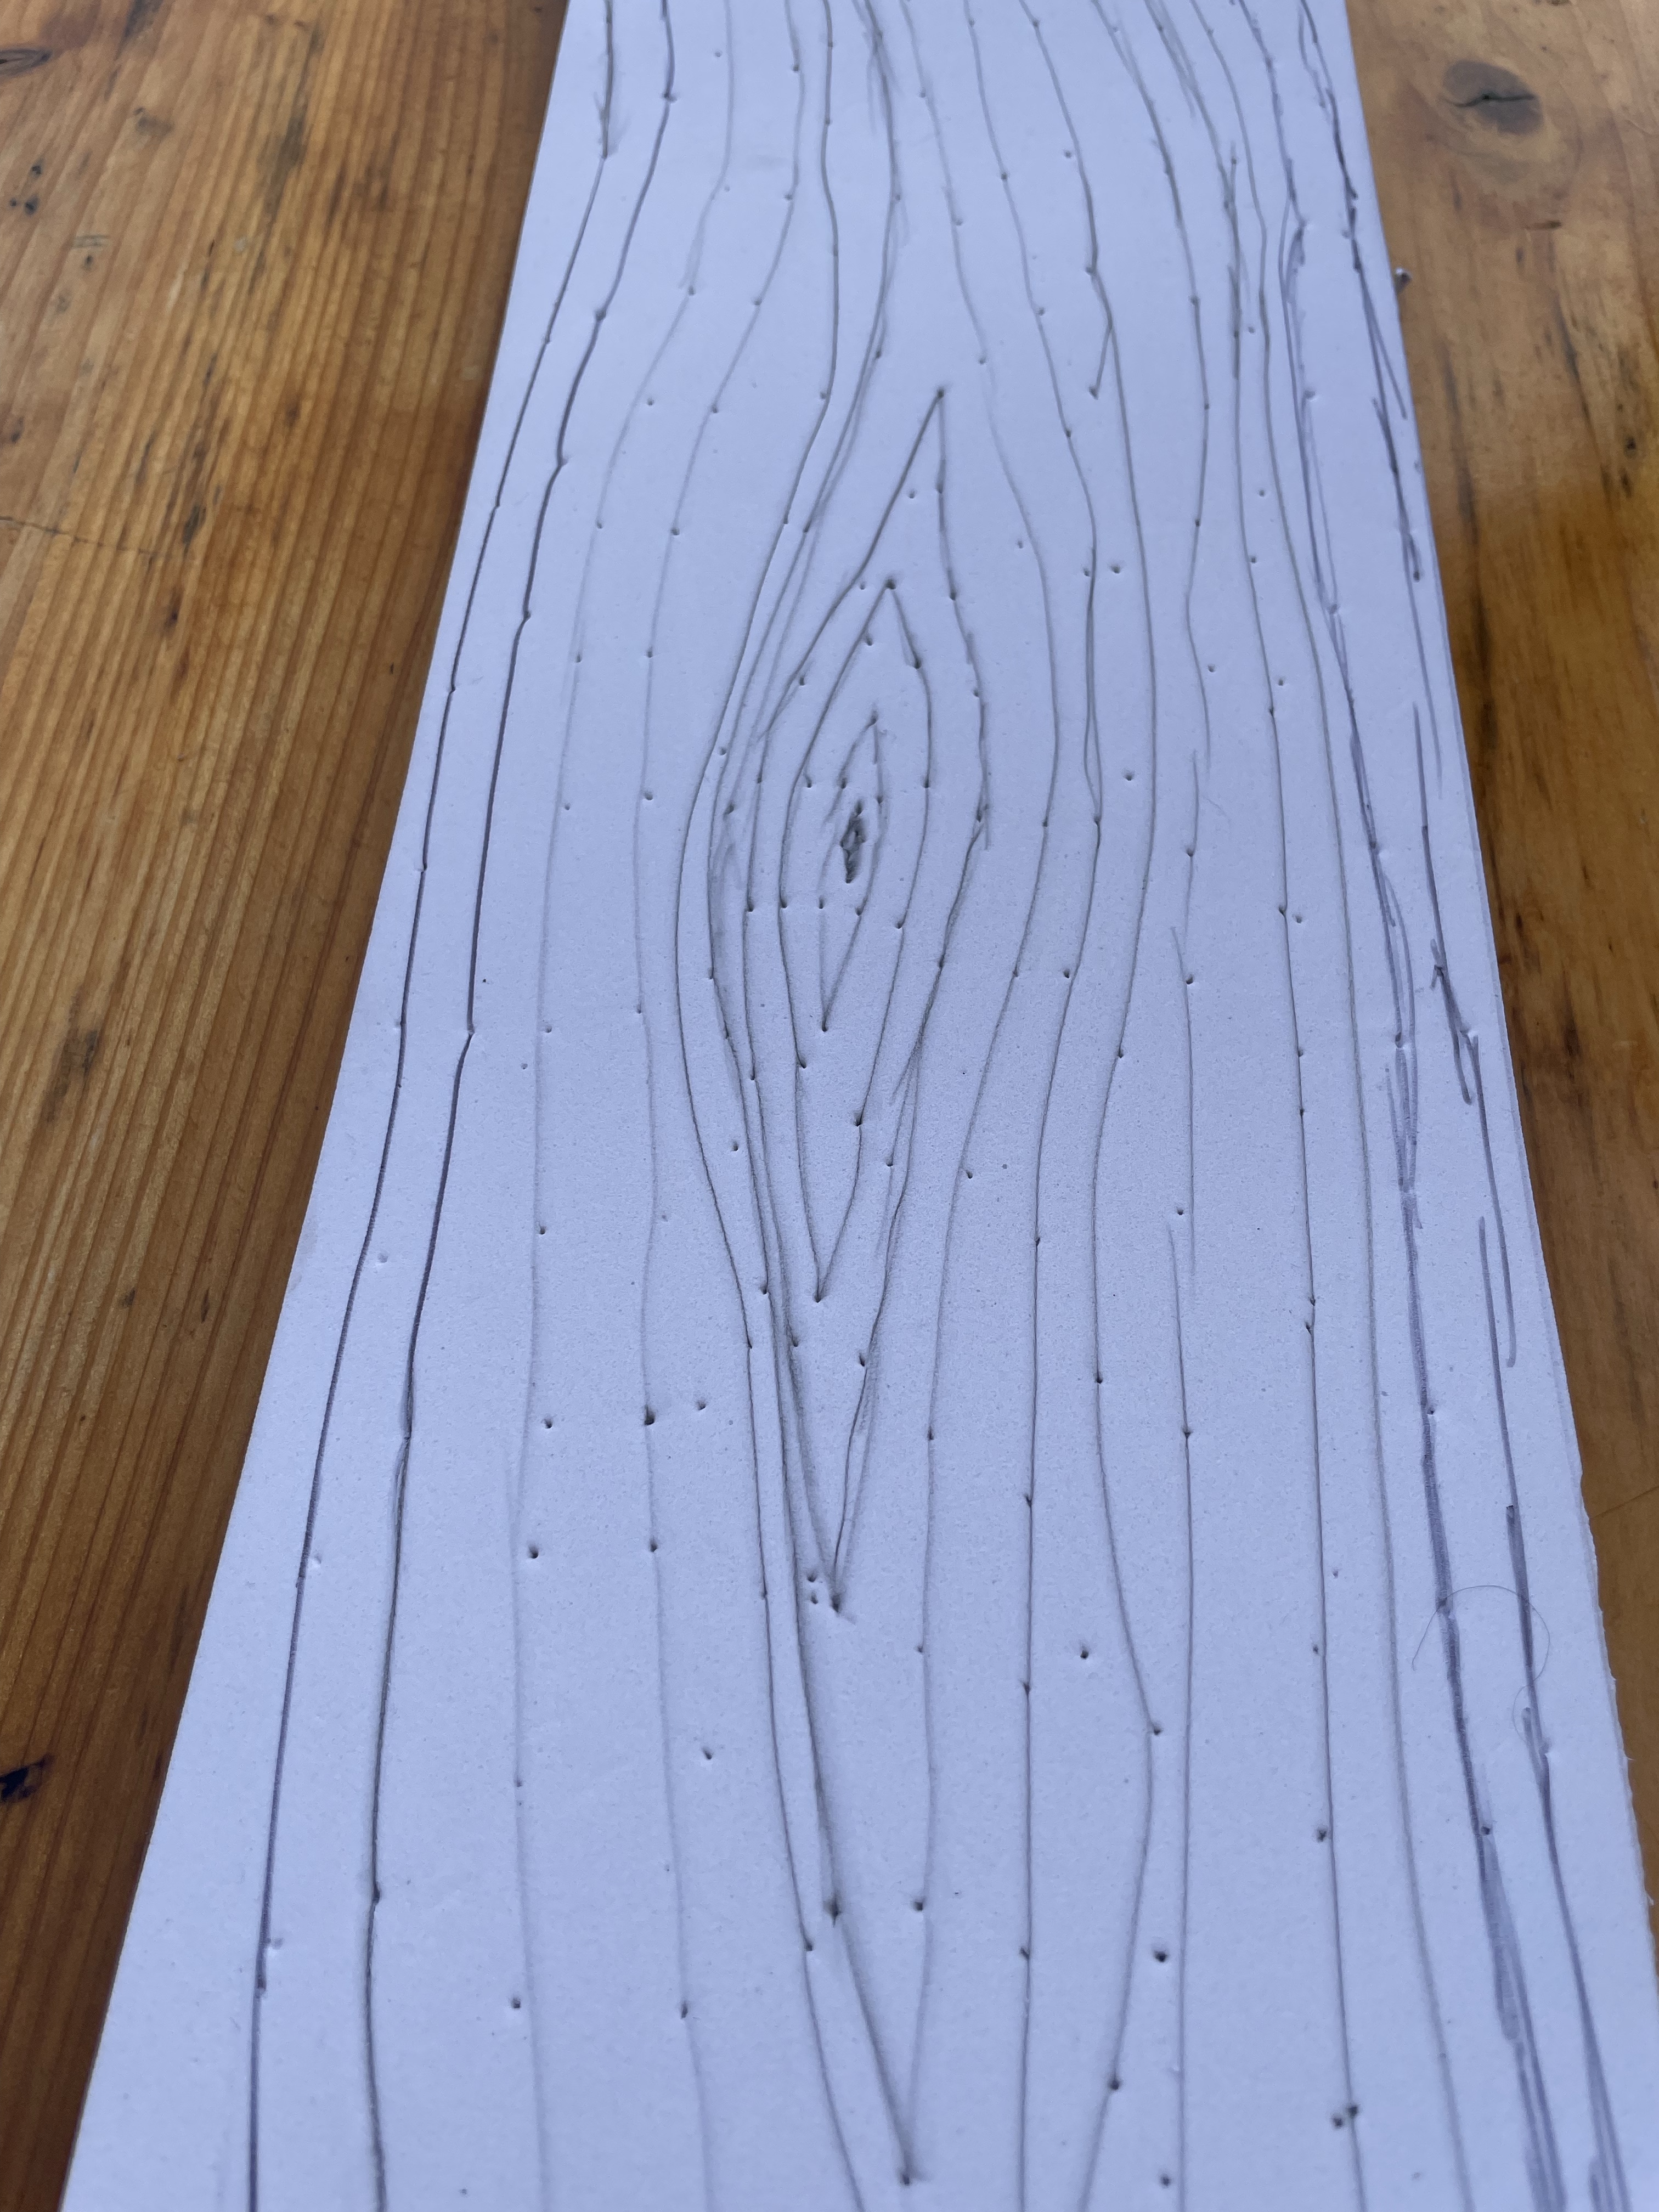
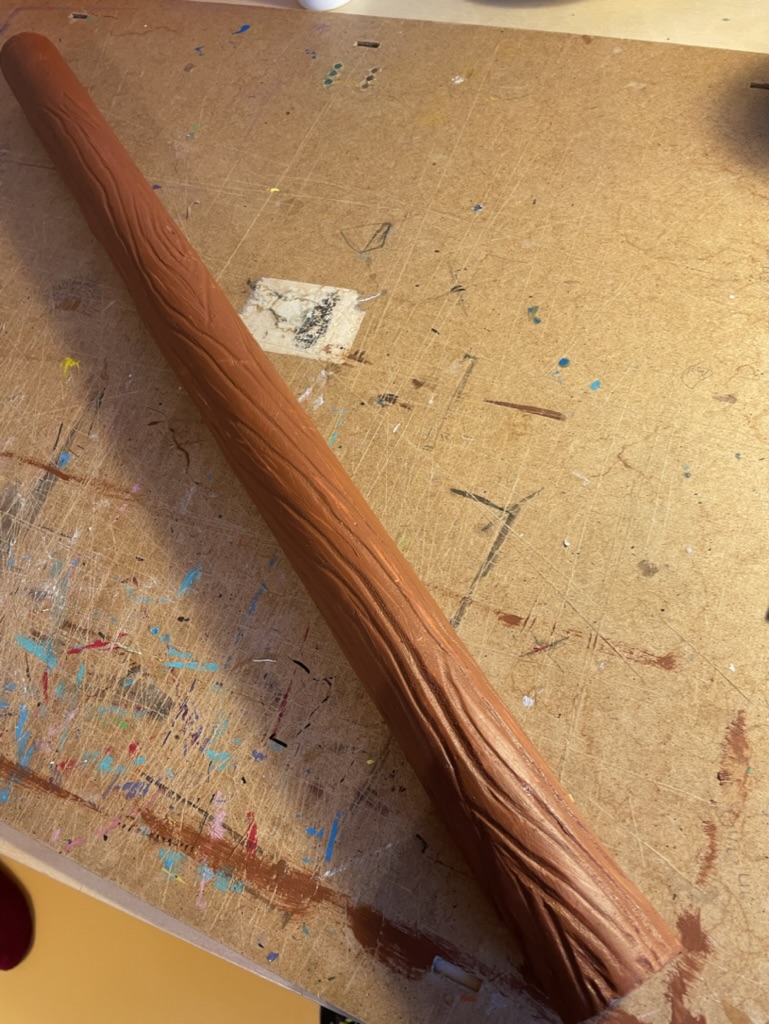
    • airbrushing, painting and weathering

    I’ll create samples of these as I go showing the results from each process, as a work towards a finished costume and prop, rather than the focus being the actual finished item. Working in the open and showing my work in progress is the plan, borrowing form my day job.

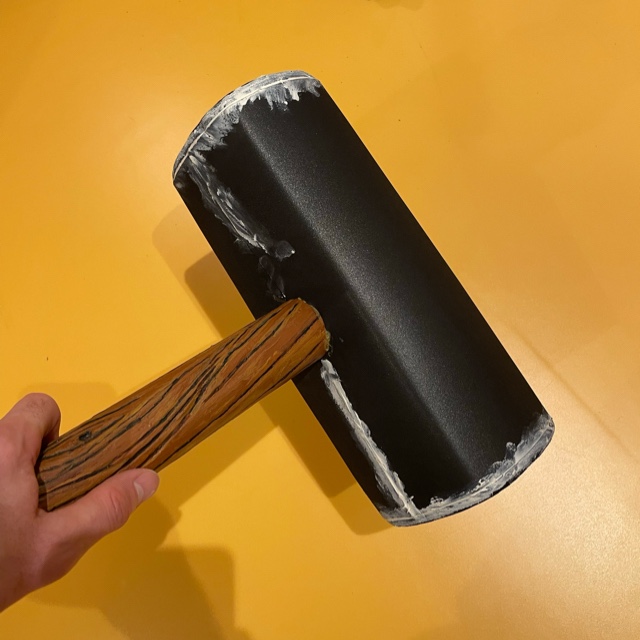
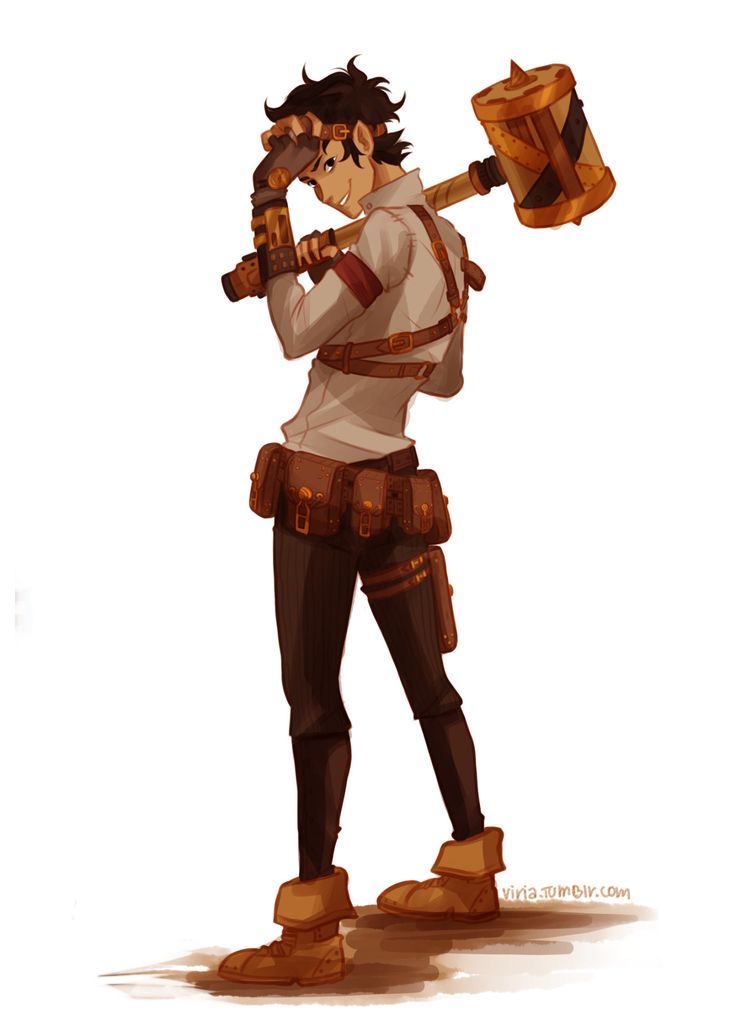
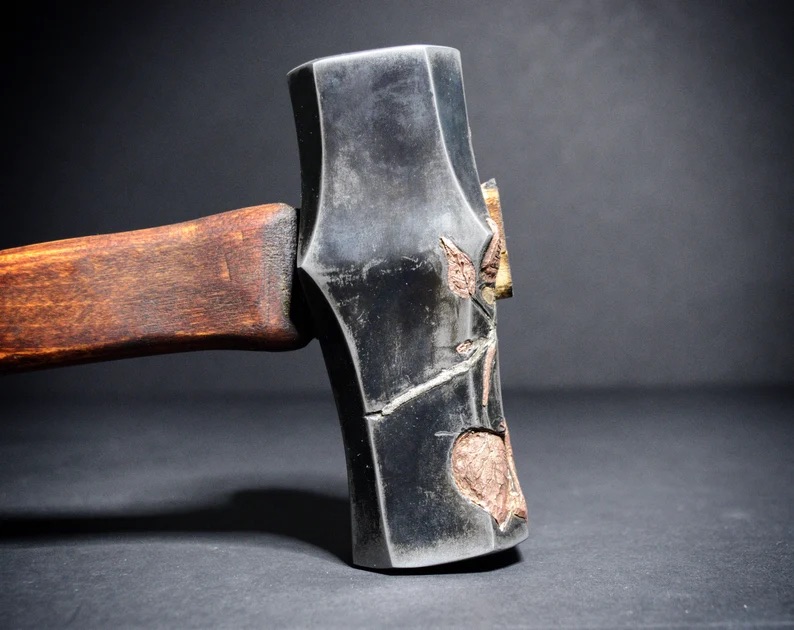
    I’m also going to put the patterns I have made up on Etsy, starting with the forge hammer from Leo Valdez.

  • gavinmakes rebrand and  new cosplay electronics course

    gavinmakes rebrand and new cosplay electronics course

    Much as I liked the earlier “code and components” branding, I’ve decided to change to a more straightforward gavinmakes. This is also the new handle for my main YouTube channel too.

    So that allows for gavinmakes 2040cosplay and gavinmakes 2ndmagpiefilms (in time).

    The main thing I’ve been working on in the intervening time has been a YouTube based course on how to make props with LEDs, sounds and buttons. I like teaching people how to do things in my job. From looking at youtube and going to comic-con, I think there is a gap on the electronics side of cosplay, which hopefully I can help fill.

    I’ve got 12 episodes planned, which will grow, as I continue developing the material. I’m focusing on blaster type props, but will also cover swords and similar weapons, as I’ve made both types. It will cover

    • RGB LEDs from strips to individual one
    • Power management and power sources
    • Buttons as triggers and power on or mode selection
    • Amplifiers, speakers and making sounds
    • Which micro-controller to use
    • What kit you need covering soldering and no soldering options
    • How to put it all together into a prop
    • Programming the prop in circuit python

    I should have the first videos starting this May, this autumn, as ADHD slightly got in the way. If there are things you’d like to see me cover, then please do add a comment.

  • Making the forge hammer for Leo Valdez

    Making the forge hammer for Leo Valdez

    Max read the Percy Jackson books and keen on the idea of being one of the characters for his first cosplay. Leo Valdez was the character Max wanted to be.

    The primary prop was a big forge hammer. We made it mainly from EVA foam and it was a fun build. Two things I will highlight is the wooden handle technique and how to create the squaricle hammer head shape.

    forge hammer

    Firstly to get the right sense of scale, we started with a regular sledgehammer from amazon, biggest one we could find, which was 16lbs, over 7kg. Then made a paper plan of that and gradually scaled it up to a suitably heroic scale. We got Max to hold it to check sizing and went for the largest of the three templates below.

    The hammer head ended up being larger than Max’s head, but it looked great and he got quite a few complements.

    To get the hammer head right shape we looked at blacksmiths forging hammers, like this one from etsy. A lot of templates for cosplay hammers use individual panels to create the hammer head, but using one piece of foam made the hammer feel more like a tool. No seams showing or joins in the foam.

    The template meant each side was about 10cm in size, so we cut a single piece of 10mm eva foam and then cut a v-shaped section out of the foam to allow it to fold and have nearly 90 degree angles. You can see the test strip we did the initial prototyping on above the flattened out hammer head. Contact adhesive (I like Alpha Thixofix) helped the foam take its shape and then affixed it to the handle.

    We added a second layer of foam inside the head to make the connection area between the head and the handle larger. The last part of the hammer head were the faces for the hammer and the ends of the handle, the photo below is the top and bottom of the handle before heat-treating, priming and painting.

    You can see the hammer head taped up and curing in the photo below.

    The handle was a piece of plastic pipe which was wrapped in foam. Max did an excellent job of mapping wood grain onto the handle and then carving it with a dremel. The snake handle or Flexible Shaft Attachment is essential for carving EVA foam, it makes the work less tiring, as it is easier to hold. Some safety kit, as you can see in the photos is important too. A set of sealed eye goggles, some breathing kit with the dust and A2 vapour filters and some ear protectors will save your eyes, nose and lungs as well as your hearing from the dremel dust.

    Testing out how to make wood grain

    Mapping across the tracing of the wood grain before carving. Max used pins to transfer the tracing from paper onto the foam, which was really effective.

    It then got painted and we stuck the handle onto the head of the hammer and added bit of aging to make it look less like it was just made. It would have been good to have more time to do the aging, but the hammer had a final coat of varnish the night before comic-con at 1am!

    If this was helpful then you could buy-me-a-coffee.